The Road to El Dorado
Culinary Movie Night Guide
Difficulty Level: Easy
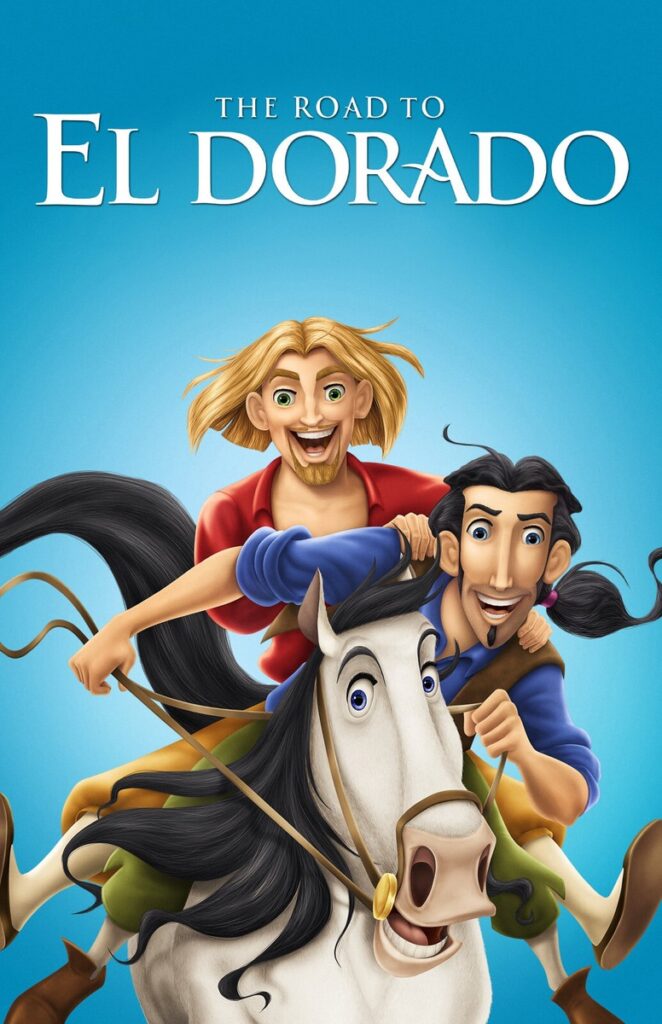
Table of Contents
Equipment
Here is a list (with links) of all the equipment and decorations I used for my Road to El Dorado Culinary Movie Night. I would be incredibly grateful if you used my links. I will make a little commission, and that would really help with the cost of the website and related expenses. You can find my full Amazon List here!
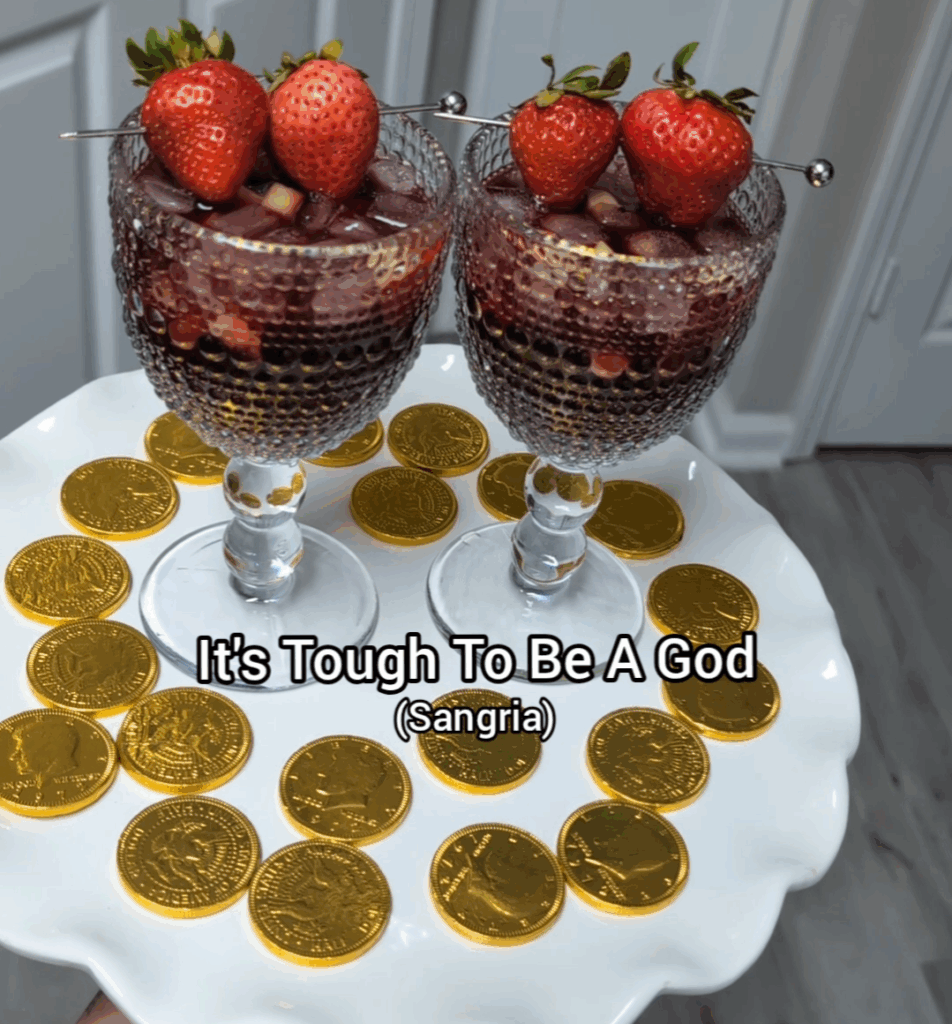
To decorate the serving tray, I used chocolate gold coins I bought from Michaels Craft Store.
Tips
- Personalizing the Menu– When planning your menu for your movie night, don’t feel pressured to serve exactly what I chose to serve. Feel free to remove/add/replace dishes so it makes sense for you and your guests. I’ve included an editable menu in this guide to make it your own!
- Managing Your Time– These movie nights can take a lot of time to prepare, especially if you plan on doing everything yourself. If you are planning a culinary movie night with a group, I suggest doing a potluck style. Have each person contribute a dish or two, and it’ll be very manageable. If you are planning on preparing everything yourself, here are some things I’ve learned while doing these often:
- Make A To-Do List– I can’t stress this enough! It’s very easy to forget simple things like opening a bottle of prosecco before you start the movie so you aren’t fumbling with the seal before serving. I have done this so many times! Your to-do list should include absolutely everything you need to do leading up to pressing play.
- Start Early– I learned this after a few very long days of trying to cook, prepare, and host all on the same day. Anything that can be done in advance should be done during the days leading up to the movie night. Some examples include pre-mixing cocktails, making desserts and other foods like soup that hold up well in the refrigerator, and pre-making any handmade decorations. Hosting is stressful enough without having to make a multi-course meal in one day, so get as much done as possible before.
- No Pausing– The question I get asked the most is “Do you pause the movie to bring out the next dish?”. It’s important to me that I don’t disrupt the flow of the movie, so I do not pause. It’s also important to me to enjoy the movie with my guests. Setting up everything I need before the movie helps me bring out each dish efficiently. The setup usually includes plating each dish and storing it in the refrigerator, so all I have to do is quickly microwave it before serving. I set out any garnish or decoration on my kitchen counter so it’s easily accessible. I even pour the cocktails into their cups and store them in the refrigerator, so all I have to do is add ice and any finishing touches before serving. Always think about how you can do the bare minimum during the film. I always include the setup in my to-do list as well, so I don’t forget about any aspect of the preparation.
- Optional– If your budget permits, I recommend ordering food that you may not be confident in cooking or food that may take a lot of time to cook. I do this occasionally, and it helps cut down the preparation time and supports local businesses. Win Win!
- Decorations- Have fun and decorate your space and serving tray! Add elements from the theme of the movie, but make a budget and stick to it! I usually use things I already own because these movie nights are DIY, and I don’t need to spend a fortune to make it fun. If I do buy decorations for the movie night, I try to find cheap or reusable things. If you are curious about some of the things I’ve used during the movie nights, here is a link to my Amazon List. All these items are things I bought with my own money and enjoyed using.
- Manage Stress- Culinary Movie Nights are fun and a great way to show your friends and family you love them. Sometimes, things you envision in your head will not come out perfectly. When this happens to me, it can be discouraging and stressful, but the people I do these for have NEVER expressed anything but appreciation. Go easy on yourself and remember that your guests are just happy to be there and to experience something you put so much thought and time into making.
Menu
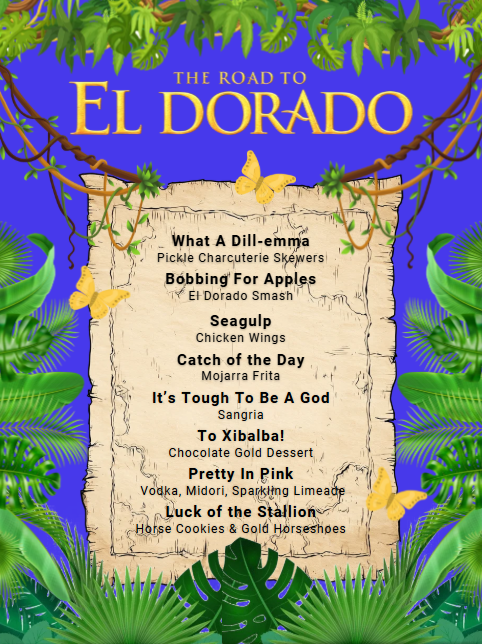
I have created a free, editable, and printable menu for all the dishes I served for this Culinary Movie Night! Feel free to change it to what will work for you and your guests.
Cues
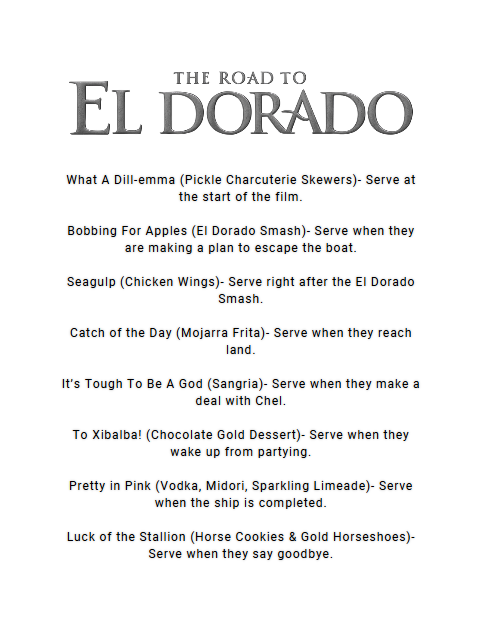
These are the cues I used during the movie night so I knew when I had to get the next dish ready to serve.
Please note: Each cue describes a scene that happens a few minutes before I have to serve the dish. It does not describe the scene the dish is based on. Some people get confused with that, so I thought I should specify. Because the cues only give you a few minutes to prepare the dish, it’s very important to have everything cooked and set up before the film starts. Review the “Tips” section above for ways to make this seamless.
I often get asked why I don’t use time stamps to keep track of when to serve the next dish and the simple answer is, I don’t find those helpful. If I used timestamps, I would have to have a separate timer going or keep disrupting the movie to check the timestamp. It makes much more sense to have cues to indicate when the next scene is about to happen. This allows me to enjoy watching the film with my guests.
Below is the link to the cues I used. This document is editable, so you can make updates if you decide to take out or change dishes.
Recipes
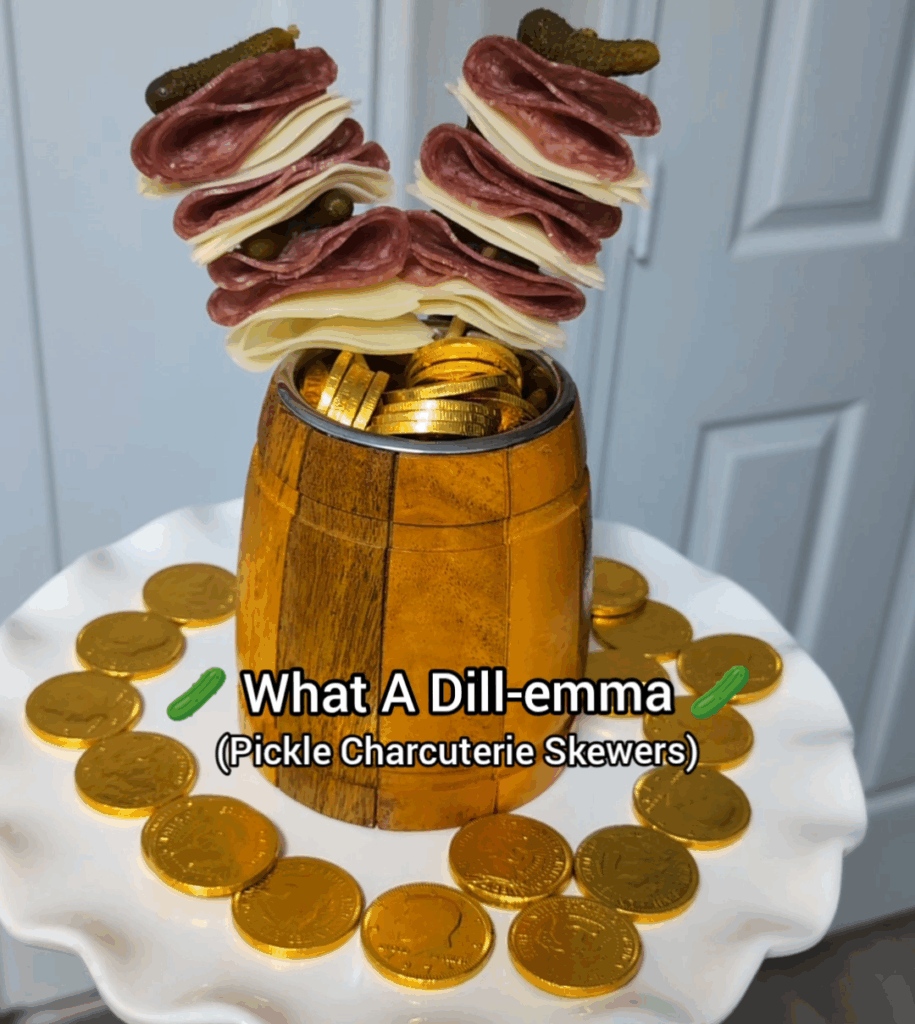
What A Dill-emma
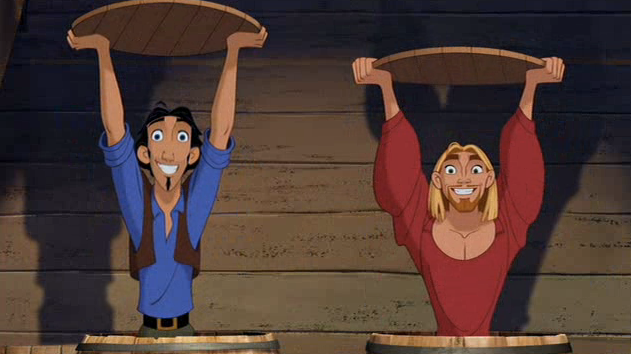
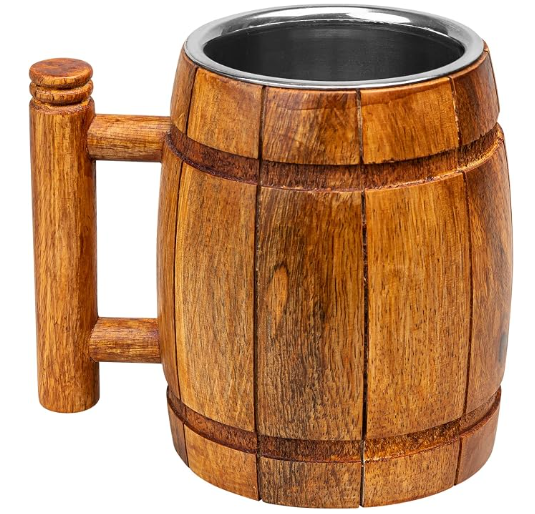
“Who ordered the… pickles?” For this scene, our characters are trapped in barrels, so I thought it would be a cute idea to serve the dish in this barrel cup… with gold coins, of course! To tie in the pickle, I served charcuterie skewers with salami, provolone cheese, and little cocktail pickles. You can mix it up with what you stick on the skewer; just make sure the pickle is the focal point.
Bobbing For Apples
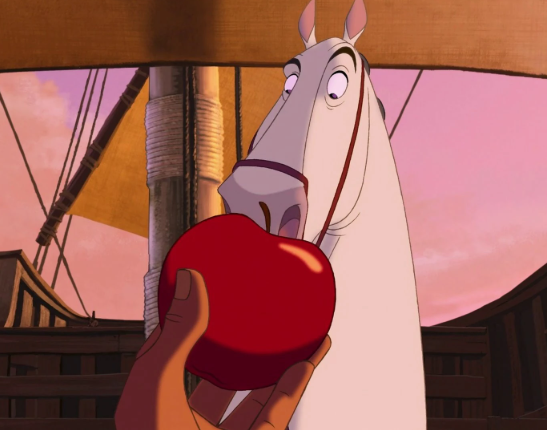
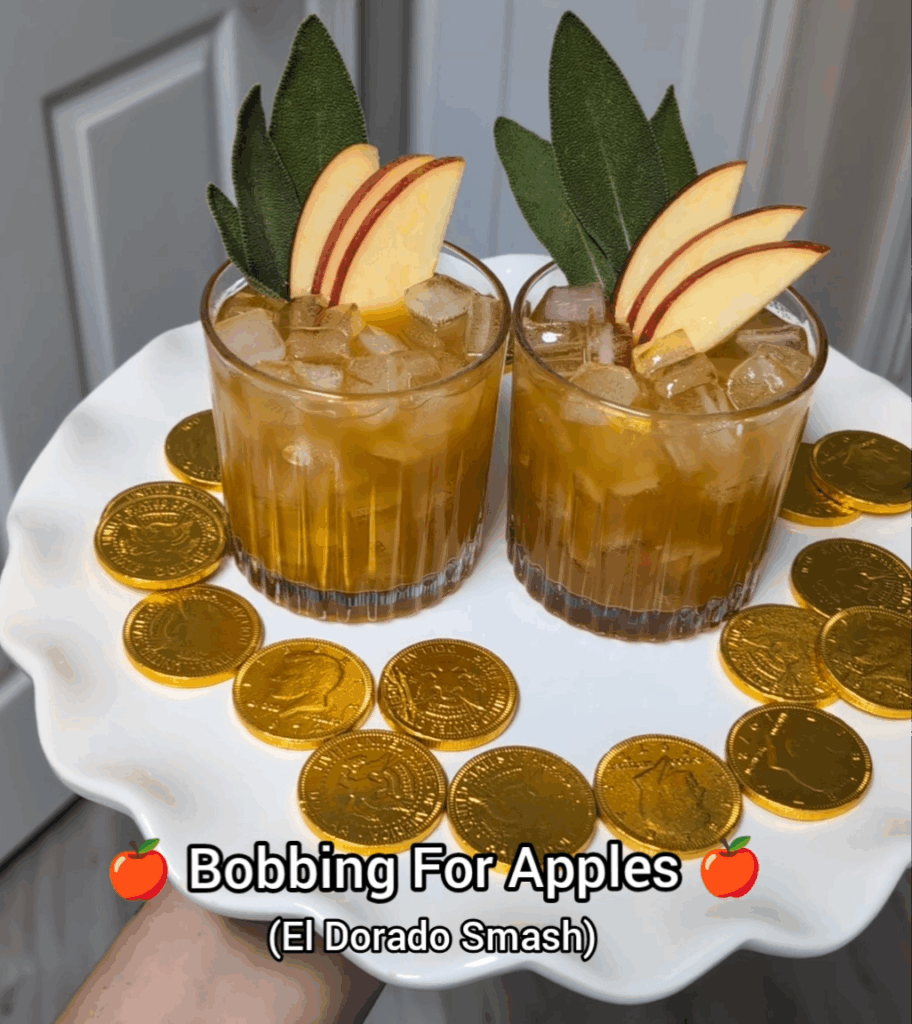
There are two changes I made to this recipe to fit the theme of the movie and scene. Instead of peach liqueur, I used apple cider. And instead of Brandy, I used El Dorado Rum. This tied in the apple flavors to the scene and added another El Dorado reference with the rum. For the garnish, I used thin apple slices and sage.
To serve quickly, I had the cocktail pre-mixed and the garnishes already chopped and ready. When it’s time to serve, fill your small glass with ice, pour your premixed cocktail, and add your garnish. It’s a super quick process if you have everything ready to go.
Seagulp
Chicken Wing Recipe:
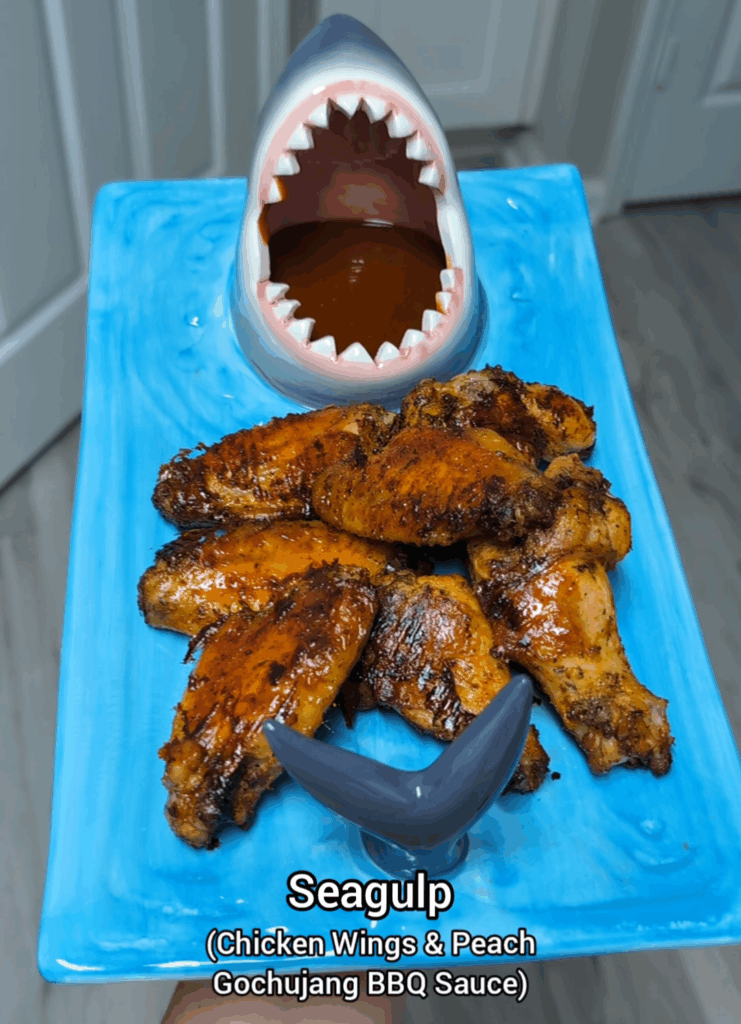
To make the chicken wings, first make sure to clean your chicken. In a large bowl, add your chicken wings. Next, make the marinade. I don’t measure this part, so measure with your heart. Don’t worry, it’s really hard to mess this part up.
To the bowl, season your chicken with adobo all-purpose seasoning, lime juice, honey, garlic powder, smoked paprika, black pepper, and olive oil. Give it a good mix and let it marinate for a few hours or overnight.
When you’re ready to bake the wings, preheat your oven to 275 degrees F. This is a slow roast method, and it makes the chicken so tender. Lay out your wings on a baking sheet. It’s important not to overcrowd your baking sheet, so you may want to use two so they can be spaced out. Bake in the oven for one hour.
After an hour, take the baking tray out and flip the chicken wings. If there is a lot of liquid on the tray, that was released from the chicken while baking, dump that out. If there is too much liquid, the wings will take longer to bake, and they won’t get crispy.
Bake for another hour. After another hour, your wings should be ready. If you would like to add more crispiness to them, you can increase the heat to 350 degrees F and bake for about 10 more minutes.
Peach Gochujang BBQ Sauce:
Ingredients:
2 tbsp of BBQ Sauce
2 tbsp of Peach Puree
1 tbsp of Gochujang Paste
A dash of lime juice
Instructions:
Mix all the ingredients until they’re combined into a smooth consistency. Enjoy!
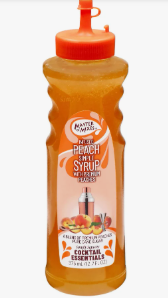
Note: You can find peach puree at most liquor stores because it’s used a lot in cocktails. This is the one that I used.
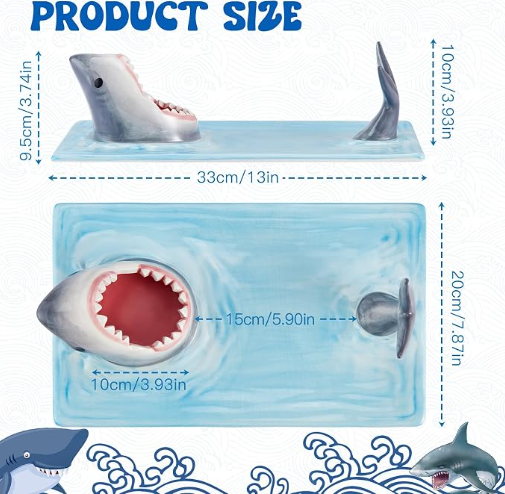
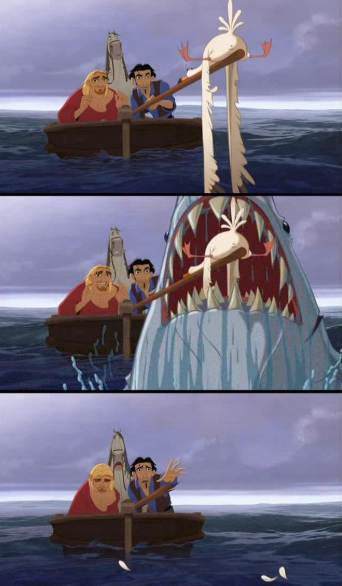
To serve this dish quickly, I recommend having the sauce already in the shark’s mouth dish. I also timed it so the wings would be done cooking when I was ready to start the movie. If you would rather make them in advance and reheat in the microwave, you can do that as well.
Catch of the Day
Fun Fact: El Dorado is a mythical city believed to have been located in South America. Specifically, where current-day Colombia is located.
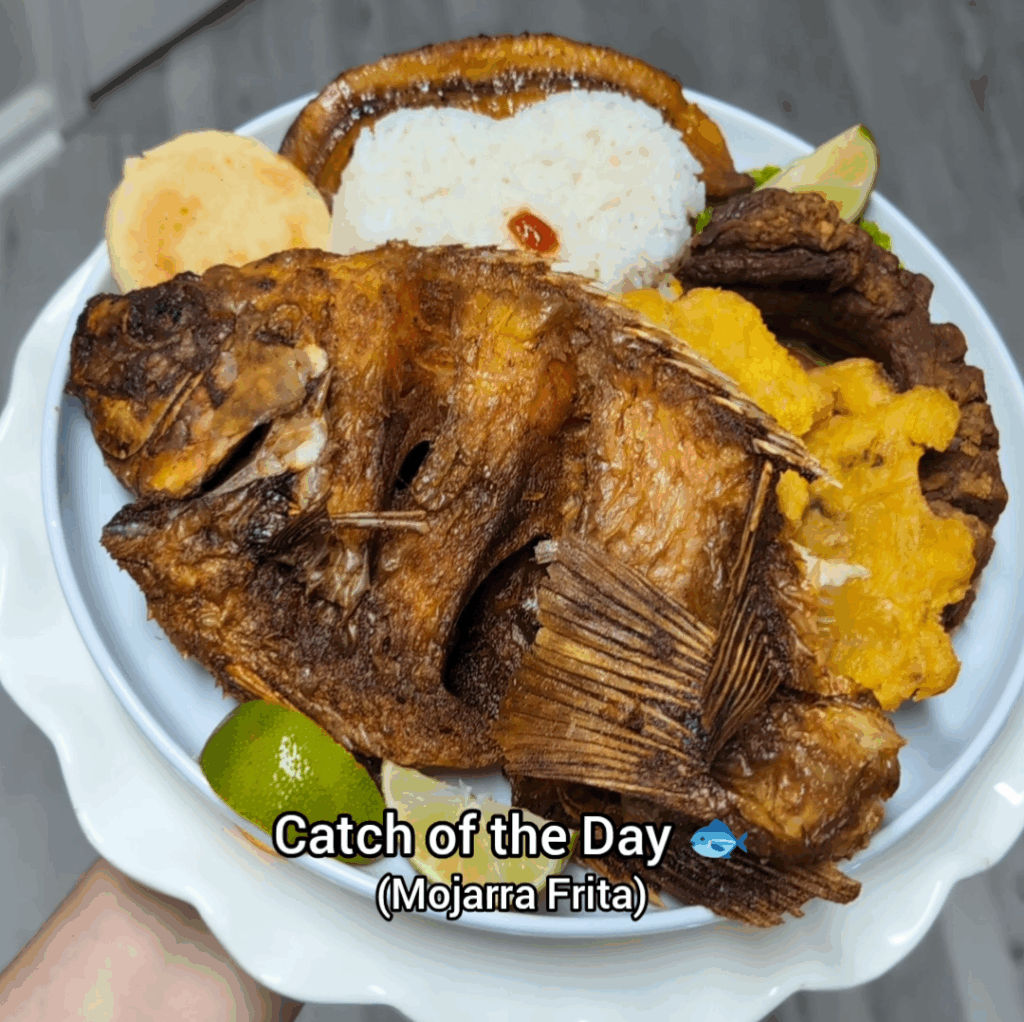
As a special nod to South America and Colombia, I wanted to serve a dish from the country. For this fishing scene, I decided to serve Mojarra Frita. Mojarra is a type of fish, like tilapia, and Frita means fried. You can use the recipe linked below if you would like to make the fish yourself, but I personally wanted to buy the dish from a local Colombian restaurant for the best authentic experience. I also ordered Chicharrón, which is on the plate as well. The fish also came with sides like rice, maduro (fried sweet plantain), tostones (fried green plantain), and an arepa.
It’s Tough To Be A God
To partake in the party with the gods, I served sangria with chopped-up apples and strawberries. I had the fruit on hand for other dishes, so I just used what I had. The “gods” are from Spain, so sangria fits nicely here as well. Feel free to buy premade sangria, or you can make it yourself. Just make sure to have it prepared already so you can serve the drinks quickly.
To Xibalba!
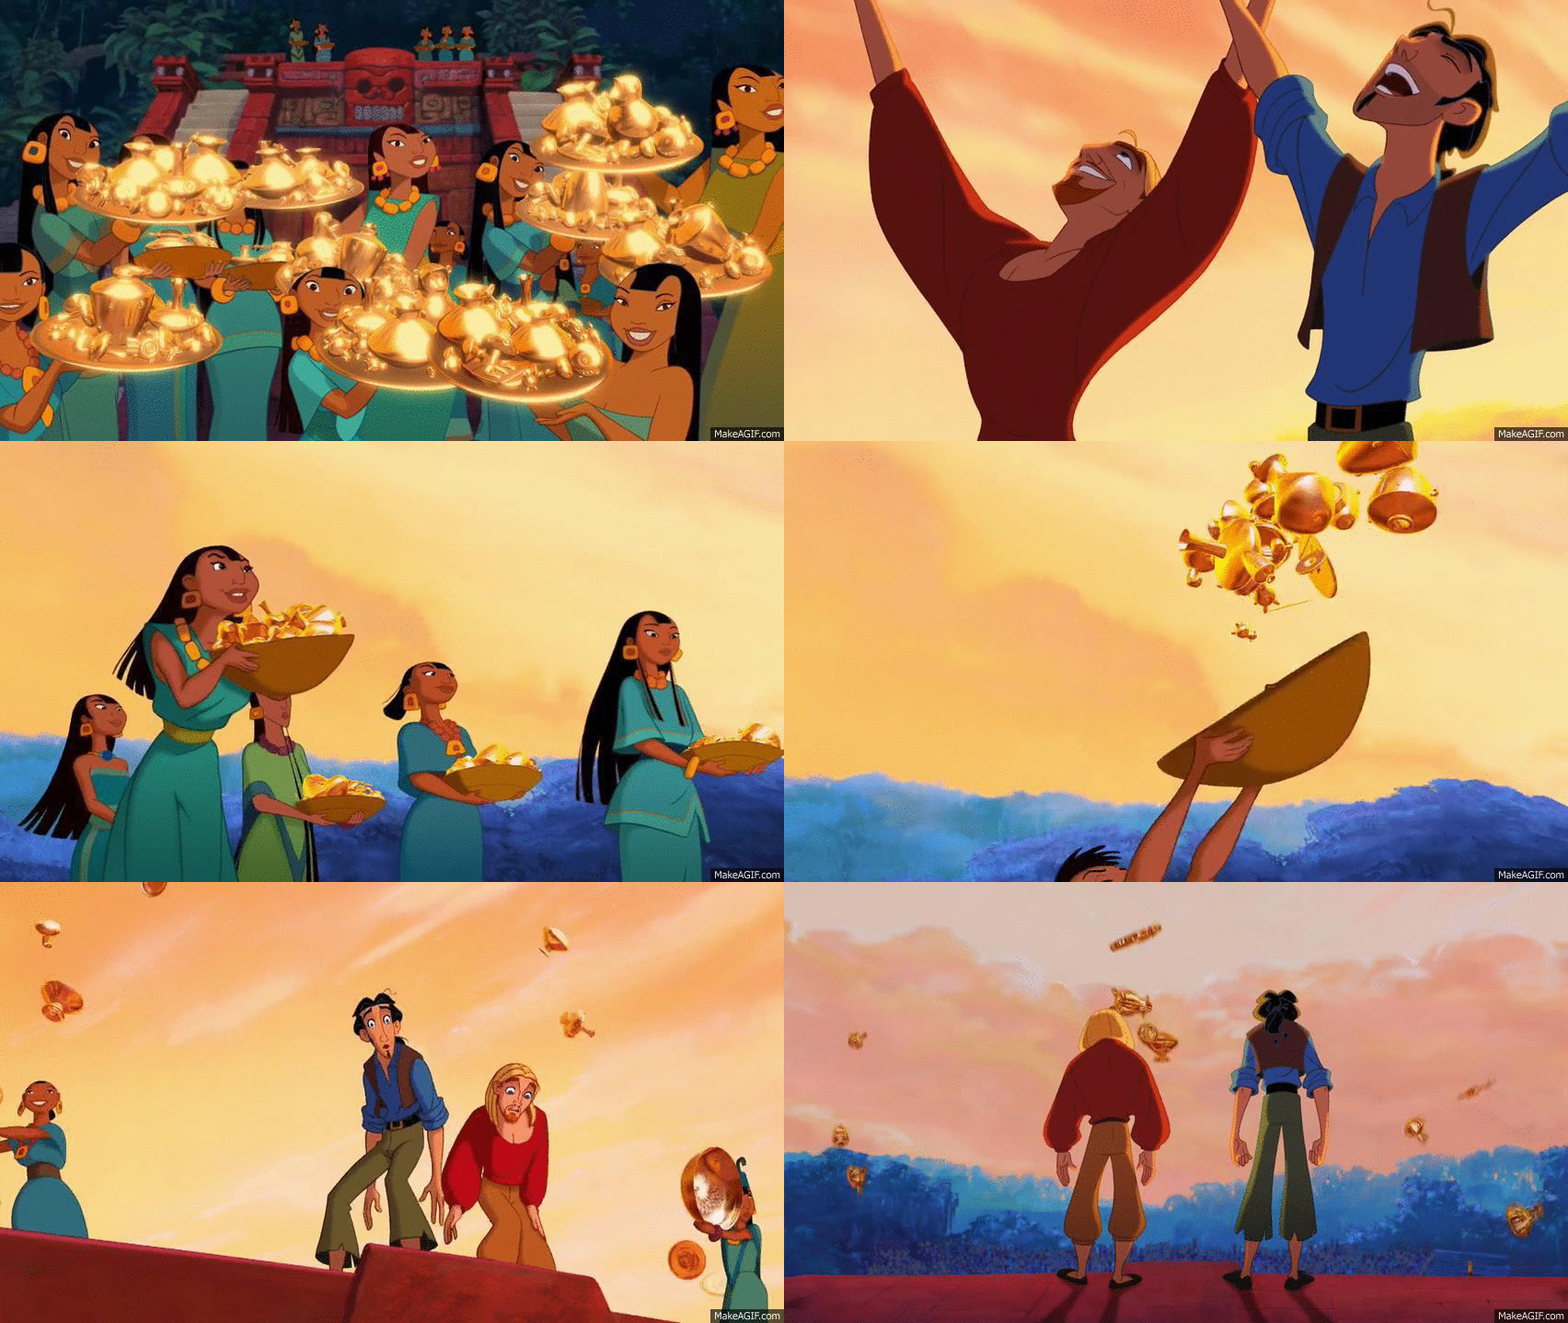
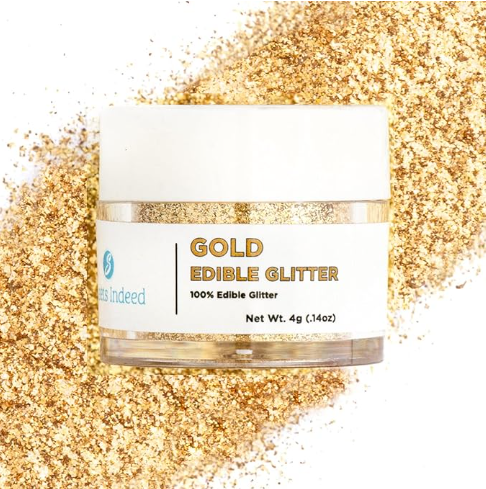
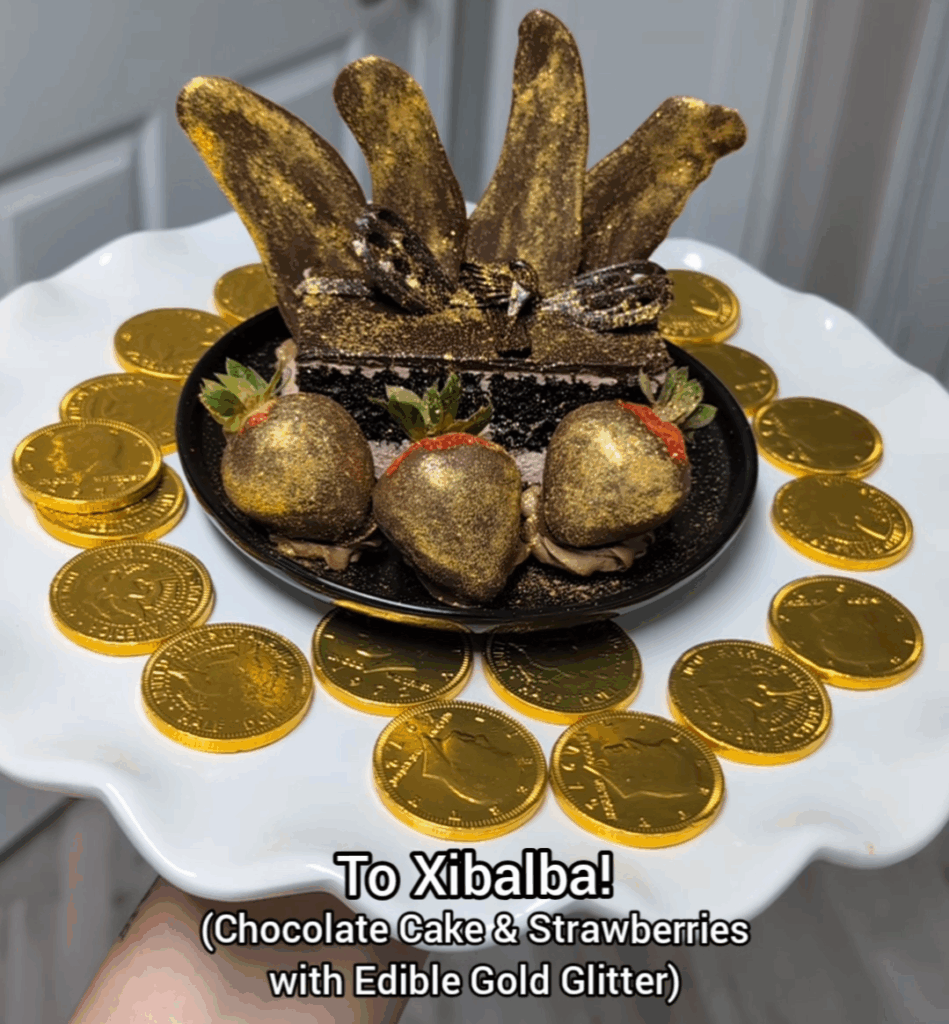
For this scene, I wanted the dish to be dripping in gold. I served a chocolate cake that I bought at the grocery store to save time, chocolate-covered strawberries, and chocolate molds to give shape to the dish and mimic the gold being thrown in the air and into the water. I used this edible gold glitter to cover everything with gold. To make the chocolate molds stand up and the strawberries stay in place, I used chocolate frosting as a base.
Chocolate Frosting Recipe– I used this frosting for this dish, as well as “The Luck of the Stallion” dish. You don’t need the full amount of the recipe, so I halved all the ingredients.
Chocolate Covered Strawberry Recipe– I used the leftover chocolate to make the chocolate molds. On a parchment paper-lined baking dish. Place a dollop of melted chocolate on the baking sheet and, using the back of a spoon, spread it out a few inches. You want it to still be thick enough so it doesn’t break when you pick it up. Place the baking sheet in your refrigerator or freezer so the chocolate can harden. It should only take about 5-10 minutes.
Make sure to assemble the dessert before starting the film and store it in your refrigerator. When it’s time to serve, you just have to grab it from your refrigerator quickly.
Pretty In Pink
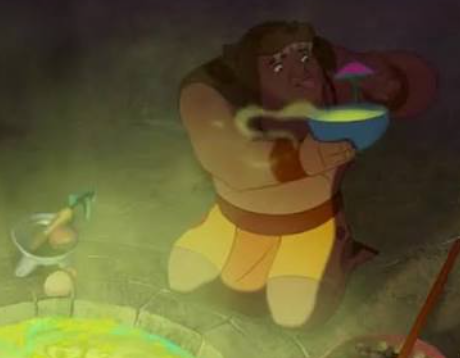
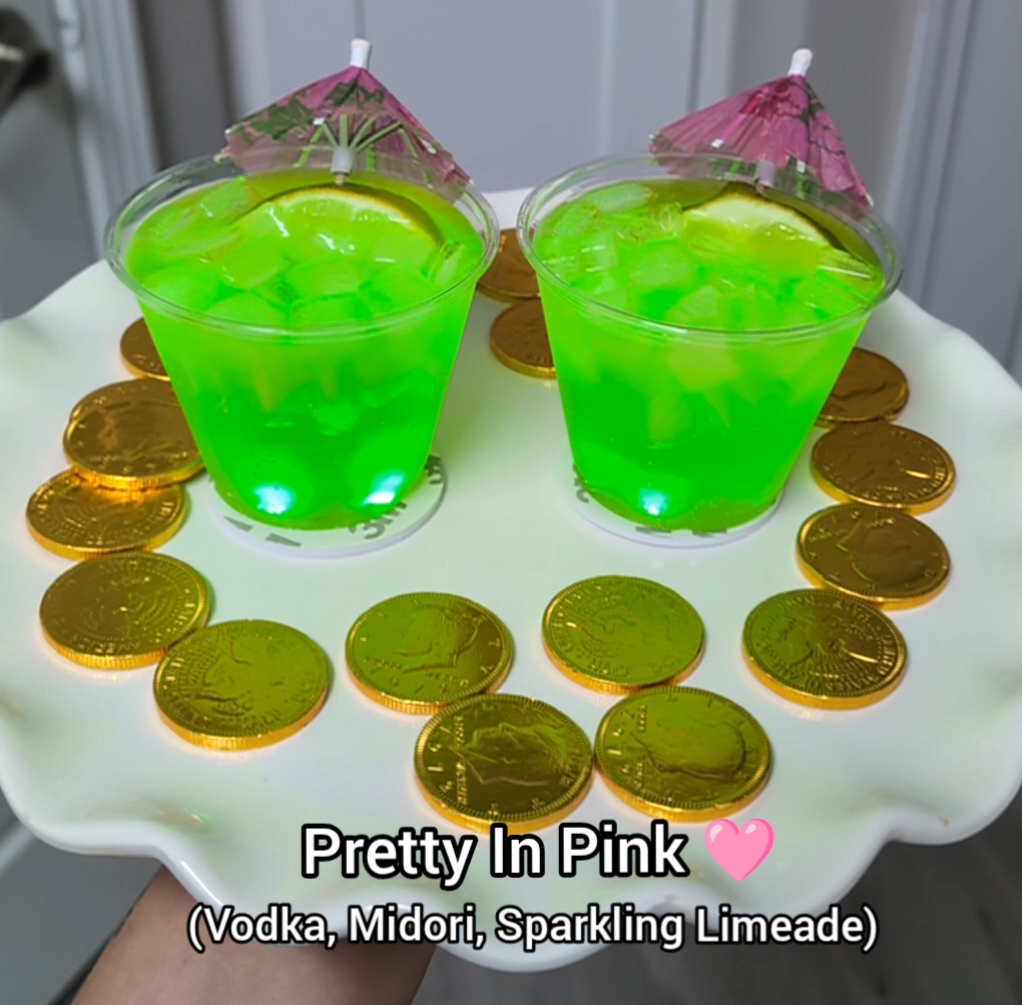
Recipe: (makes one)
2 oz of Vodka
1 oz of Midori
Sparkling Limeade on top
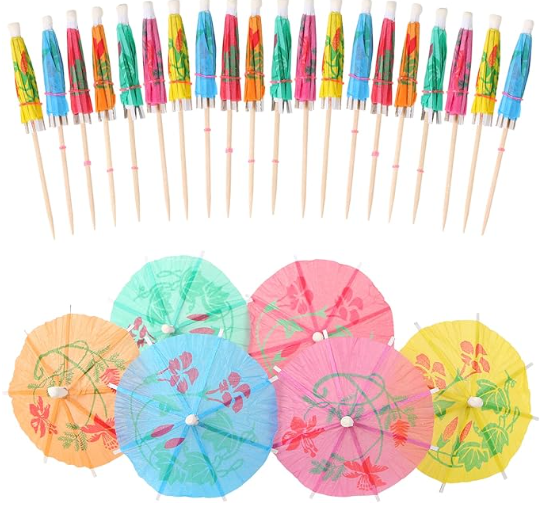
Lime wedge and Pink Cocktail Umbrella as garnish
To Assemble:
I premixed the vodka and Midori before the movie and stored it in my refrigerator. I also made the lime wedge garnish with the pink umbrella beforehand. This helped me save time when serving the drink.
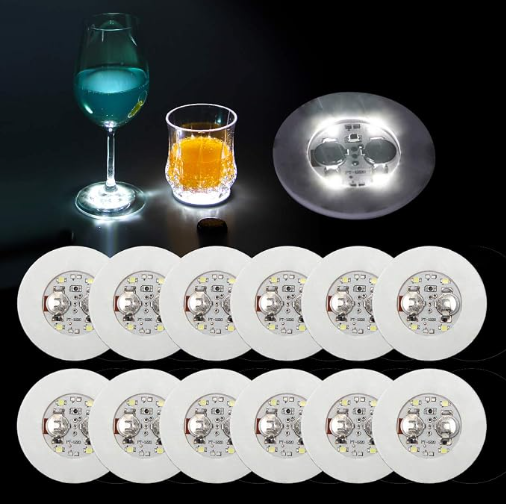
When it’s time to serve, add ice to your cups, and evenly pour the premix into your cups. Top the cup with sparkling limeade; I bought mine from Trader Joe’s. If you can’t get sparkling limeade, something like Sprite could work well too. Place your garnish on top and serve with these light coasters to make the drink glow.
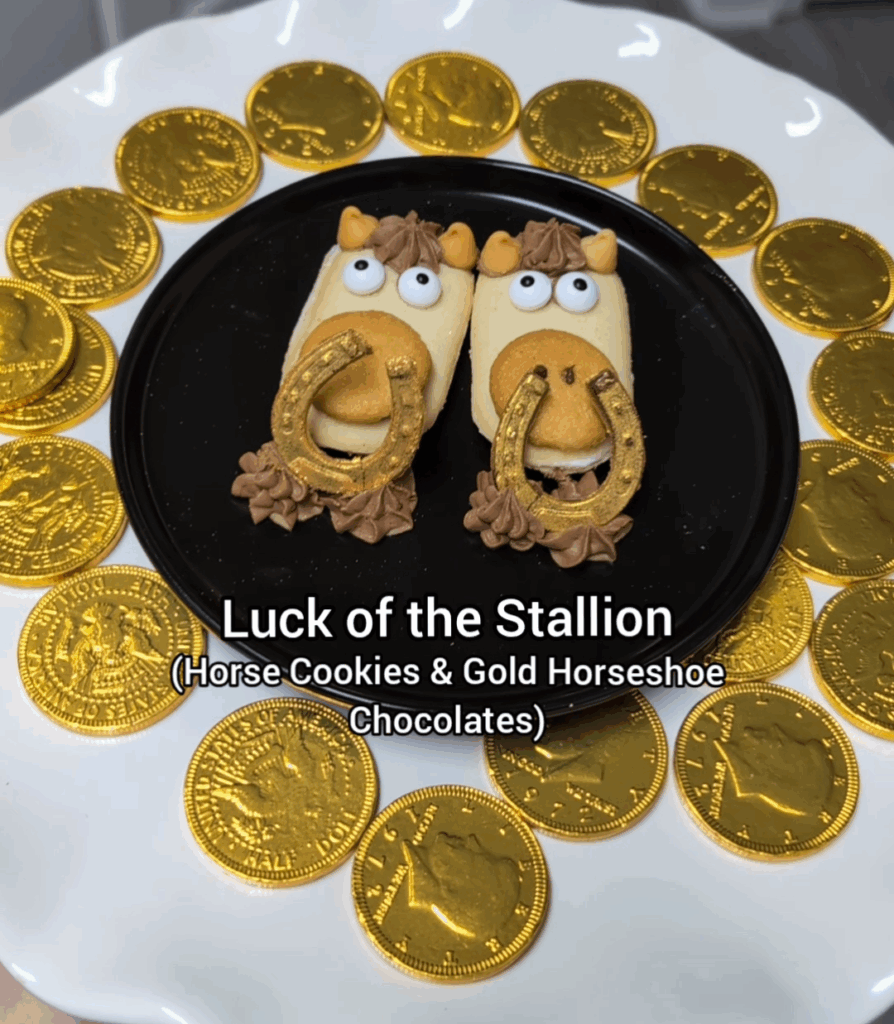
Luck of the Stallion
To make these horse cookies, you will need the following:
- Milano cookies (I used the coconut ones, but any will work)
- Mini Nilla Wafer cookies (for the snout)
- Leftover Chocolate frosting (from the “To Xibalba!” recipe)
- Leftover Melted Chocolate (from the “To Xibalba!” recipe)
- Candy eyes (You can find these at a craft store in the baking section)
- Butterscotch Chips (for the ears)
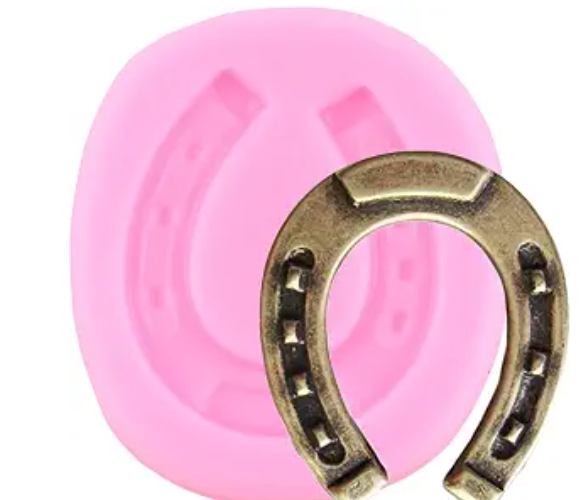
- Horseshoe Silicone Mold
- Edible Gold Glitter
To make the gold horseshoe, first add the gold glitter to the horseshoe mold and then add the melted chocolate on top. Scrape away any excess chocolate and place the mold in the freezer for about 10 minutes. When it’s hardened, very gently pop the chocolate out of the mold. The silicone is very shallow, so unfortunately mine snapped in half every time. You can see where, if you look closely at the picture. I didn’t stress it, though. I just placed it on the frosting to make it look like it was still attached.
To assemble the horse, use the frosting as “glue” for the ears, eyes, and nose. Also place a little dollop of frosting as the hair. To make it cute and clean-cut, I used a piping kit to make the dollop. For the nostrils, I used the melted chocolate to put two little dots on the snout.