Mean Girls
Culinary Movie Night Guide
Difficulty Level Hard
Table of Contents
Equipment
Here is a list (with links) of all the equipment and decorations I used for my Mean Girls Culinary Movie Night. I would be incredibly grateful if you used my links. I will make a little commission, and that would really help with the cost of the website and related expenses. You can find my full Amazon List here!
Kalteen Bar PDF Printout
Tips
- Personalizing the Menu– When planning your menu for your movie night, don’t feel pressured to serve exactly what I chose to serve. Feel free to remove/add/replace dishes so it makes sense for you and your guests. I’ve included an editable menu in this guide to make it your own!
- Managing Your Time– These movie nights can take a lot of time to prepare, especially if you plan on doing everything yourself. If you are planning a culinary movie night with a group, I suggest doing a potluck style. Have each person contribute a dish or two, and it’ll be very manageable. If you are planning on preparing everything yourself, here are some things I’ve learned while doing these often:
- Make A To-Do List– I can’t stress this enough! It’s very easy to forget simple things like opening a bottle of prosecco before you start the movie so you aren’t fumbling with the seal before serving. I have done this so many times! Your to-do list should include absolutely everything you need to do leading up to pressing play.
- Start Early– I learned this after a few very long days of trying to cook, prepare, and host all on the same day. Anything that can be done in advance should be done during the days leading up to the movie night. Some examples include pre-mixing cocktails, making desserts and other foods like soup that hold up well in the refrigerator, and pre-making any handmade decorations. Hosting is stressful enough without having to make a multi-course meal in one day, so get as much done as possible before.
- No Pausing– The question I get asked the most is “Do you pause the movie to bring out the next dish?”. It’s important to me that I don’t disrupt the flow of the movie, so I do not pause. It’s also important to me to enjoy the movie with my guests. Setting up everything I need before the movie helps me bring out each dish efficiently. The setup usually includes plating each dish and storing it in the refrigerator, so all I have to do is quickly microwave it before serving. I set out any garnish or decoration on my kitchen counter so it’s easily accessible. I even pour the cocktails into their cups and store them in the refrigerator, so all I have to do is add ice and any finishing touches before serving. Always think about how you can do the bare minimum during the film. I always include the setup in my to-do list as well, so I don’t forget about any aspect of the preparation.
- Optional– If your budget permits, I recommend ordering food that you may not be confident in cooking or food that may take a lot of time to cook. I do this occasionally, and it helps cut down the preparation time and supports local businesses. Win Win!
- Decorations- Have fun and decorate your space and serving tray! Add elements from the theme of the movie, but make a budget and stick to it! I usually use things I already own because these movie nights are DIY, and I don’t need to spend a fortune to make it fun. If I do buy decorations for the movie night, I try to find cheap or reusable things. If you are curious about some of the things I’ve used during the movie nights, here is a link to my Amazon List. All these items are things I bought with my own money and enjoyed using.
- Manage Stress- Culinary Movie Nights are fun and a great way to show your friends and family you love them. Sometimes, things you envision in your head will not come out perfectly. When this happens to me, it can be discouraging and stressful, but the people I do these for have NEVER expressed anything but appreciation. Go easy on yourself and remember that your guests are just happy to be there and to experience something you put so much thought and time into making.
Menu
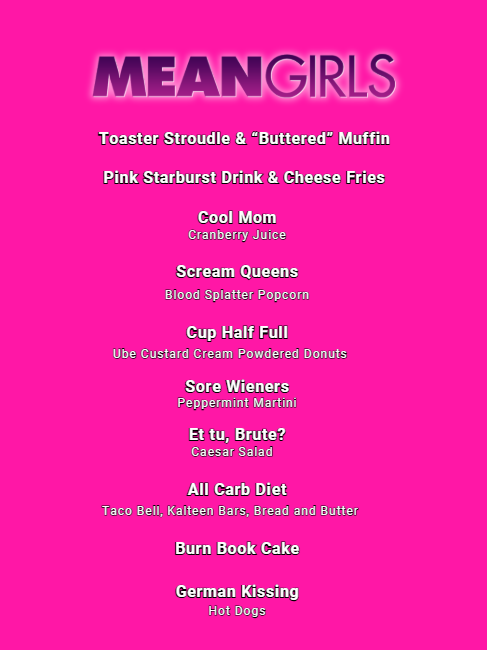
I have created a free, editable, and printable menu for all the dishes I served for this Culinary Movie Night! Feel free to change it to what will work for you and your guests.
Cues
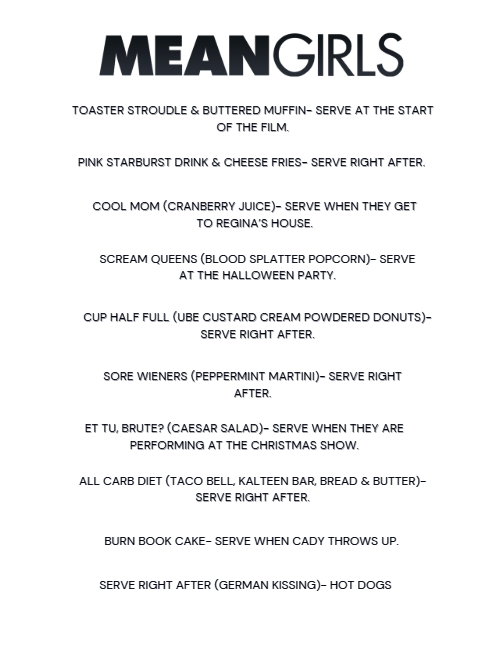
These are the cues I used during the movie night so I knew when I had to get the next dish ready to serve.
Please note: Each cue describes a scene that happens a few minutes before I have to serve the dish. It does not describe the scene the dish is based on. Some people get confused with that, so I thought I should specify. Because the cues only give you a few minutes to prepare the dish, it’s very important to have everything cooked and set up before the film starts. Review the “Tips” section above for ways to make this seamless.
I often get asked why I don’t use time stamps to keep track of when to serve the next dish and the simple answer is, I don’t find those helpful. If I used timestamps, I would have to have a separate timer going or keep disrupting the movie to check the timestamp. It makes much more sense to have cues to indicate when the next scene is about to happen. This allows me to enjoy watching the film with my guests.
Below is the link to the cues I used. This document is editable, so you can make updates if you decide to take out or change dishes.
Recipes
Toaster Strudel & “Buttered” Muffins
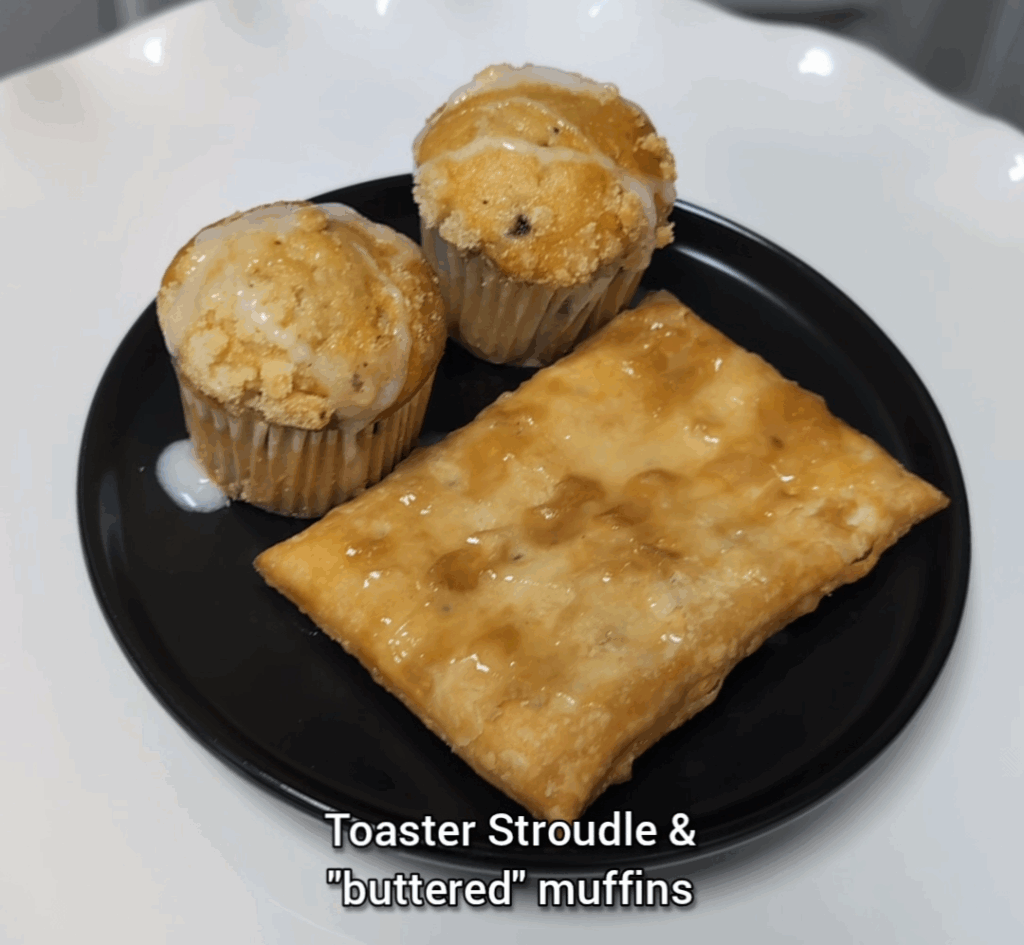
For this first dish, I combined the scene where we first see the Plastics and find out Gretchen’s dad invented Toaster Strudel and the scene where Cady is approached by Jason in the cafeteria, and he uses the cheesiest pickup line.
Because it’s the first dish, I made it fresh right before starting the movie. I toasted the toaster strudel and drizzled the icing it comes with on top. I also drizzled some on the mini muffins I bought from the grocery store.It’s not butter, but let’s be honest, we all knew what he was really talking about…
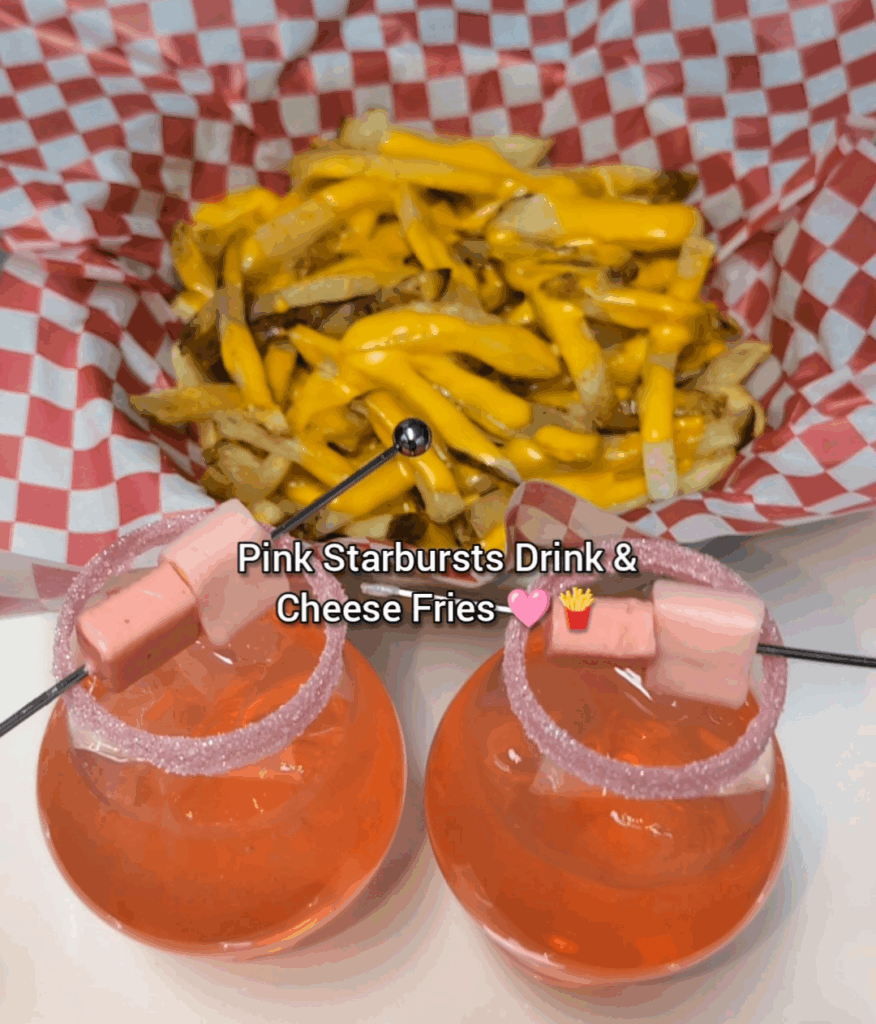
Pink Starburst Drink and Cheese Fries
For the Cheese Fries, I used frozen fries that I baked in the oven until crispy.
For the cheese sauce, I made a very simple sauce using a package of Kraft American cheese, and some milk.
- Start by adding 2 tbsp of milk and two slices of cheese to a saucepan and stir often until the cheese melts. Keep adding more cheese, and if the sauce gets too thick, add another 2 tbsp of milk. Continue this process until you run out of cheese. The consistency should be a thick sauce that is still runny enough to drizzle on top of the fries.
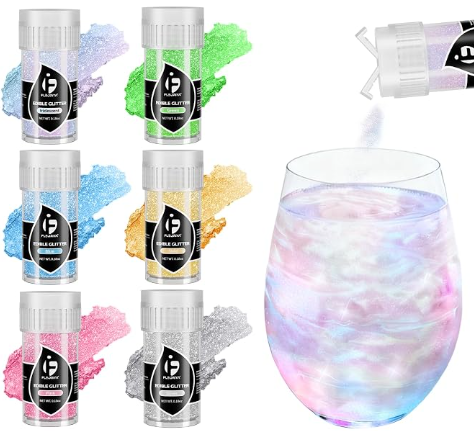
To serve fast, I had the cocktail already premixed, and I had my pink sugar topping with this pink edible glitter already set up. I also had a separate plate with light corn syrup set up and a cocktail pick with the starburst. Basically, it’s really important to have all the pieces in place so you can build the dish fast.
Keep the already made cheese sauce in the pot too. It will harden, but you can very quickly reheat it before serving. I also had the fries being kept warm in the oven.
When it was time to serve, I turned the burner back on to warm up the cheese sauce, and while that was warming, I set up the cocktails. Dip the glass rims in the corn starch, then the pink glitter sugar. Next add ice and pour the premade cocktail mix in you glasses. Finish with a starburst garnish.
Then add the warm fries to a serving dish, pour half the cheese sauce, add another layer of fries, and the rest of the cheese sauce on top.
I know it sounds like a lot, but because I had all the pieces ready to go, it only took a few minutes.
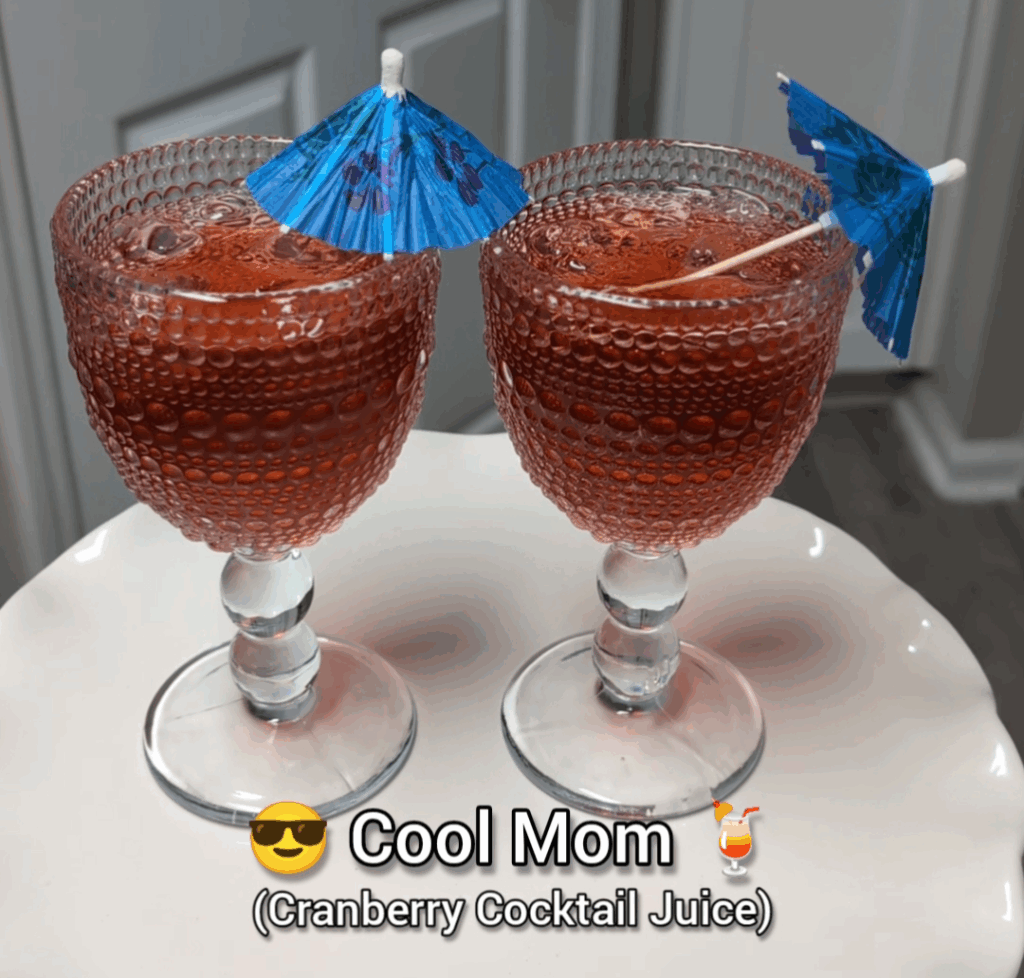
Cool Mom
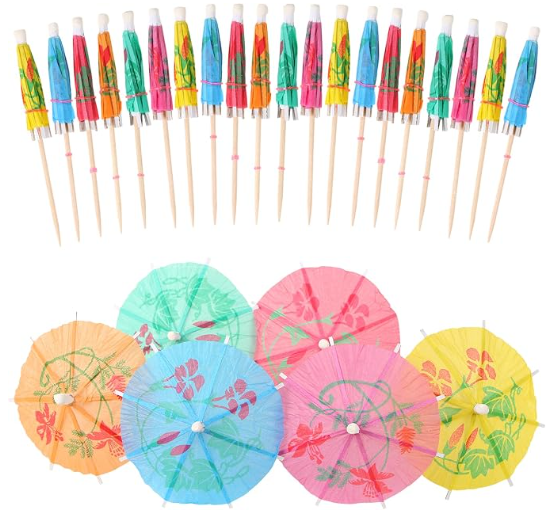
This is an easy one to serve and even easier if you have the glasses and umbrellas already set up before you start the film.
For the drink, I served Cranberry Cocktail Juice. Later in the movie, Regina is drinking a big bottle of it, thinking it would help her lose weight, so that lore makes me think it’s exactly what the mom would serve at home.
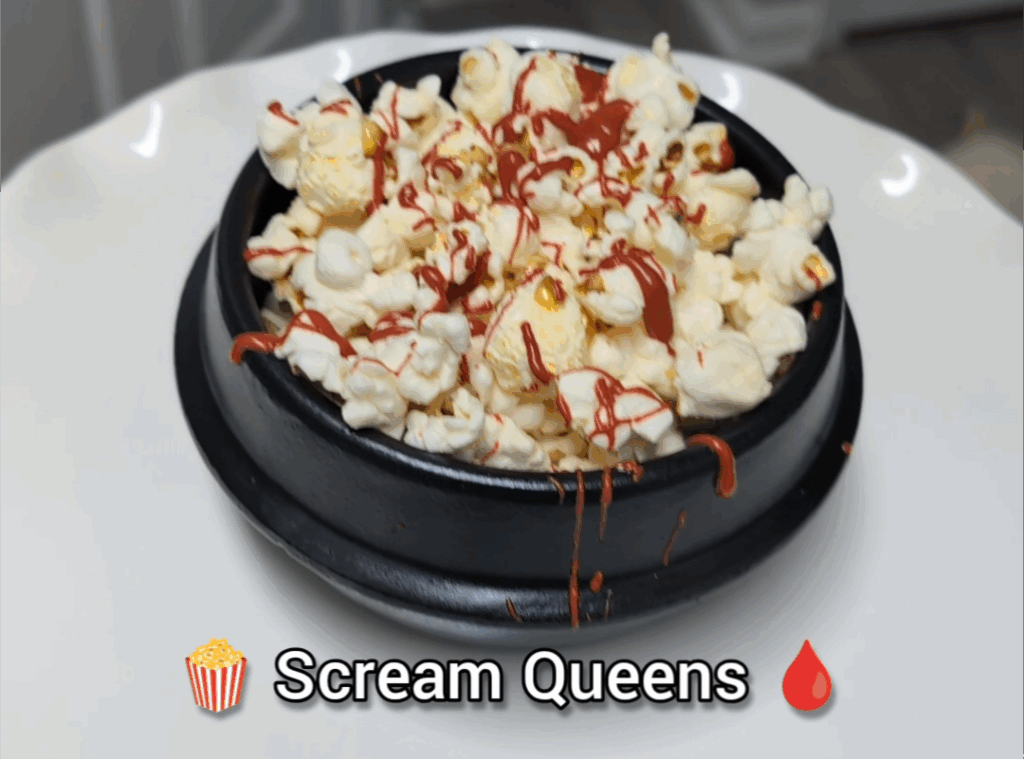
Scream Queens
This is another easy dish to serve, and I had it already set up before starting the film. I bought a bag of premade popcorn, and for the blood splatter, I used red melting chocolates. You can get them from the craft store in the baking section, and they melt down really well.
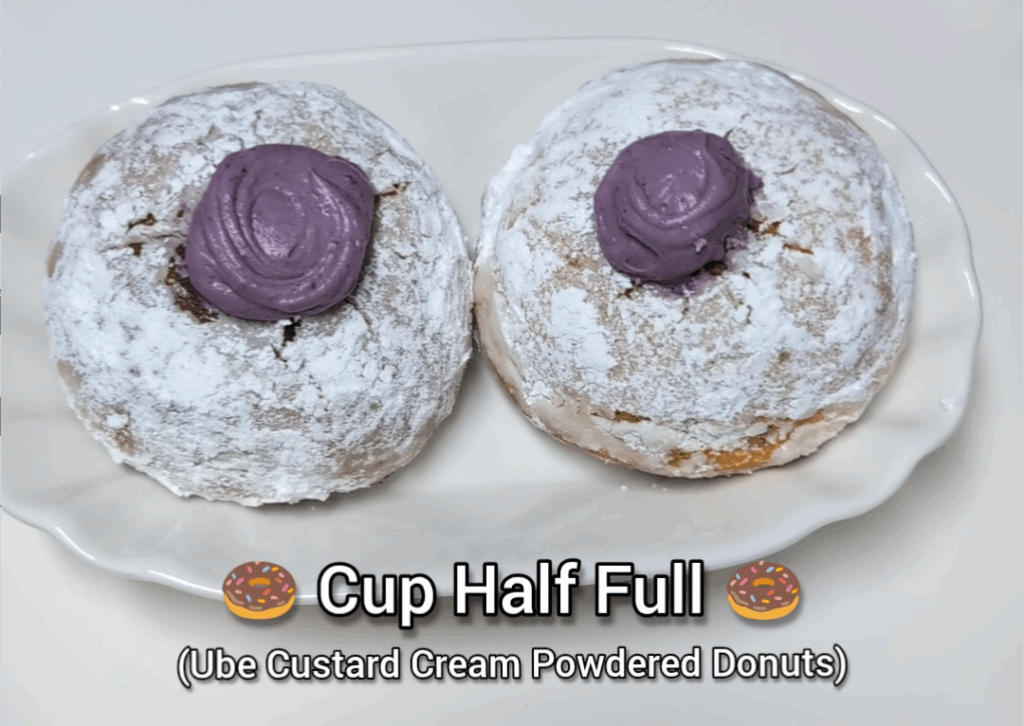
Cup Half Full
For this iconic scene, I decided to serve Ube Custard Cream Powdered Donuts.
Donut Recipe:
Ingredients:
1/2 cup of milk
3/4 cup of warm water
2 and 1/4 teaspoons of instant yeast
1 egg
A dash of vanilla extract
3 tablespoons of melted butter
1/3 cup of sugar
3 cups of flour
Powdered sugar
Instructions:
- Start by adding the milk to the warm water. Add the instant yeast to the liquid. Give it a mix and cover with a damp towel or cloth for 10 minutes.
- After 10 minutes, add the mixture to a bowl. Then add the egg, vanilla extract, butter, sugar, and flour.
- Mix everything together, and when it becomes too tough, start kneading it with your hand while still in the bowl. Shape the dough into a ball in the bowl and cover it with a damp towel or cloth. Let it sit on your counter for 2 hours. The dough will double in size.
- Once the dough rises, flour your counter, place the dough on top, and flour the top of the dough as well.
- Roll out the dough and use an upside down cup to cut it into circles.
- Add about an inch of frying oil to a pot and heat it to medium-high heat.
- Place your dough in the hot oil, making sure not to overcrowd them. Fry them for a few minutes until the bottom becomes golden brown. Then flip them and repeat.
- Remove the donuts from the oil and cover with a generous amount of powdered sugar.
Ube Custard Cream Recipe:
Ingredients:
4 egg yolks
1/2 cup of heavy cream
1 cup of milk
1/2 cup of sugar
1/4 cup of cornstarch
3 tbsp of butter
Vanilla Bean, scrape the inside to remove the vanilla
1 cup of Cool Whip
Instructions:
- Add milk, heavy cream, and vanilla bean to a saucepan. Heat on medium-high heat and bring to a simmer. Make sure to stir often so the milk doesn’t burn.
- In a separate bowl, add the egg yolks and sugar. Mix well. Then add the cornstarch and mix well.
- When the milk comes to a simmer, remove from the heat and very slowly pour the milk into the egg mixture while constantly stirring. This is called tempering the eggs, and it’s important to do it very slowly while stirring vigorously so the eggs don’t overheat and turn into a scramble.
- Once everything is combined, add it back to the saucepan and heat on medium heat. Stir consistently while it heats and thickens. It should take about 10-15 minutes to thicken.
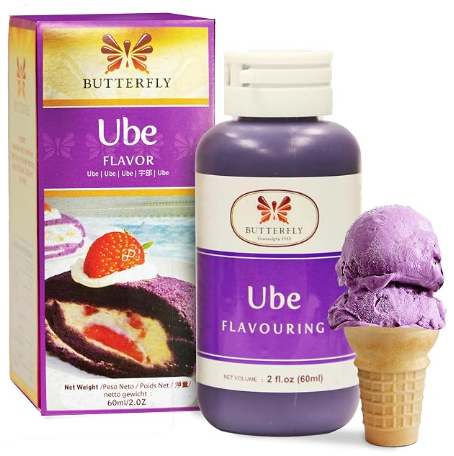
- Once thickened, remove from the heat and stir in the butter and about a tsp of the ube flavoring. Add the custard to an airtight container and refrigerate overnight or at least a few hours.
- The next day, fold in the Cool Whip, and the filling is ready to pipe into the donuts.
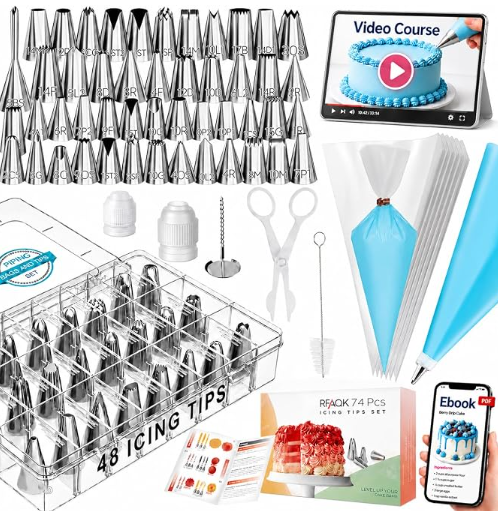
- Add the filling to a piping bag and firmly stick the tip of the bag into the center of the donuts. Fill them up and add a little extra swirl on top.
Sore Wieners
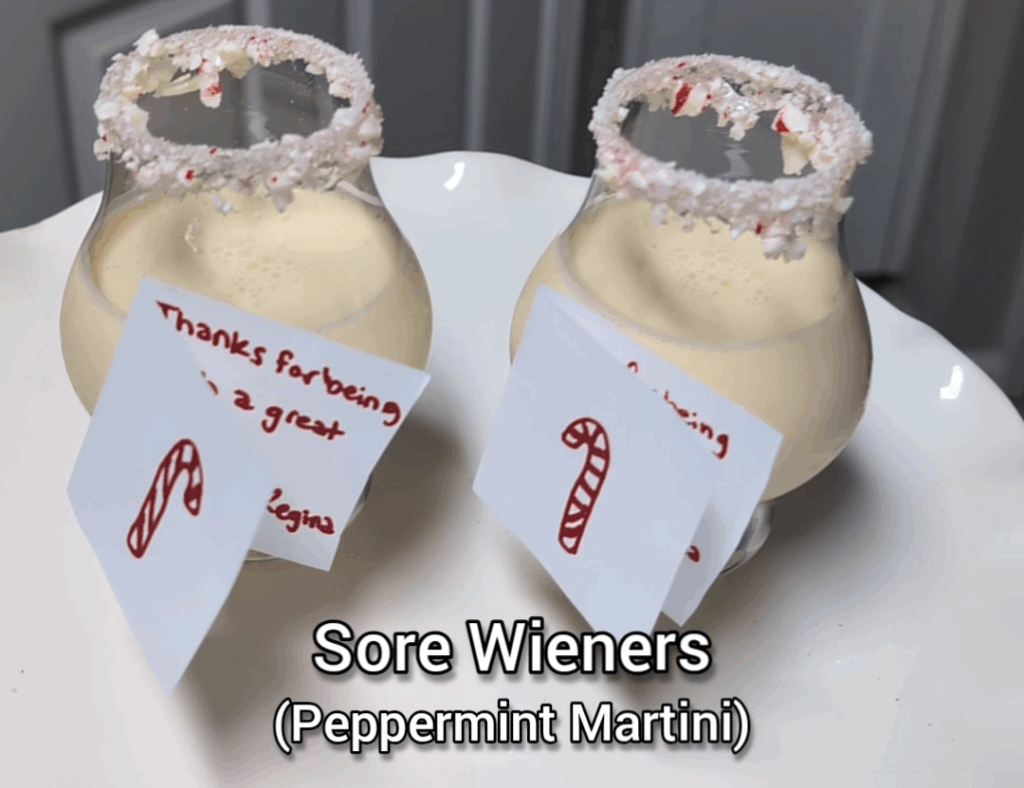
To serve quickly, I suggest having the cocktail premixed and the glass with the candy can rim premade. That way you can just shake the cocktail and pour it into your prepared glass.
To make the drink more on theme, I taped a little note to the glass.
“Thanks for being such a great fan, Love Regina”
Et tu, Brute?
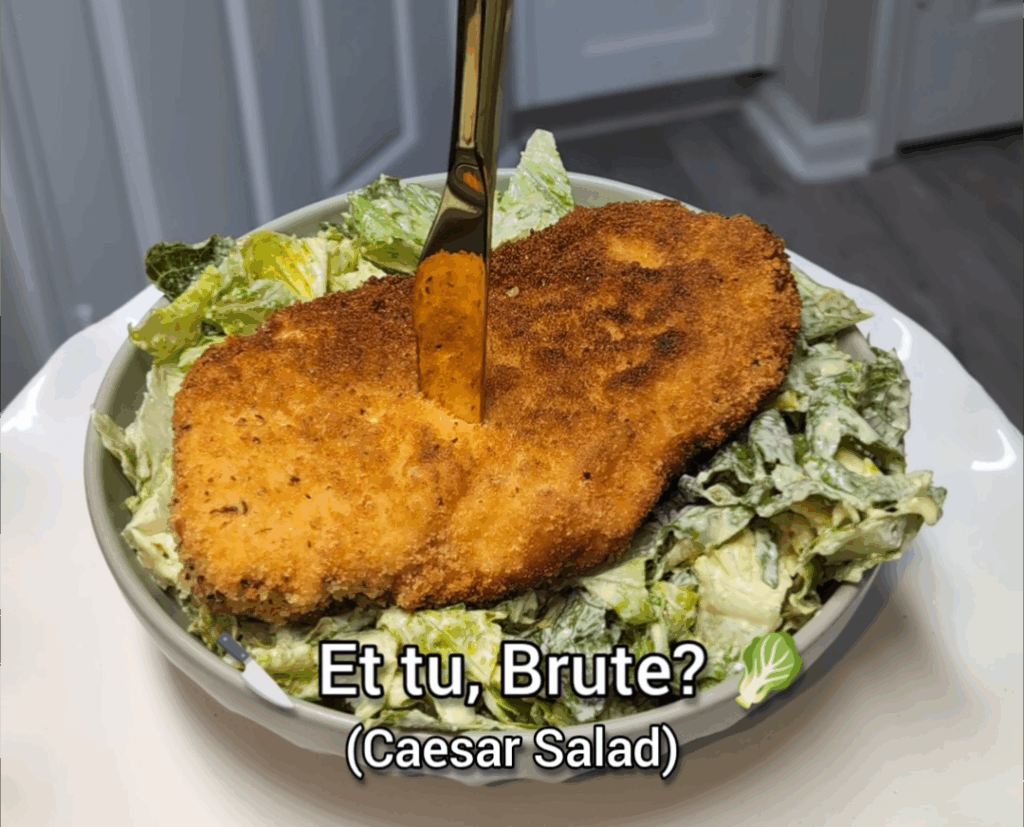
To make a simple crispy chicken, I tenderized chicken breast by hitting it with the back of my knife to thin it out. I then set up three dishes for dipping.
In the first dish I added a cup of flour and about a tablespoon of adobo all-purpose seasoning. Mix that up and set it aside.
Then add 4 eggs in another dish and whisk to scramble them well.
In the last dish, add Italian seasoned bread crumbs.
Heat frying oil in a pan and dip the chicken breast in the flour mixture. Then in the egg mixture, and lastly in the breadcrumb mixture. This method leaves a nice thick crust on the chicken.
Fry the chicken for a few minutes on each side. The crust will become golden brown.
To serve, I suggest making the chicken in advance and then reheating it in the oven. I also suggest having the dressing separate until you’re ready to serve so the lettuce doesn’t get soggy.
I had the Crispy chicken staying warm in my oven, and I had the lettuce prechopped and stored in my fridge. Place a paper towel on top of the lettuce to manage the moisture.
To serve, add the dressing to the prechopped lettuce and mix. Then add the chicken on top and stab it with a knife for the ultimate effect.
All Carb Diet
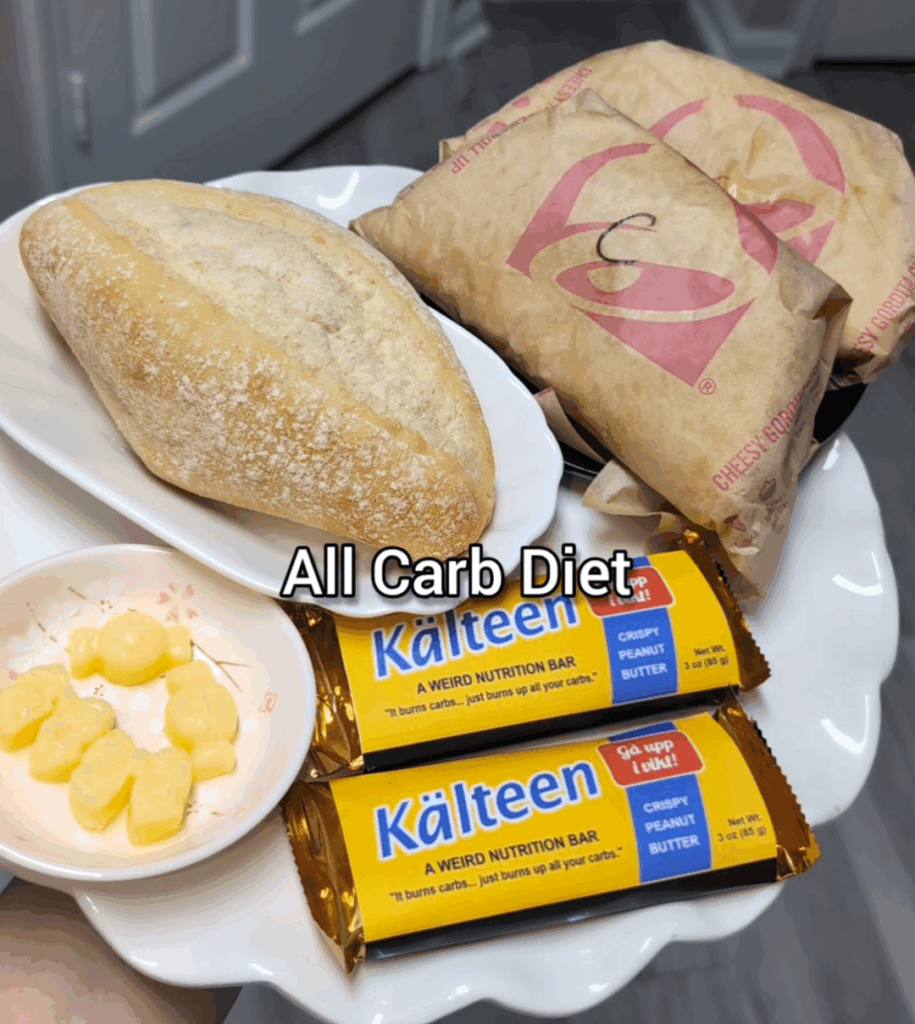
For this dish, I served a small roll with butter pieces, Taco Bell, and Twix bars that I taped a Kalteen bar label to. See the PDF in the Equipment section above for the printout. I chose a Twix bar because the Kalteen bar in the movie had a gold wrapper.
I recommend having all this plated before starting the movie so you can serve quickly.
Burn Book Cake
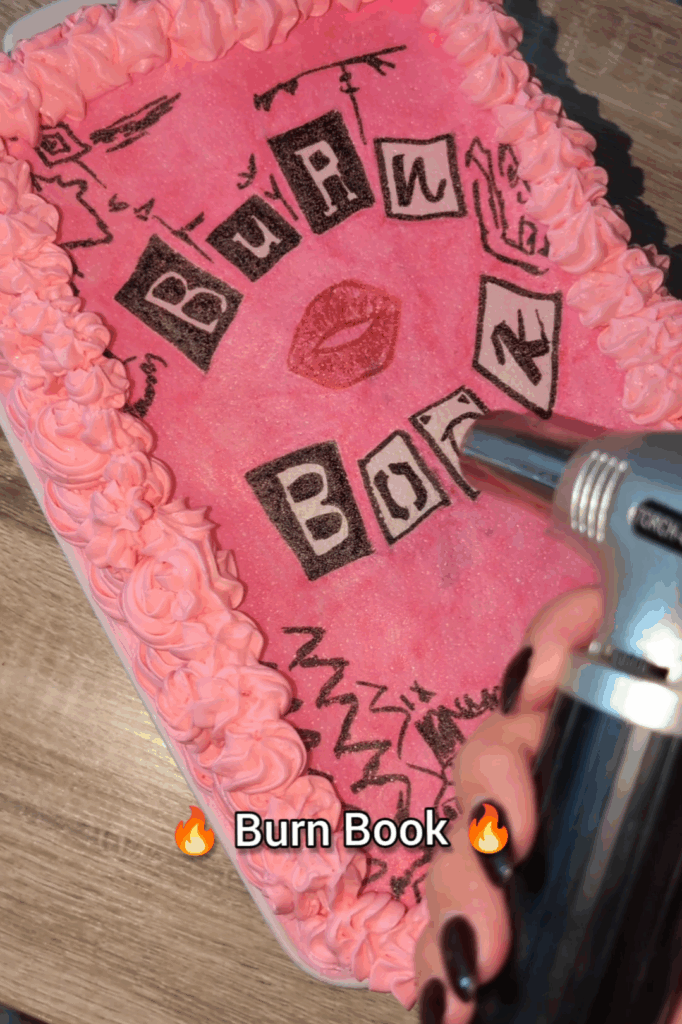
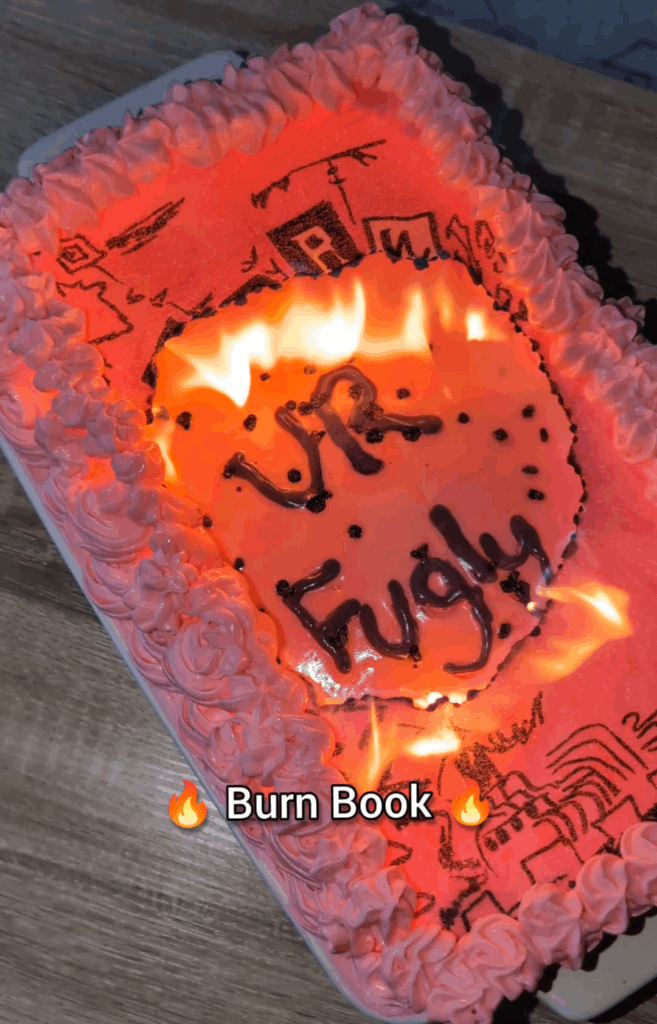
The burn book is a motif throughout the film, so I thought it would be really cool to make a burn book cake that actually burns and reveals an insult within. But I took it a step further and baked in rainbow and smile sprinkles because that is another really funny scene from the movie.
Pink Frosting Recipe– I recommend doubling the recipe because you need a lot of frosting to create elevation to put the wafer paper so it doesn’t touch underneath the cake.
Sprinkle Recipe– I separated the mixture into 6 bowls for purple, blue, orange, yellow, red, and green. Make sure to leave a little extra for the yellow because you need that for the smiley faces too. Add the sprinkles to the batter.
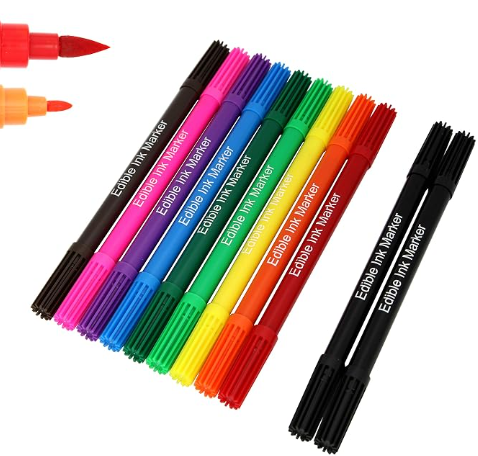
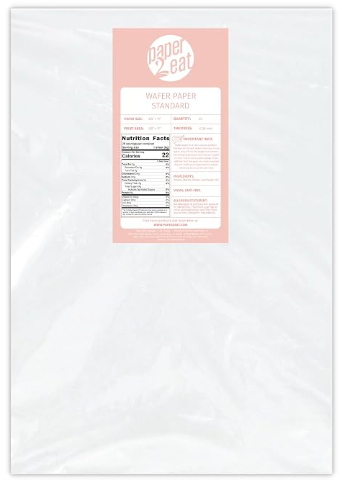
To make the burn-away paper, I used these edible ink markers and this edible wafer paper.
This is simple, but there are a lot of steps involved, so I will be posting a short video showing how I did everything. Stay Tuned!
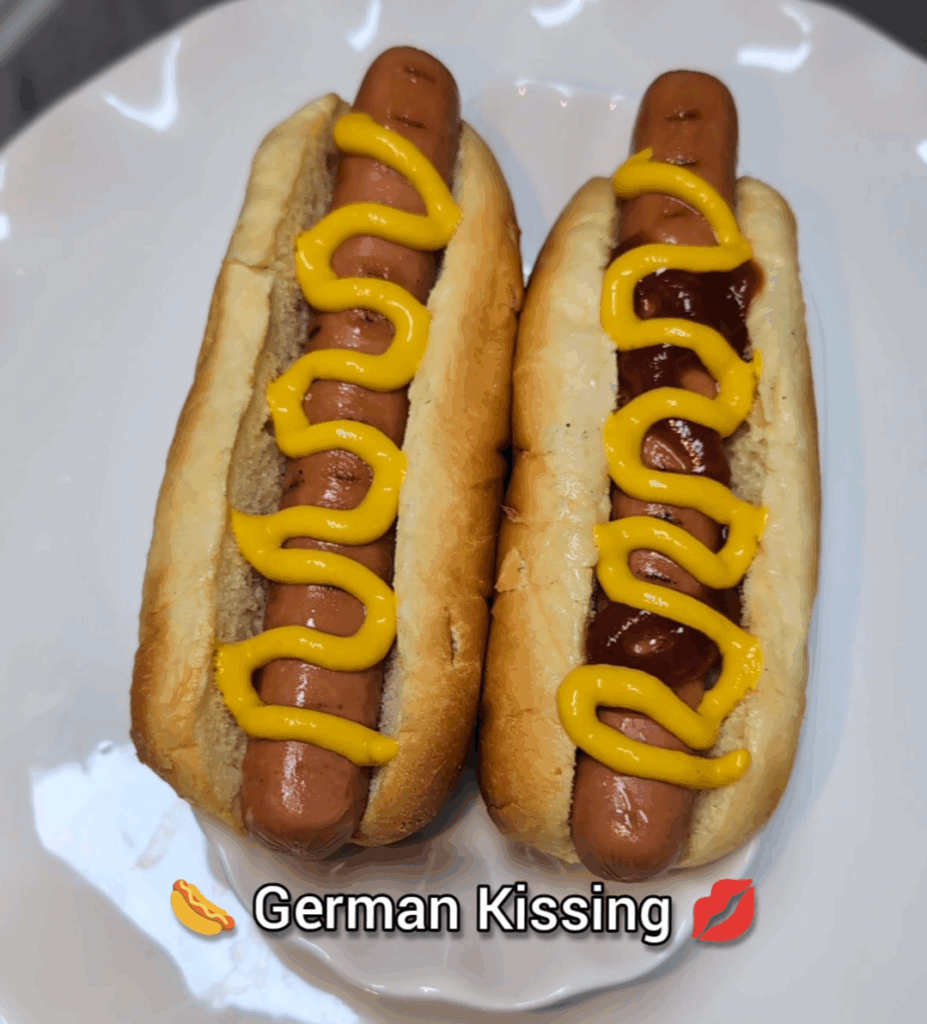
German Kissing
For this last scene, I served a simple hot dog. Nothing complicated because I’m always trying to keep my life easier.
To serve them fast, I recommend having the hot dogs sitting in warm water in a heat-preserving container. Then you can just remove them from the container, place them on a bun, and add any topping you’d like.