Lilo & Stitch
Culinary Movie Night Guide
Difficulty Level: Medium

Table of Contents
Equipment
Here is a list (with links) of all the equipment and decorations I used for my Lilo & Stitch Culinary Movie Night. I would be incredibly grateful if you used my links. I will make a little commission, and that would really help with the cost of the website and related expenses. You can find my full Amazon List here!
- Grass Table Decoration- Click Here for Link
- Lei variety pack- Click Here for Link
- Bubbles for Abominable Little Devil- Click Here for Link
- Piping kit for deviled eggs- Click Here for Link
- Mini Water Guns- Click Here for Link
- Mini Baby Bottles- Click Here for Link
Tips
- Personalizing the Menu– When planning your menu for your movie night, don’t feel pressured to serve exactly what I chose to serve. Feel free to remove/add/replace dishes so it makes sense for you and your guests. I’ve included an editable menu in this guide to make it your own!
- Managing Your Time– These movie nights can take a lot of time to prepare, especially if you plan on doing everything yourself. If you are planning a culinary movie night with a group, I suggest doing a potluck style. Have each person contribute a dish or two, and it’ll be very manageable. If you are planning on preparing everything yourself, here are some things I’ve learned while doing these often:
- Make A To-Do List– I can’t stress this enough! It’s very easy to forget simple things like opening a bottle of prosecco before you start the movie so you aren’t fumbling with the seal before serving. I have done this so many times! Your to-do list should include absolutely everything you need to do leading up to pressing play.
- Start Early– I learned this after a few very long days of trying to cook, prepare, and host all on the same day. Anything that can be done in advance should be done during the days leading up to the movie night. Some examples include pre-mixing cocktails, making desserts and other foods like soup that hold up well in the refrigerator, and pre-making any handmade decorations. Hosting is stressful enough without having to make a multi-course meal in one day, so get as much done as possible before.
- No Pausing– The question I get asked the most is “Do you pause the movie to bring out the next dish?”. It’s important to me that I don’t disrupt the flow of the movie, so I do not pause. It’s also important to me to enjoy the movie with my guests. Setting up everything I need before the movie helps me bring out each dish efficiently. The setup usually includes plating each dish and storing it in the refrigerator, so all I have to do is quickly microwave it before serving. I set out any garnish or decoration on my kitchen counter so it’s easily accessible. I even pour the cocktails into their cups and store them in the refrigerator, so all I have to do is add ice and any finishing touches before serving. Always think about how you can do the bare minimum during the film. I always include the setup in my to-do list as well, so I don’t forget about any aspect of the preparation.
- Optional– If your budget permits, I recommend ordering food that you may not be confident in cooking or food that may take a lot of time to cook. I do this occasionally, and it helps cut down the preparation time and supports local businesses. Win Win!
- Decorations- Have fun and decorate your space and serving tray! Add elements from the theme of the movie, but make a budget and stick to it! I usually use things I already own because these movie nights are DIY, and I don’t need to spend a fortune to make it fun. If I do buy decorations for the movie night, I try to find cheap or reusable things. If you are curious about some of the things I’ve used during the movie nights, here is a link to my Amazon List. All these items are things I bought with my own money and enjoyed using.
- Manage Stress- Culinary Movie Nights are fun and a great way to show your friends and family you love them. Sometimes, things you envision in your head will not come out perfectly. When this happens to me, it can be discouraging and stressful, but the people I do these for have NEVER expressed anything but appreciation. Go easy on yourself and remember that your guests are just happy to be there and to experience something you put so much thought and time into making.
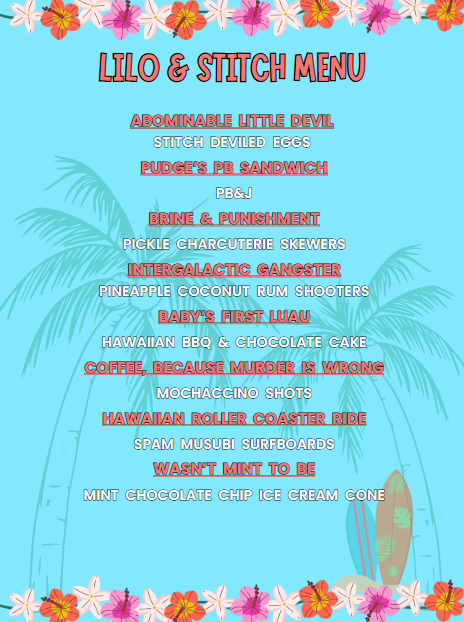
Menu
I have created a free, editable, and printable menu for all the dishes I served for this Culinary Movie Night! Feel free to change it to what will work for you and your guests.
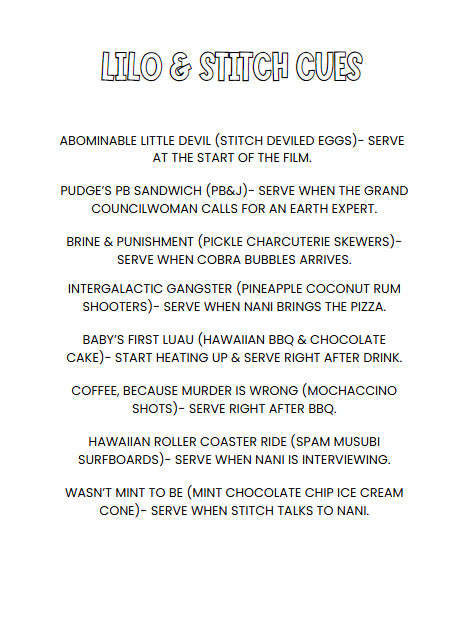
Cues
These are the cues I used during the movie night so I knew when I had to get the next dish ready to serve.
Please note: Each cue describes a scene that happens a few minutes before I have to serve the dish. It does not describe the scene the dish is based on. Some people get confused with that, so I thought I should specify. Because the cues only give you a few minutes to prepare the dish, it’s very important to have everything cooked and set up before the film starts. Review the “Tips” section above for ways to make this seamless.
I often get asked why I don’t use time stamps to keep track of when to serve the next dish and the simple answer is, I don’t find those helpful. If I used timestamps, I would have to have a separate timer going or keep disrupting the movie to check the timestamp. It makes much more sense to have cues to indicate when the next scene is about to happen. This allows me to enjoy watching the film with my guests.
Below is the link to the cues I used. This document is editable, so you can make updates if you decide to take out or change dishes.
Recipes
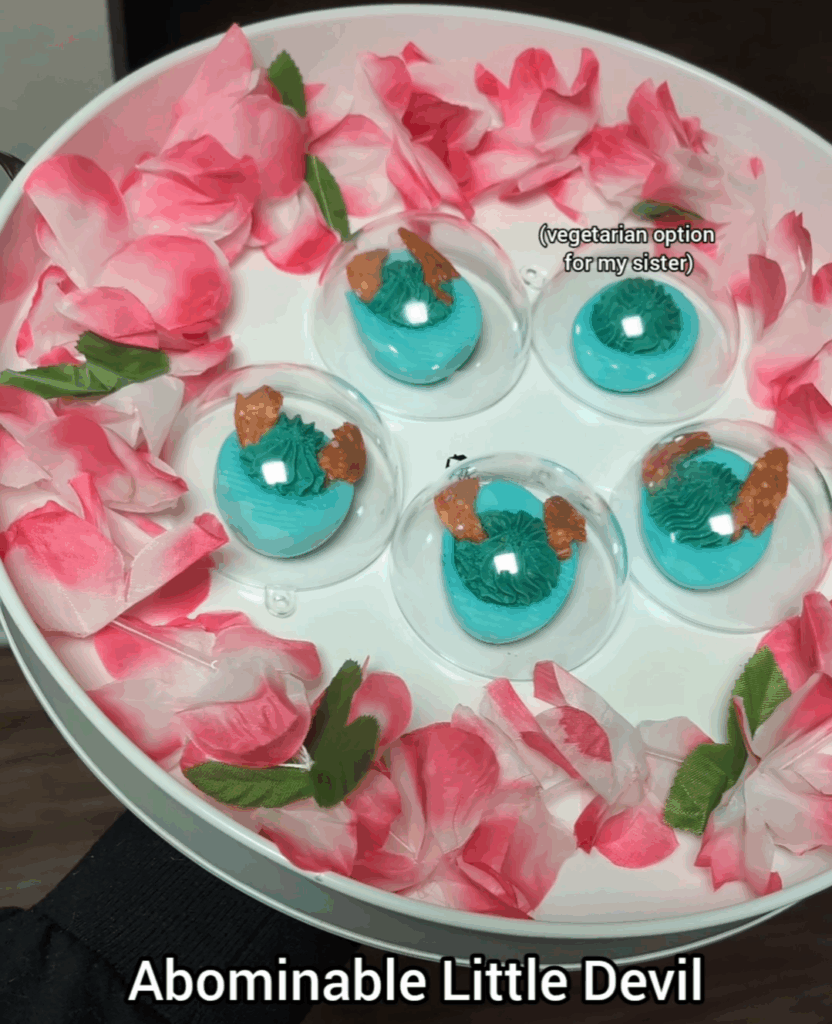
Abominable Little Devil
Ingredients- Makes 12 deviled eggs
6 hard-boiled eggs
Blue food coloring
Ingredients for filling:
6 hard-boiled egg yolks
2 ½ tbsp of mayo
2 tsp of pickle juice
1 tsp of sugar
1 tsp of yellow mustard
Salt and pepper, to taste
Blue food coloring
Pepperoni for Stitch Ears
Instructions:
Hard boiled eggs– Fill a medium pot halfway full with water and bring to a boil. Once boiling, add your 6 eggs to the pot. I like to use a large spoon and gently/ slowly submerge each egg one by one so it doesn’t get shocked by the hot water and crack. Cook your eggs in boiling water for 11-12 minutes. Do not cook longer or your yolks will start turning green. Take your cooked eggs out of the pot with the same spoon and place in a bowl. Let the bowl sit in the refrigerator for about an hour to cool off.
Coloring eggs blue- Once your hard-boiled eggs are cooled, gently peel the shell. I find it’s easy to peel the shell by gently rolling the egg on your countertop until there are cracks all over the egg. You can then start peeling from the fatter end of the egg because that is usually where there is empty space. Once peeled, rinse your eggs to remove any small pieces of shell. Cut each egg in half. Gently remove all egg yolks and set aside in a medium bowl for the filling. Rinse your empty egg white to remove any additional egg yolk.
Fill a large bowl with water, a little over half full. Add a few drops of blue food coloring until the water turns a vibrant blue. Place all your empty egg whites in the blue food coloring water and make sure they are all submerged. Let soak for about 10 minutes, until the eggs become blue.
Filling- In a medium bowl, add all your egg yolks, mayo, pickle juice, sugar, yellow mustard, and salt and pepper to taste. With a hand mixer, blend all ingredients until smooth. Make sure to taste it and adjust the seasoning to your preferred taste. Then add the blue food coloring. It will turn the filling green at first so keep adding until it’s blue. Pipe the eggs either using a sandwich bag with a hole cut out on the corner, or using the piping kit I used linked in the Equipment Section.
Pepperoni Stich ears– To make the Stitch ears, I used pepperoni. I pulled up a picture of Stitch on my phone as a reference. Don’t stress it if it’s not perfect. Mine certainly weren’t. Once you cut out the ears, stick them onto the deviled eggs and try to keep them sticking up. This is a great dish to make ahead of time because it keeps well in the refrigerator.
When you’re ready to serve, make sure to add the bubble on top to give the glass cage effect from the scene.
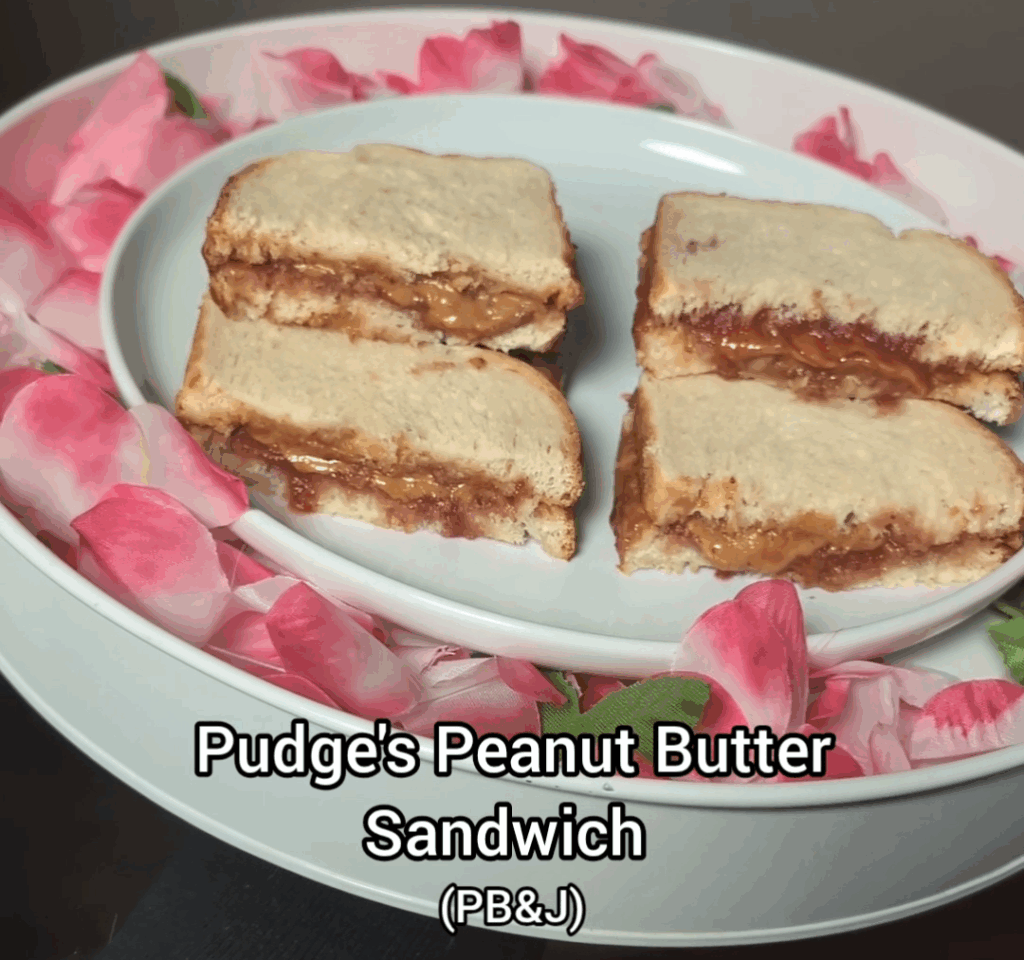
Pudge’s PB Sandwich
In the movie, Lilo gives Pudge, the fish that controls the weather, a Peanut Butter Sandwich. I served Peanut Butter & Jelly because it’s a delicious classic but if you want to be more true to the film, serve it without the jelly. I also suggest if you’re only serving peanut butter, to add honey too. It is super delicious and adds a natural sweetness to the peanut butter.
Brine & Punishment
This is one of the funniest scenes in my opinion so I had to find a way to include it in the Culinary Movie Night Experience! This is super easy to set up. I made the charcuterie skewers of cheese, salami, and a kosher petite dill pickle ahead of time. I also made the decorative spoons of her friends before too. I used a food pick to hold the charcuterie skewers in place and then taped the decorated spoons to the food pick.
To make the spoons– I used plastic spoons and a Sharpie marker to make the faces. I was serving 5 guests, so I made some with the glasses and some without to mix it up. Lilo had a red-looking string wrapped around the spoons most likely to resemble their hula shirts. I didn’t have red string, so I used cooking twine I had on hand. For their hula skirts and crowns, I cut pieces from the table decoration I had and taped it to the spoon to look like how Lilo had them.

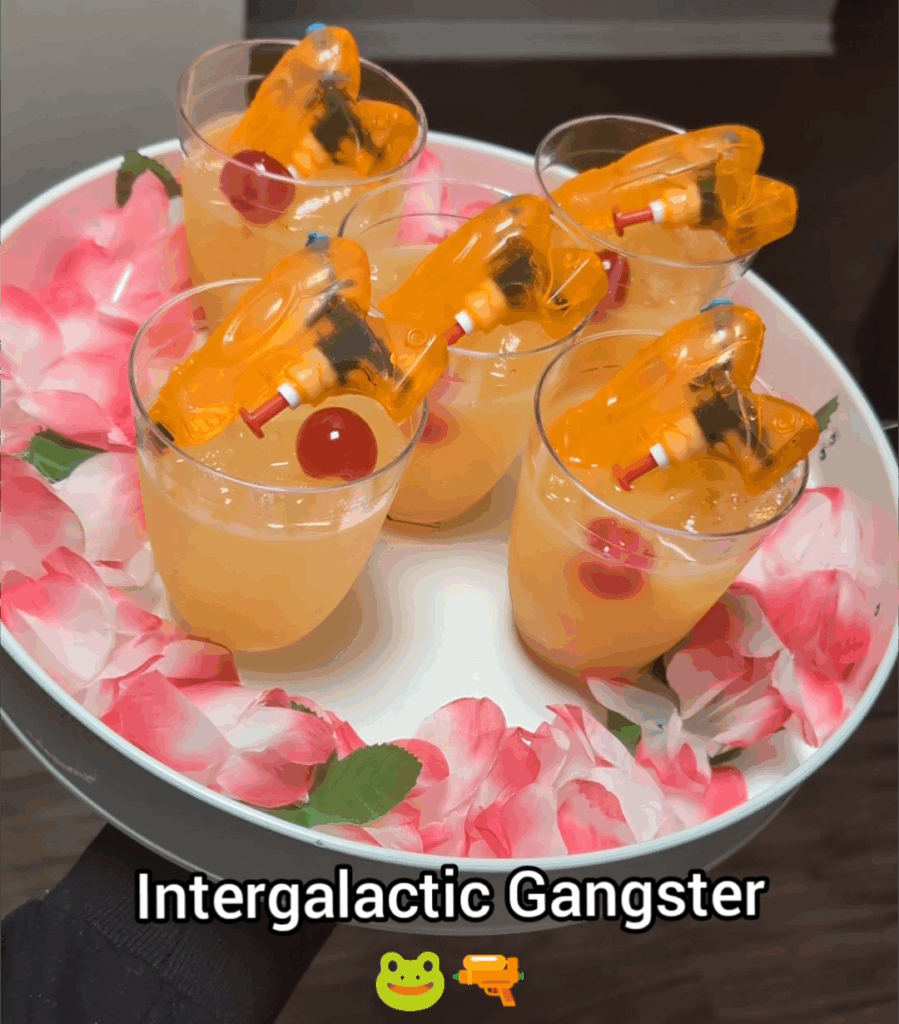
Intergalactic Gangster
This cocktail consists of pineapple juice, coconut rum, and a cherry on top. I filled the mini water guns with the coconut rum in advance. Sadly, two of the water guns leaked but I filled two different ones and they were fine. Just be aware of that if you buy these water guns. Some may leak but most of them were fine.
Because I had the water guns filled already, this was a quick one to serve. I filled the cups with ice and then filled about ¾ the way with pineapple juice. Add the filled water guns and cherry on top and you’re ready to serve. This was a crowd favorite on the cuteness scale. We did have to squirt the gun for about 30 seconds to get all the rum out but it was totally worth it!
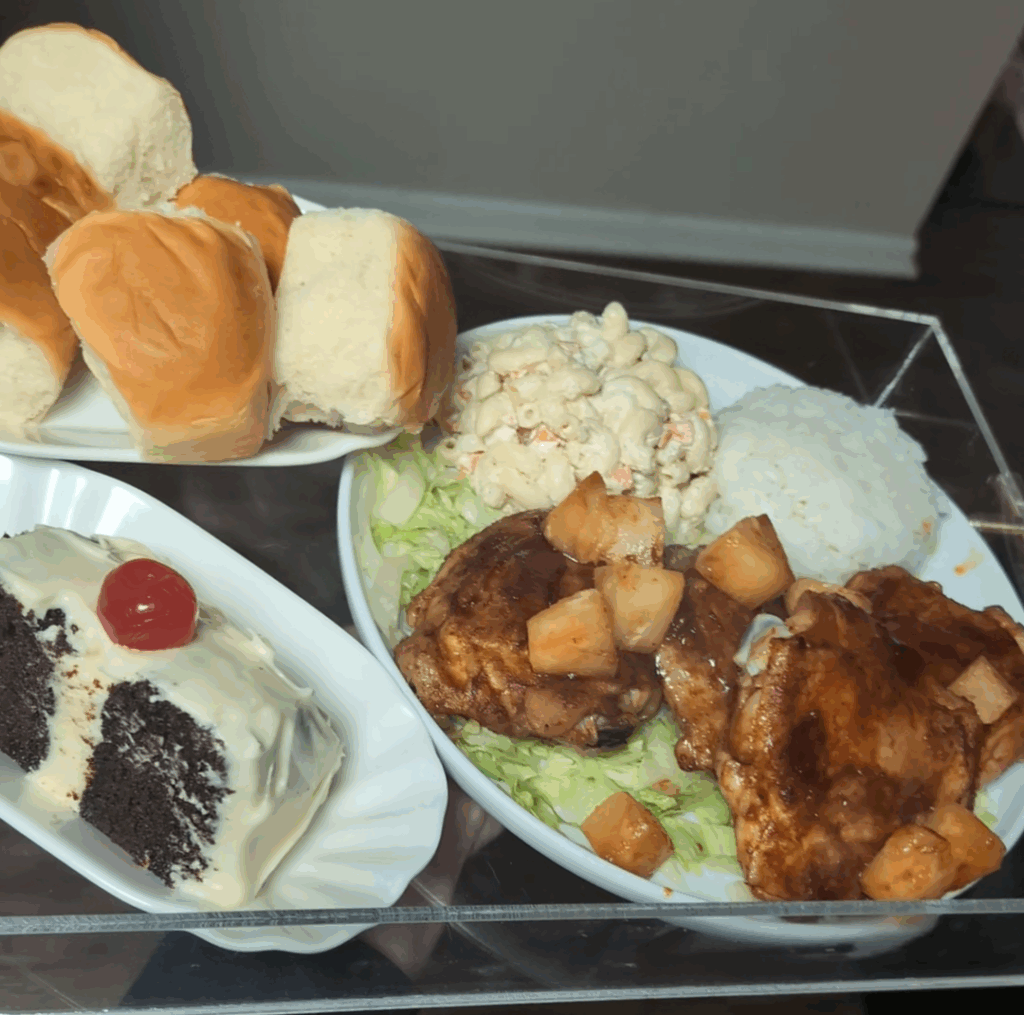
Baby’s First Luau
I decided to serve Hawaiian BBQ even though we don’t actually see this meal in the film because this is something that would most likely be served at the restaurant Nani worked at and I wanted at least one meal I served my family to be more substantial than just an appetizer. Of course, I also needed to include the chocolate cake!
Chocolate cake recipe- If I make chocolate cake, it’s always this recipe. The only thing I would recommend doing that’s not included in the recipe is adding simple syrup before frosting. Trust me… this is the secret all professional bakers do to make your cake extra moist! Click here for the recipe
- Bake the cake as directed in the recipe.
- Once cooled, wrap the cake in plastic wrap and freeze. It’s much easier to frost a cake when frozen. Don’t worry, it will not get dry.
- Before frosting, cut a thin layer off the top of each piece of the cake so it’s flat and not domed on top.
- Drizzle simple syrup on top of the cakes and let it soak into the cakes.
- Add frosting as the center layer of the cake. Add the second cake layer on top and frost the rest of the cake.
- Let the cake come to room temperature for a few hours before serving.
- The frosting contains dairy so make sure to store any leftovers in the fridge. Before eating leftovers, let the cake come to room temperature for about 30 minutes before eating for the best results.
Cream Cheese Frosting Recipe-
Ingredients:
½ cup of salted butter, softened
8 oz of cream cheese, softened
1 tsp of vanilla extract
2-3 tbsp of milk
2-3 cups of powdered sugar
Instructions-
Add butter, cream cheese, and vanilla extract to a large bowl. Mix with a hand mixer until smooth. Slowly sift in your powdered sugar. I prefer a less sweet version of frosting, so I only add two cups but if you want more sweetness, add 3 cups. If the mixture becomes too thick, add a little bit of milk. I recommend 1 tbsp at a time. If it becomes too liquid, you can add more powdered sugar.
Hawaiian Pasta Salad Recipe– This is the recipe I used! I diced the carrots instead of shredding though. Click here for the recipe.
Hawaiian BBQ Sauce Recipe-
Ingredients:
1 cup pineapple juice from canned pineapple (save the pineapple for the chicken)
½ cup of BBQ sauce
¼ cup of soy sauce
¼ cup of brown sugar
1 tbsp of sesame oil
3 garlic cloves, minced
1 inch knob of ginger, minced
Instructions:
Add all your ingredients to a small saucepan and bring to a simmer. Stir it often. Let it simmer for about 10 minutes. The sauce will thicken slightly. Remove from heat and let it cool completely. The sauce will continue to thicken while it cools.
- Set aside ¼ cup of the sauce for the spam musubi
Hawaiian BBQ Chicken (Oven roasted version)– If you have a grill, cook it on the grill. This recipe is apartment friendly.
- First clean your 3 pounds of chicken thighs, or about 8 chicken thighs. To properly clean your chicken thighs, add your chicken to a large bowl, generously salt the chicken, and squeeze lime juice on top. Using the lime core, scrub your chicken well. Then rinse with cold water and watch the gunk go down your drain. Next, pour about a cup of white vinegar into the bowl with the chicken and fill the rest with water so the chicken is completely submerged. Let it sit for about 10 minutes and then rinse the chicken with cold water again. Make sure to disinfect your sink afterward.
- Next preheat your oven to 275 degrees F. Place your clean chicken on a parchment-lined baking sheet. Brush your Hawaiian BBQ sauce on all sides of the chicken and place your chicken skin down on the baking sheet. Bake your chicken for 1 hour.
- After one hour, take your chicken out of the oven and dump all the excess liquid. Brush another layer of the BBQ sauce and bake for another hour with the skin side up.
- Take your chicken out of the oven and dump any excess liquid again. Cover the chicken with foil. I suggest you start cooking the chicken two hours before you think you are about to start the film. Then, after you serve the charcuterie skewers, brush the tops of your chicken thighs with BBQ sauce as well as the pineapple from the can and bake in the oven at 400 degrees F for about 5-7 minutes to finish off the chicken. This timing is important so you serve delicious and fresh BBQ chicken.
To assemble- I added shredded lettuce to a plate and added the pasta salad and warm white rice to the side of the plate. Then add your BBQ chicken and top with the pineapple. I also served Hawaiian rolls and the chocolate cake with a cherry on top.
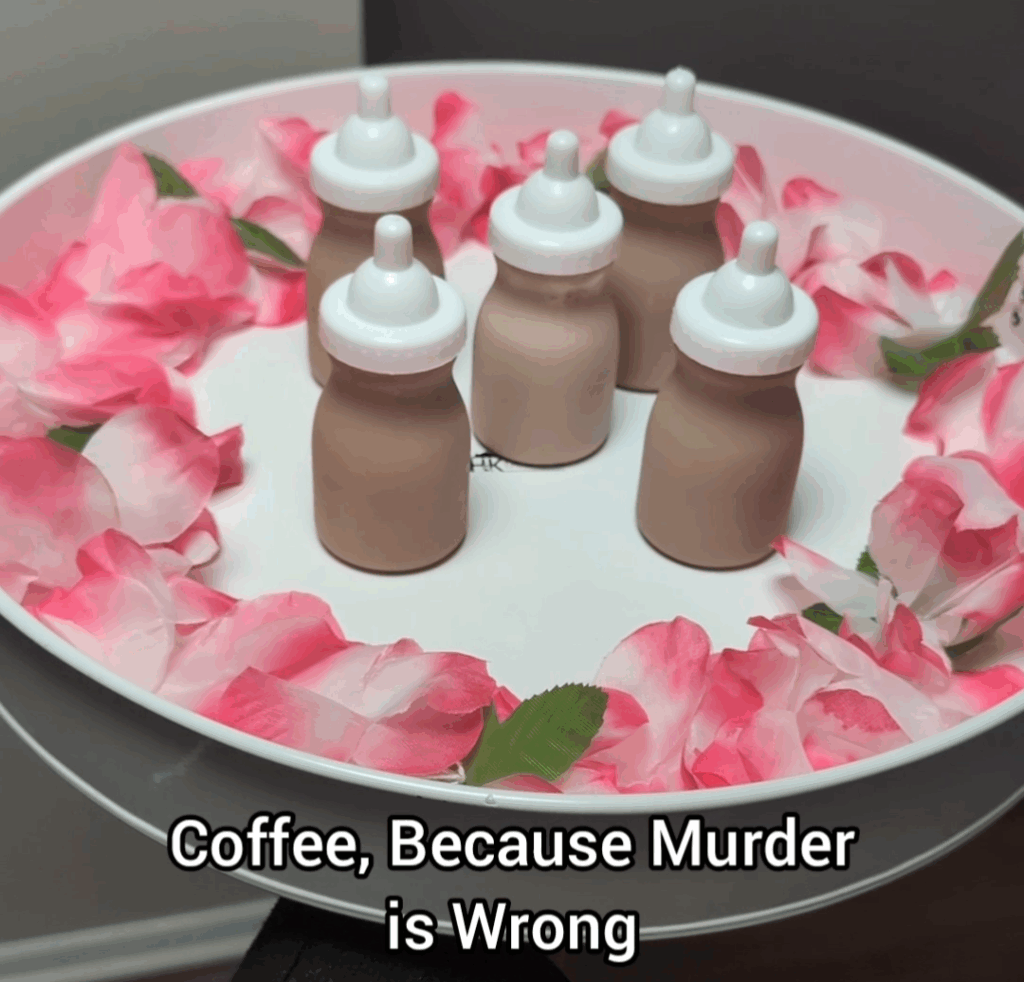
Coffee, Because Murder is Wrong
Mochaccino Shots
Ingredients- Serves 2
2 oz chocolate cream liqueur (my favorite brand is Valmas, a non-dairy brand that’s delicious and they have so many flavors)
1 oz vodka
1 oz coffee liqueur
Or if you want less alcohol, more sweetness:
3 oz chocolate cream liqueur
1 oz coffee liqueur
Instructions– Multiply your recipe depending on how many people you are serving. Add your ingredients to a shaker. Shake well. Taste and adjust ingredients to match your preference. Fill your mini baby bottles and store in the refrigerator until you are ready to serve. I recommend letting it sit in the refrigerator for at least a few hours or overnight, so it gets very cold. This is a great one to make ahead of time to save on prep time the day of the movie night.
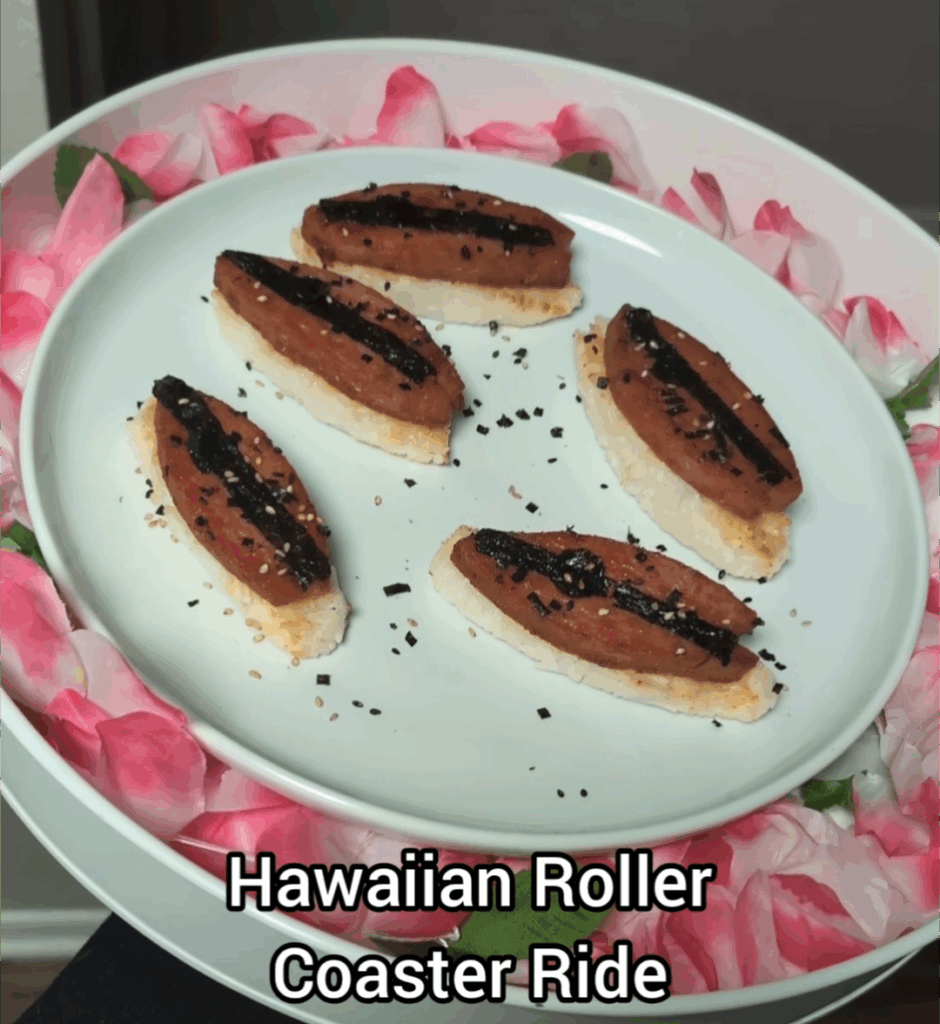
Hawaiian Roller Coaster Ride
Spam Musubi Surfboards
To make this dish, you’ll need:
A can of spam
Warm rice
¼ cup of the Hawaiian BBQ sauce from “Baby’s First Luau”
Furikake
Seaweed
To make the rice-
Ingredients:
1 cup of washed rice (I usually wash my rice three times)
2 cups of water
1 tbsp mirin
½ tbsp sesame oil
½ tsp salt
Add all your ingredients to a small pot and mix. Bring to a simmer and reduce heat to low. Mix one more time and cover with lid. Let cook for about 10 minutes until all the water is absorbed and the rice is fluffy.
Spam– Remove spam from the can and make ½ inch slices. Then carve out a surfboard shape from each slice. I pulled up a picture of a surfboard as a reference and free-handed it. It doesn’t need to be perfect. Add some olive oil to a pan on medium-high heat and sear your spam surfboards on each side for a few minutes. Then, add your BBQ sauce and make sure each side of the spam surfboards are coated well. Cook for another two minutes and remove from heat.
Whatever scraps you have left of the spam, you can dice up and cook with some scrambled eggs for breakfast. It’s delicious!
Assemble the surfboards– Place ¼ cup of your warm rice on plastic wrap, sprinkle with furikake seasoning and place one of your spam surfboards on top. Use the plastic wrap to press your spam musubi and gently mold the rice to match the shape of the surfboard. It’s important your rice is warm because if it’s too cold, it won’t be malleable.
Seaweed- To make the surfboard markings that look like the ones from the movie, I cut out thin strips of seaweed as well as circles and placed them on top of the surfboards. Sprinkle some furikake on top and your spam musubi surfboards are done. These can be served at room temp or you can heat them for about 30 seconds in the microwave before serving.
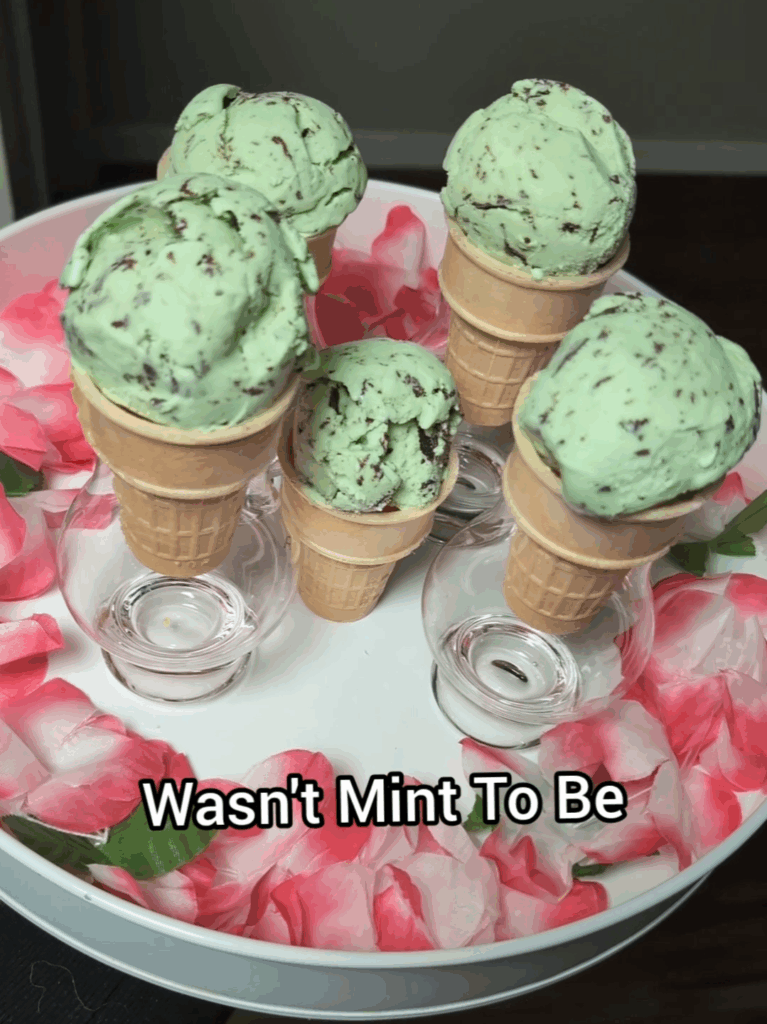
Wasn’t Mint To Be
These mint chocolate chip ice cream cones are a must as they show up throughout the entire movie when the tourist keeps trying to eat it but gets thwarted by Lilo & Stitch. I decided to serve it at the end of the film since it’s a sweet treat and people usually always have room for ice cream.
To serve, I made sure I had the cones set up on my countertop before the film started so I just had to quickly scoop the ice cream into the cones. I recommend scooping these fresh instead of scooping them and storing them in the freezer since ice cream tends to oxidize and turn a different color when left exposed. Another option to save time is making the scoops before and then storing them in the freezer but in an airtight container. Then you just have to add the pre-scoops on top of the cone before serving.