Hocus Pocus
Culinary Movie Night Guide
Difficulty Level: Medium


Table of Contents
Equipment
Here is a list (with links) of all the equipment and decorations I used for my Hocus Pocus Culinary Movie Night. I would be incredibly grateful if you used my links. I will make a little commission, and that would really help with the cost of the website and related expenses. You can find my full Amazon List here!
Living Room Decorations
Dead Man’s Toe Chili
Trick or Yabbos
It’s Just a Bunch of Hocus Pocus
Sarah’s Web
BoooOOOooooOOk
Get The Vial!
Serving Tray Decorations– I went to my local craft store, Michael’s, and bought a wooden log cutting, brown and green moss, a pumpkin patch garland, and a mini white picket fence. They usually have good sales, so check it out and have fun decorating your tray!
Tips
- Personalizing the Menu– When planning your menu for your movie night, don’t feel pressured to serve exactly what I chose to serve. Feel free to remove/add/replace dishes so it makes sense for you and your guests. I’ve included an editable menu in this guide to make it your own!
- Managing Your Time– These movie nights can take a lot of time to prepare, especially if you plan on doing everything yourself. If you are planning a culinary movie night with a group, I suggest doing a potluck style. Have each person contribute a dish or two, and it’ll be very manageable. If you are planning on preparing everything yourself, here are some things I’ve learned while doing these often:
- Make A To-Do List– I can’t stress this enough! It’s very easy to forget simple things like opening a bottle of prosecco before you start the movie so you aren’t fumbling with the seal before serving. I have done this so many times! Your to-do list should include absolutely everything you need to do leading up to pressing play.
- Start Early– I learned this after a few very long days of trying to cook, prepare, and host all on the same day. Anything that can be done in advance should be done during the days leading up to the movie night. Some examples include pre-mixing cocktails, making desserts and other foods like soup that hold up well in the refrigerator, and pre-making any handmade decorations. Hosting is stressful enough without having to make a multi-course meal in one day, so get as much done as possible before.
- No Pausing– The question I get asked the most is “Do you pause the movie to bring out the next dish?”. It’s important to me that I don’t disrupt the flow of the movie, so I do not pause. It’s also important to me to enjoy the movie with my guests. Setting up everything I need before the movie helps me bring out each dish efficiently. The setup usually includes plating each dish and storing it in the refrigerator, so all I have to do is quickly microwave it before serving. I set out any garnish or decoration on my kitchen counter so it’s easily accessible. I even pour the cocktails into their cups and store them in the refrigerator, so all I have to do is add ice and any finishing touches before serving. Always think about how you can do the bare minimum during the film. I always include the setup in my to-do list as well, so I don’t forget about any aspect of the preparation.
- Optional– If your budget permits, I recommend ordering food that you may not be confident in cooking or food that may take a lot of time to cook. I do this occasionally, and it helps cut down the preparation time and supports local businesses. Win Win!
- Decorations- Have fun and decorate your space and serving tray! Add elements from the theme of the movie, but make a budget and stick to it! I usually use things I already own because these movie nights are DIY, and I don’t need to spend a fortune to make it fun. If I do buy decorations for the movie night, I try to find cheap or reusable things. If you are curious about some of the things I’ve used during the movie nights, here is a link to my Amazon List. All these items are things I bought with my own money and enjoyed using.
- Manage Stress- Culinary Movie Nights are fun and a great way to show your friends and family you love them. Sometimes, things you envision in your head will not come out perfectly. When this happens to me, it can be discouraging and stressful, but the people I do these for have NEVER expressed anything but appreciation. Go easy on yourself and remember that your guests are just happy to be there and to experience something you put so much thought and time into making.
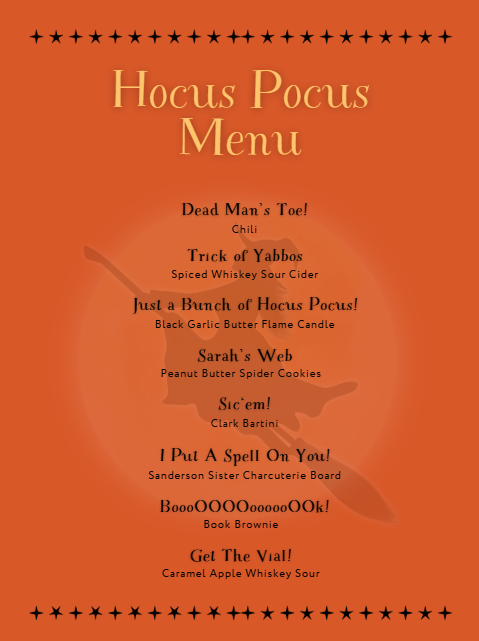
Menu
I have created a free, editable, and printable menu for all the dishes I served for this Culinary Movie Night! Feel free to change it to what will work for you and your guests.
Cues
These are the cues I used during the movie night so I knew when I had to get the next dish ready to serve.
Please note: Each cue describes a scene that happens a few minutes before I have to serve the dish. It does not describe the scene the dish is based on. Some people get confused with that, so I thought I should specify. Because the cues only give you a few minutes to prepare the dish, it’s very important to have everything cooked and set up before the film starts. Review the “Tips” section above for ways to make this seamless.
I often get asked why I don’t use time stamps to keep track of when to serve the next dish and the simple answer is, I don’t find those helpful. If I used timestamps, I would have to have a separate timer going or keep disrupting the movie to check the timestamp. It makes much more sense to have cues to indicate when the next scene is about to happen. This allows me to enjoy watching the film with my guests.
Below is the link to the cues I used. This document is editable, so you can make updates if you decide to take out or change dishes.

Recipes
Dead Man’s Toe Chili
This is the Chili Recipe I used. I topped it with cheddar cheese, sour cream, and green onions. I served the chili in this Cauldron to mimic the sister’s potion. To tie in the “Dead Man’s Toe” they add to the potion, I also included Lit’l Smokies sausages. These sausages are precooked so to prepare them, I just pan-fried them for a few minutes until they were lightly browned. Add them to the chili and you’ve got a Dead Man’s Toe Chili!

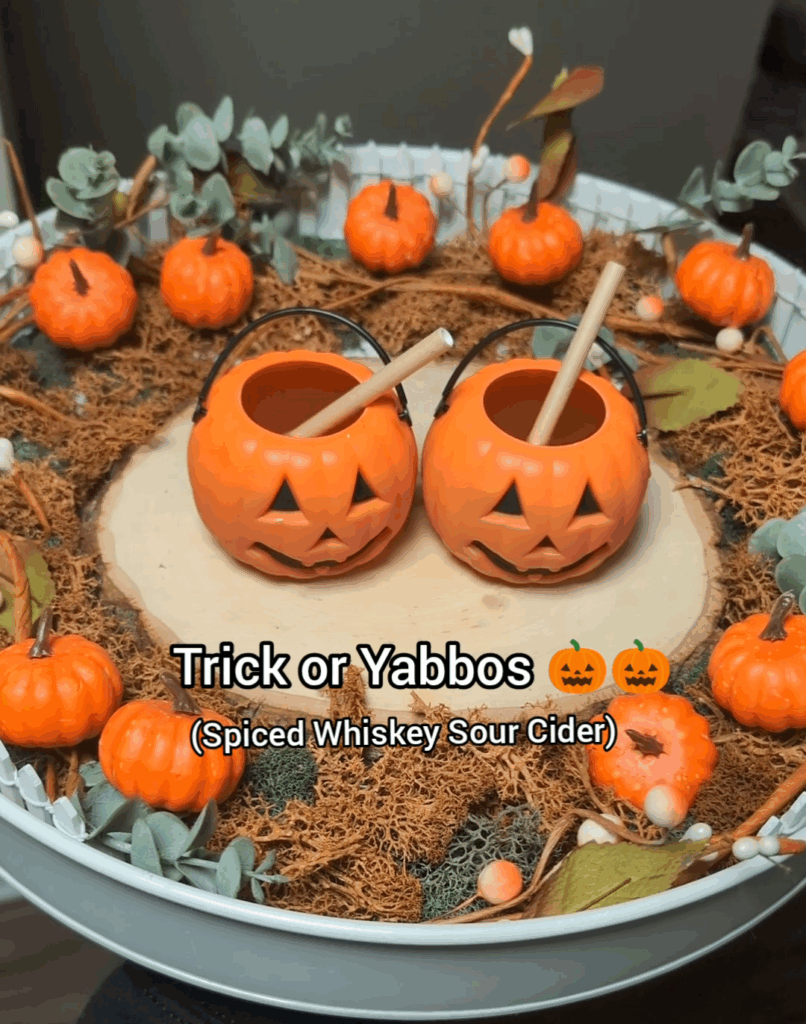
Trick or Yabbos
Spiced Whiskey Sour Cider Recipe
Ingredients: Serves 1
4 oz Apple Cider
2 oz spiced whiskey
2 oz sour mix
A dash of cinnamon
Instructions:
Add all of your ingredients to a jar with a lid. Make sure to multiply your ingredients depending on how many people you’re serving. Shake and store the jar in your refrigerator. I like to premix my cocktails the day before movie night, so I save time on prep the day of.
When it’s time to serve, shake the jar very well and evenly pour the drink into your Mini Trick-or-Treat Baskets. If you would like to go the extra mile, you can shake the jar with some ice in it and then strain the liquid with a fine mesh strainer over your baskets. This gets the drink extra cold and removes the cinnamon residue. It’s not a necessary step, but it does make the drink better.
I served the drinks with paper straws I got from the grocery store that I cut in half. This is also optional.
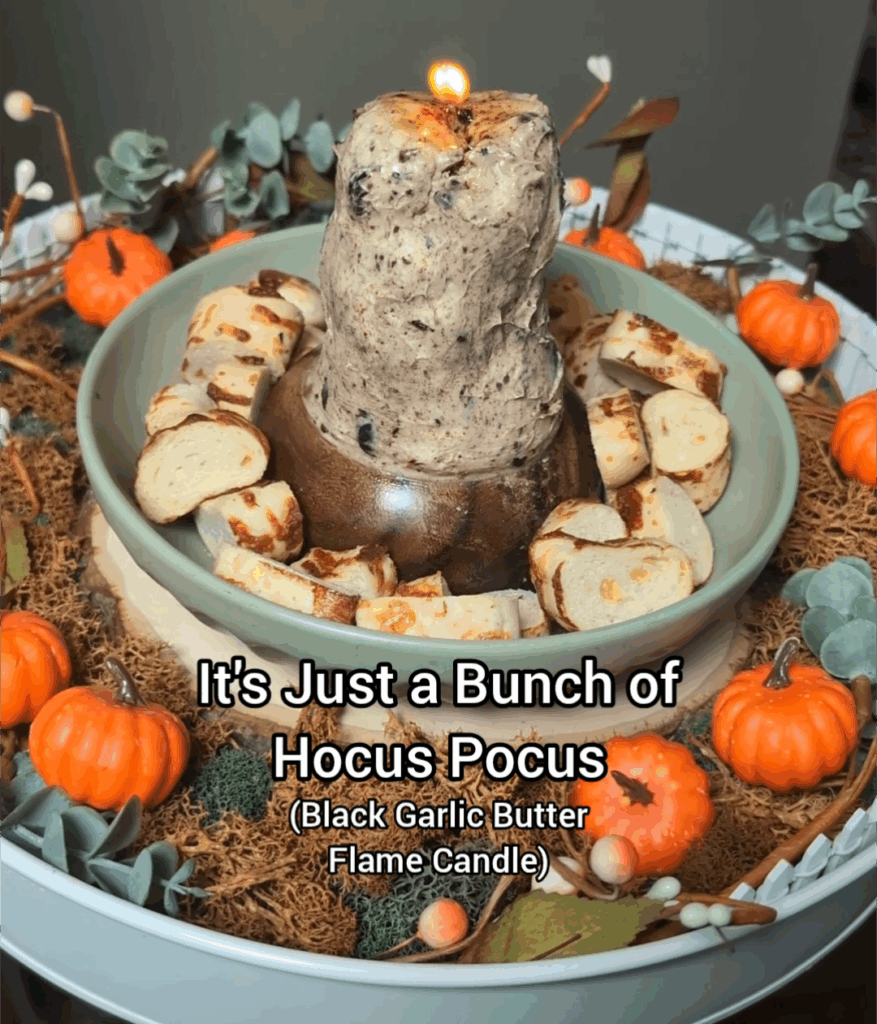
It’s Just a Bunch of Hocus Pocus
For this scene, I wanted to serve the actual candle so we could feel like we were there with the characters. It created a GREAT atmosphere!
It’s the Black Flame Candle, so I decided to use black garlic in the butter candle. Don’t be scared by the look or color of this garlic. All it is is fermented garlic. It has a sweet flavor to it that is incredible! I usually source my black garlic from my local Asian market. If you don’t want to use black garlic, or you can’t find it, feel free to use roasted garlic instead. I promise your guests’ jaws will still drop when they see you bring out a butter candle!
Step 1: To make the candle, you will need one cup of room temperature salted butter and 5-6 black garlic cloves (peeled). Using a hand mixer, mix the butter well so all the ingredients are combined. Taste the mix and add salt to taste. You can also add some honey if you want to lean into the sweet taste of the black garlic. Once you’re happy with how the butter tastes, it’s time to shape the candle.
Step 2: To shape the candle, you will need the room temperature butter to be a little harder so you can mold it like clay. Put the butter in the refrigerator for about 10-15 minutes. To make it easier to shape, you can spread out your butter on parchment paper before putting it in the fridge. Shape it like a rectangle. When it’s hardened after about 10-15 minutes, take out your butter and place your Food-safe Candle Wick on the butter. Roll your spread-out butter around the wick, making sure to leave about a quarter inch of wick exposed. This is very important because you’ll need that to light the fire. I placed the butter candle on a small upside-down bowl to act as a candle dish. Shape your candle around the wick as if it were clay. The heat from your hands will melt the butter a bit and help you shape it. It’s messy but effective! When you’re happy with the shape, you can store it in your refrigerator. This is a good dish to prep the day before or the morning of movie night because it keeps well in the refrigerator.
How to serve: I served the butter candle with cheesy garlic bread I bought from Trader Joe’s. You can serve the butter with whatever you like. This dish is early enough in the movie, so I toasted the bread in my oven right before I started the movie. I then added it to the bowl with the butter candle in the center. I left it on my counter for easy access, and when it was time to serve, I lit the wick. Be careful and walk slowly because if you’re too fast, it’ll go out. The fire will start to melt the butter, and then you can scoop up the melted part and eat it with the bread. The candle did go out a few times, so have the lighter close so you can relight it.
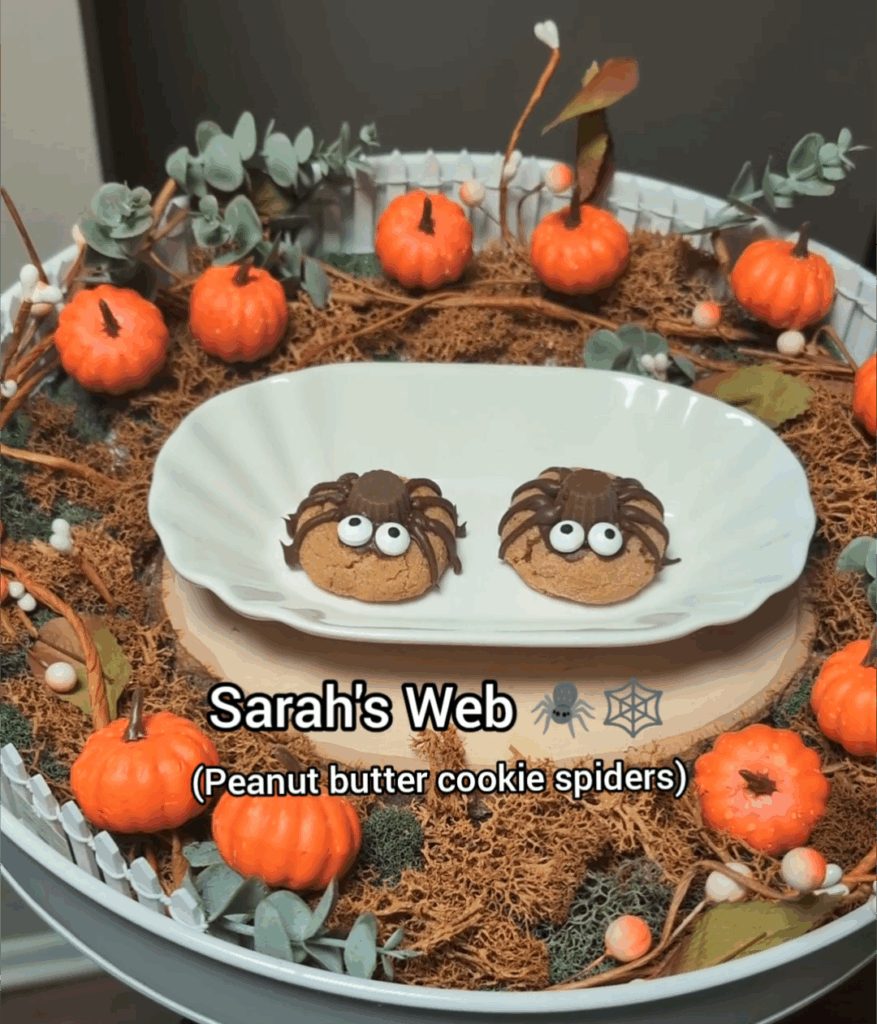
Sarah’s Web
This is an “eat what the characters eat” movie night, so of course, we had to join Sarah in her arachnid cravings. LOL!
Here is the recipe for the Peanut Butter Spider Cookies. I used this piping kit to pipe the legs of the spiders. These are the candy eyes I used.
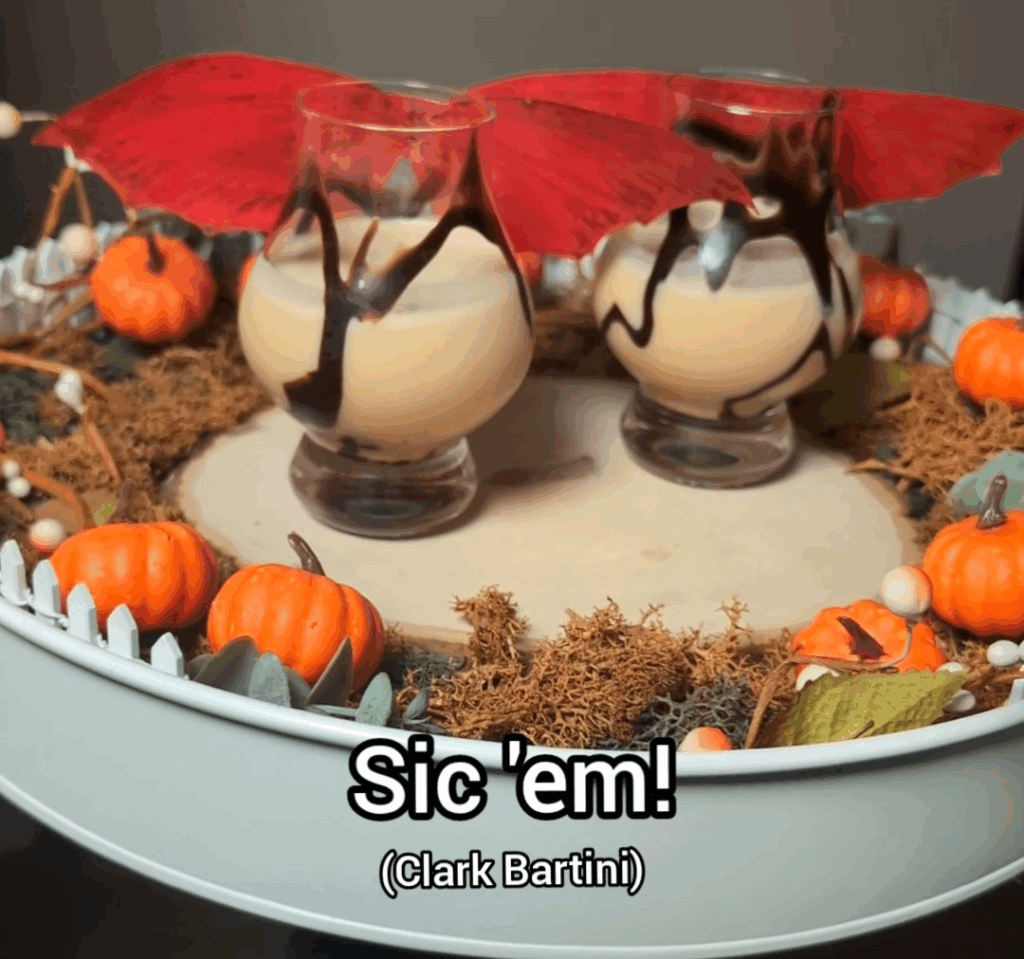
Sic ’em!
This scene features Clark Bars. When I tried to buy them for this movie night, I discovered they were very hard to purchase in my area!!!!! These are candy bars that have a crispy peanut butter/spun taffy core and are coated in milk chocolate. I decided to make a martini version of this chocolate bar with notes of peanut butter, caramel, and chocolate.
Clark Bartini Recipe
Ingredients: Serves 1
2 oz of peanut butter whiskey
4 oz of Clark bar mix (See Below)
Chocolate syrup for drizzling on glass
Instructions:
Add all of your ingredients to a jar with a lid. Make sure to multiply your ingredients depending on how many people you’re serving. Shake and store the jar in your refrigerator. I like to premix my cocktails the day before movie night, so I save time on prep the day before.
When it’s time to serve, drizzle chocolate syrup inside your glass. Then, shake the jar of the premixed cocktail very well and evenly pour the drink into your glasses. If you would like to go the extra mile, you can shake the jar with some ice in it and then strain the liquid with a fine mesh strainer over your baskets. This gets the drink extra cold. It’s not a necessary step, but it does make the drink better.
I decorated the glasses with little devil wings to match Ralph, the pup. To make them, I cut out the shape on copier paper and painted them red. Then I taped them to the glasses. Do this all before you start the movie, and have the glasses sitting on your kitchen counter so they are easily accessible.
Clark Bar Mix Recipe
Ingredients:
¼ cup of water
¼ cup of creamy peanut butter
¼ cup of caramel syrup
¼ cup of milk
Almond extract
Instructions:
Add your water, peanut butter, caramel, and milk to a small saucepan. Heat on medium-low heat and stir often until your ingredients are completely melted and combined. Turn the stove top off and take the pan off the heat. Add a small dash of almond extract and stir. This adds extra nuttiness. Let your mixture cool for about 15-20 minutes before adding the whiskey.
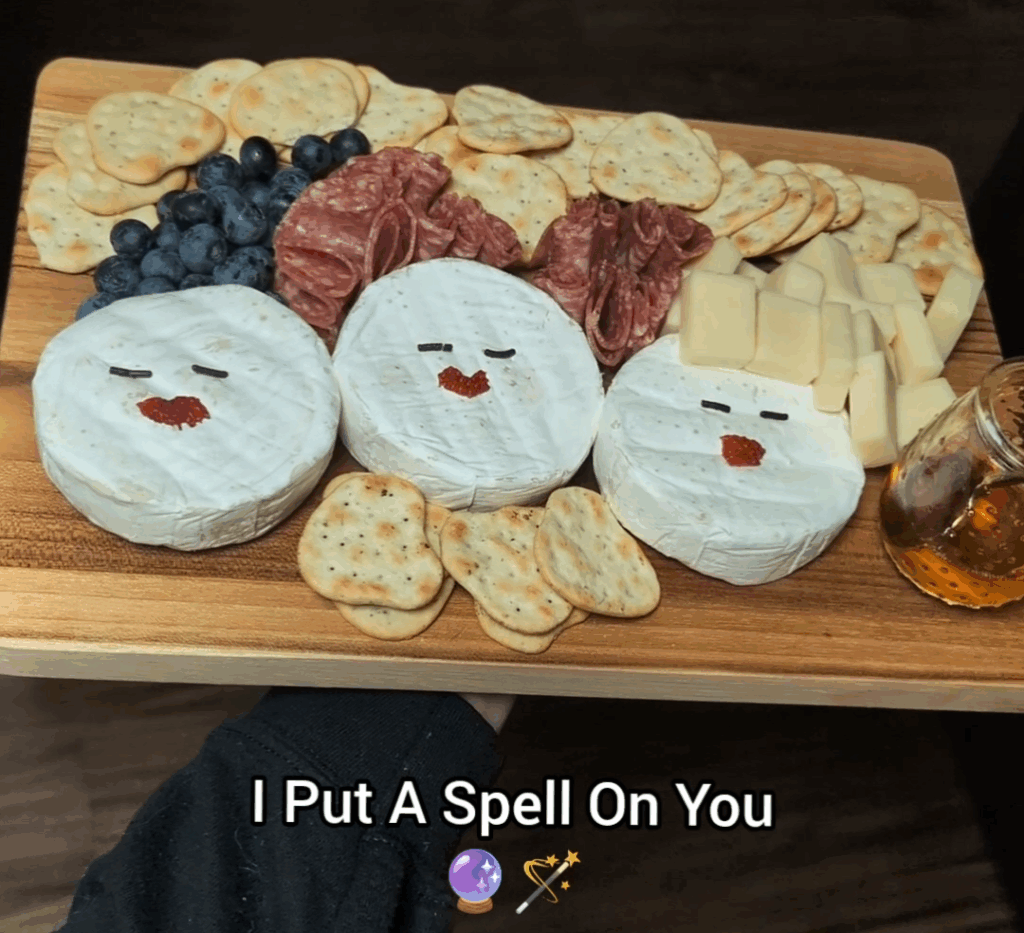
I Put A Spell On You
I absolutely cannot take credit for this charcuterie board idea. It went viral years ago and has become a staple for any Halloween party!
To make it, you will need three small Brie rounds for the heads. I used strawberries for the lips and chocolate sprinkles for the eyes. For Mary’s hair, I used blueberries shaped at an angle. For Winifred, I used salami rolled up to match her to buns, and for Sarah, I used white cheddar to match her blond hair. I then placed crackers around them to keep the hair in place, and I also served honey to drizzle on top.
You can change up the ingredients to match your preferred taste. The important thing is that the colors and character traits match. I didn’t want the ingredients to go bad, so I didn’t make this board until my guests had already arrived at my house. Then this was the last thing I did before pressing play. You can have all the elements chopped and ready, but I don’t recommend setting it up until right before the film. I didn’t want the crackers to get soggy, so I left the board out on my kitchen counter after making it.
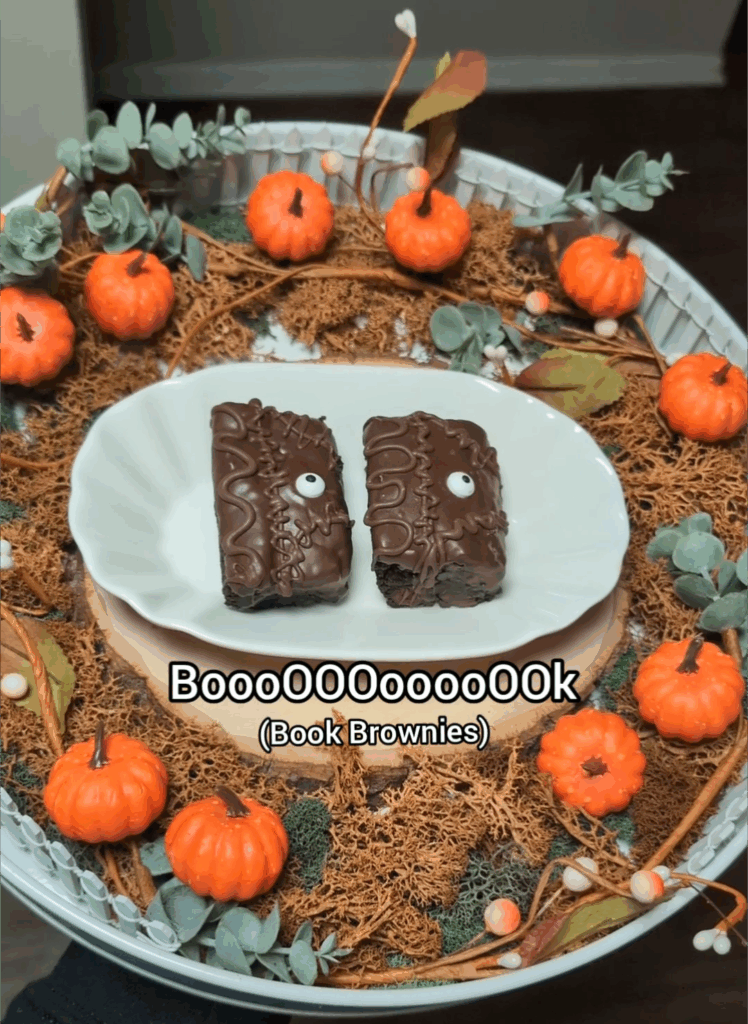
BoooOOOooooOOk
This is the recipe I used to inspire my Book Brownies. This is another Hocus Pocus themed snack that has gone viral, and everyone has pretty much done it, so you can definitely find different variations.
I made my life a little easier by using the same chocolate to decorate the brownies as I used to dip the brownies. This is the piping bag kit I used to decorate.
I also used different eyes from this recipe because I wanted to use the same eyes I used for the spider cookies. These are the candy eyes I used.
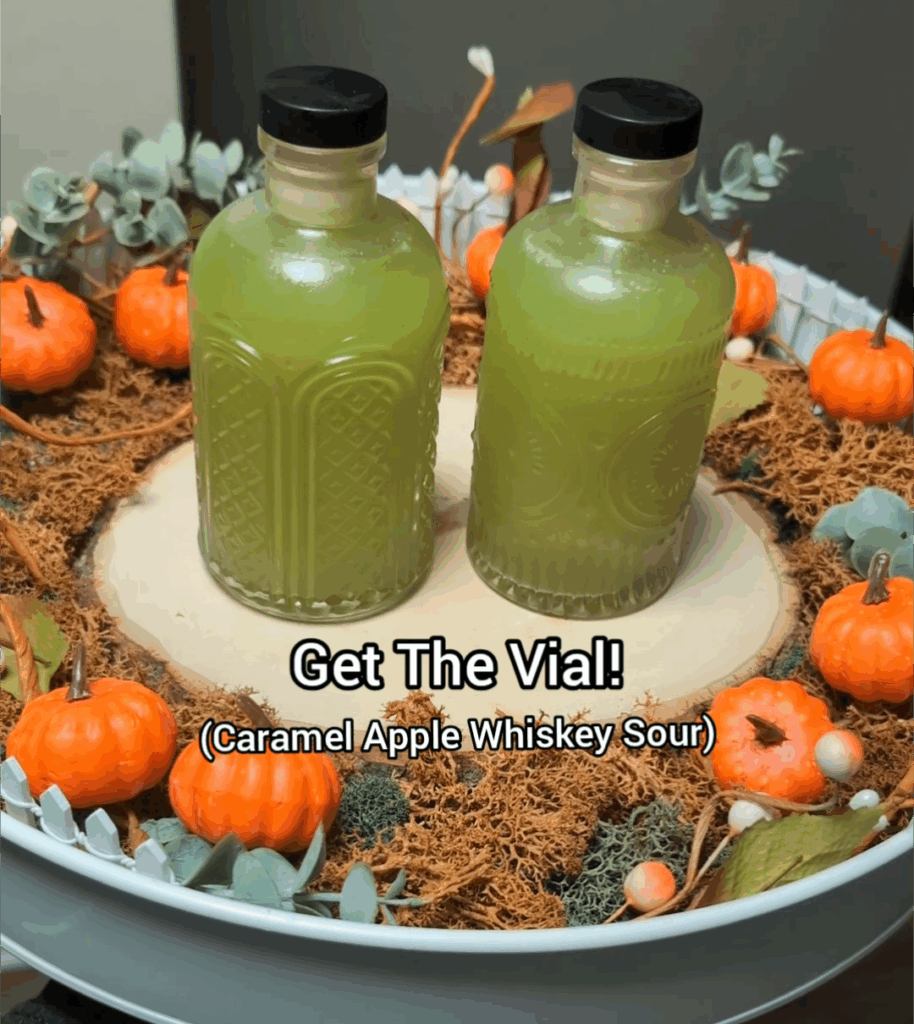
Get The Vial!
Caramel Apple Whiskey Sour Recipe
Ingredients: Serves 1
2 oz whiskey
4 oz sour apple Schnapps
6 oz caramel mix (See Below)
Club Soda
Instructions:
Add your whiskey, sour apple Schnapps, and caramel mix to your vials with a cork. The vials come with a funnel, so use that to add the ingredients. Shake and store them in your refrigerator. I like doing this the day before movie night to save time the day of. It also gets the drinks cold for serving.
When it’s time to serve, fill the rest of the vials with club soda, using the funnel.
Caramel Mix Recipe
Add ¼ cup of caramel syrup and ½ cup of water to a small saucepan. Heat on medium-low heat and stir often until your ingredients are completely melted and combined. Turn the stove top off and take the pan off the heat. Let cool before adding this mixture to your cocktail premix.