Kiki’s Delivery Service
Culinary Movie Night
Difficulty Level: Medium

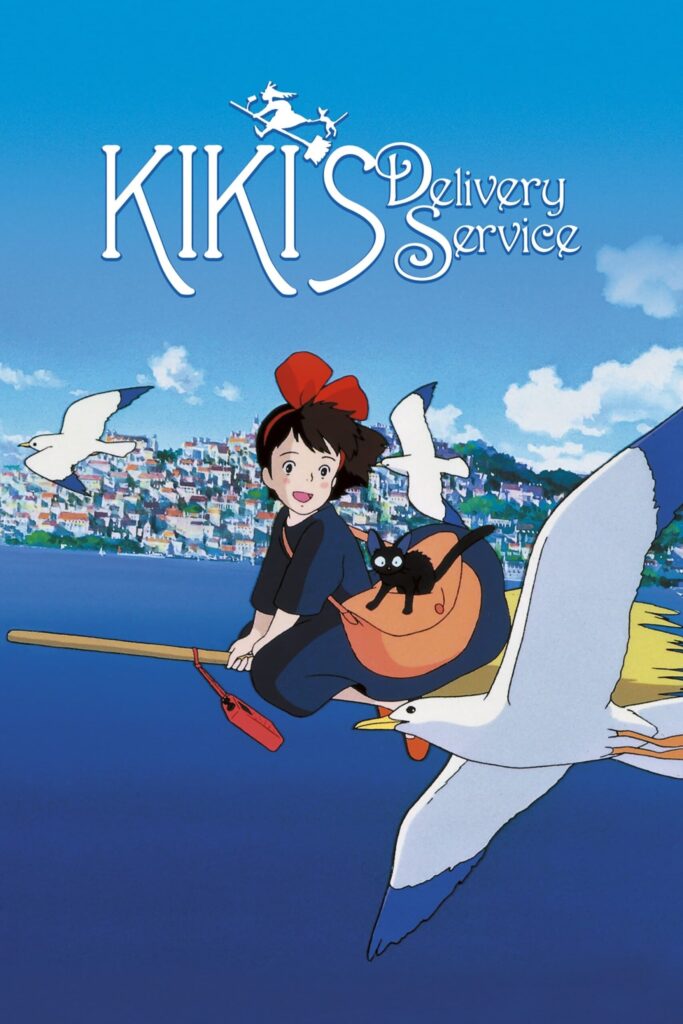
Table of Contents
Equipment
Here is a list (with links) of all the equipment and decorations I used for my Kiki’s Delivery Service Culinary Movie Night. I would be incredibly grateful if you used my links. I will make a little commission, and that would really help with the cost of the website and related expenses. You can find my full Amazon List here!
Serving Tray Decorations
Tombo Takes Flight
Kiki’s Cake
Tips
- Personalizing the Menu– When planning your menu for your movie night, don’t feel pressured to serve exactly what I chose to serve. Feel free to remove/add/replace dishes so it makes sense for you and your guests. I’ve included an editable menu in this guide to make it your own!
- Managing Your Time– These movie nights can take a lot of time to prepare, especially if you plan on doing everything yourself. If you are planning a culinary movie night with a group, I suggest doing a potluck style. Have each person contribute a dish or two, and it’ll be very manageable. If you are planning on preparing everything yourself, here are some things I’ve learned while doing these often:
- Make A To-Do List– I can’t stress this enough! It’s very easy to forget simple things like opening a bottle of prosecco before you start the movie so you aren’t fumbling with the seal before serving. I have done this so many times! Your to-do list should include absolutely everything you need to do leading up to pressing play.
- Start Early– I learned this after a few very long days of trying to cook, prepare, and host all on the same day. Anything that can be done in advance should be done during the days leading up to the movie night. Some examples include pre-mixing cocktails, making desserts and other foods like soup that hold up well in the refrigerator, and pre-making any handmade decorations. Hosting is stressful enough without having to make a multi-course meal in one day, so get as much done as possible before.
- No Pausing– The question I get asked the most is “Do you pause the movie to bring out the next dish?”. It’s important to me that I don’t disrupt the flow of the movie, so I do not pause. It’s also important to me to enjoy the movie with my guests. Setting up everything I need before the movie helps me bring out each dish efficiently. The setup usually includes plating each dish and storing it in the refrigerator, so all I have to do is quickly microwave it before serving. I set out any garnish or decoration on my kitchen counter so it’s easily accessible. I even pour the cocktails into their cups and store them in the refrigerator, so all I have to do is add ice and any finishing touches before serving. Always think about how you can do the bare minimum during the film. I always include the setup in my to-do list as well, so I don’t forget about any aspect of the preparation.
- Optional– If your budget permits, I recommend ordering food that you may not be confident in cooking or food that may take a lot of time to cook. I do this occasionally, and it helps cut down the preparation time and supports local businesses. Win Win!
- Decorations- Have fun and decorate your space and serving tray! Add elements from the theme of the movie, but make a budget and stick to it! I usually use things I already own because these movie nights are DIY, and I don’t need to spend a fortune to make it fun. If I do buy decorations for the movie night, I try to find cheap or reusable things. If you are curious about some of the things I’ve used during the movie nights, here is a link to my Amazon List. All these items are things I bought with my own money and enjoyed using.
- Manage Stress- Culinary Movie Nights are fun and a great way to show your friends and family you love them. Sometimes, things you envision in your head will not come out perfectly. When this happens to me, it can be discouraging and stressful, but the people I do these for have NEVER expressed anything but appreciation. Go easy on yourself and remember that your guests are just happy to be there and to experience something you put so much thought and time into making.
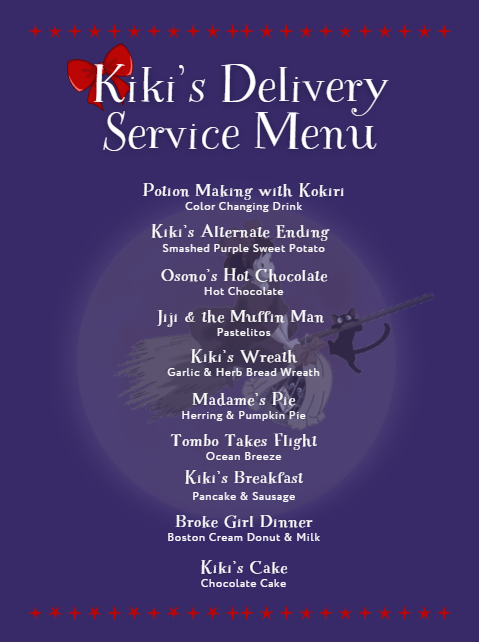
Menu
I have created a free, editable, and printable menu for all the dishes I served for this Culinary Movie Night! Feel free to change it to what will work for you and your guests.
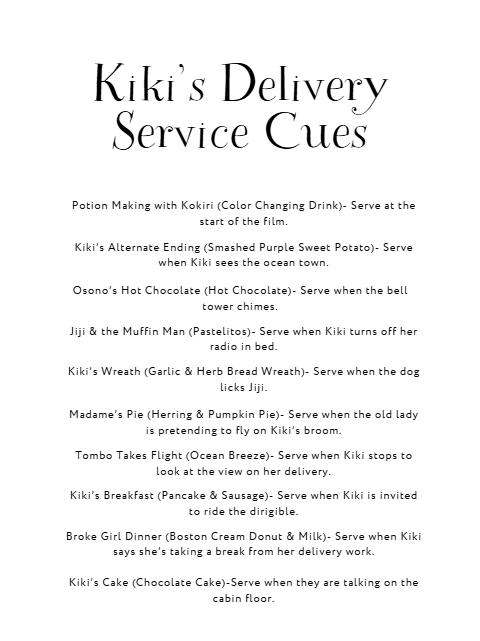
Cues
These are the cues I used during the movie night, so I knew when I had to get the next dish ready to serve.
Please note: Each cue describes a scene that happens a few minutes before I have to serve the dish. It does not describe the scene the dish is based on. Some people get confused with that, so I thought I should specify. Because the cues only give you a few minutes to prepare the dish, it’s very important to have everything cooked and set up before the film starts. Review the “Tips” section above for ways to make this seamless.
I often get asked why I don’t use time stamps to keep track of when to serve the next dish, and the simple answer is, I don’t find those helpful. If I used timestamps, I would have to have a separate timer going or keep disrupting the movie to check the timestamp. It makes much more sense to have cues to indicate when the next scene is about to happen. This allows me to enjoy watching the film with my guests.
Below is the link to the cues I used. This document is editable, so you can make updates if you decide to take out or change dishes.
Recipes
Potion Making with Kokiri
In this scene, Kiki’s mom is mixing up a potion. The tube is empty at first, and then she waves her hand and works her magic. A purple ring appears and fills the tube. I wanted to replicate this “magic”, so I used a blue, carbonated beverage and dropped a piece of pink cotton candy to fizzle and make a similar effect. The mixture will turn purple like it’s magic!
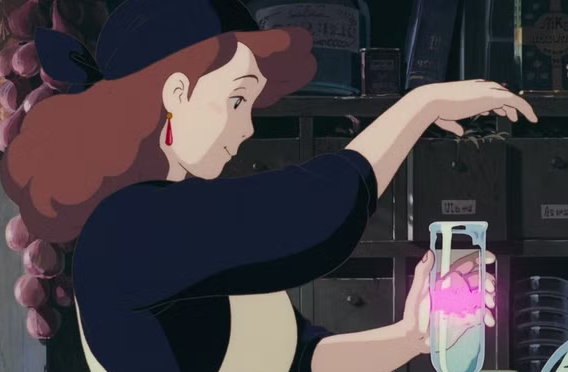
I actually stumbled upon this technique when I planned my Spirited Away movie night for the train scene. I served a blue prosecco for the sky, and pink cotton candy for the clouds, and when they mixed, it reminded me of the potion Kiki’s mom made!
How to make: To make this drink, fill ¾ of your champagne glass with prosecco. Then add a dash of Blue Curaçao Liqueur to each glass to turn the prosecco a light blue. Roll up a one-inch ball of pink cotton candy and do not put it in the glass. I recommend serving them in a small bowl with the drinks. Then, have each person take their drink and one ball of cotton candy, and they can make their own magic potion during the scene with Kokiri.
Alcohol free version: If you want to make it alcohol free, replace the prosecco with Sprite or something equivalent. The important thing is that it’s carbonated and clear. Instead of Blue Curaçao Liqueur, add Blue Curaçao Syrup. The syrup does not contain alcohol.
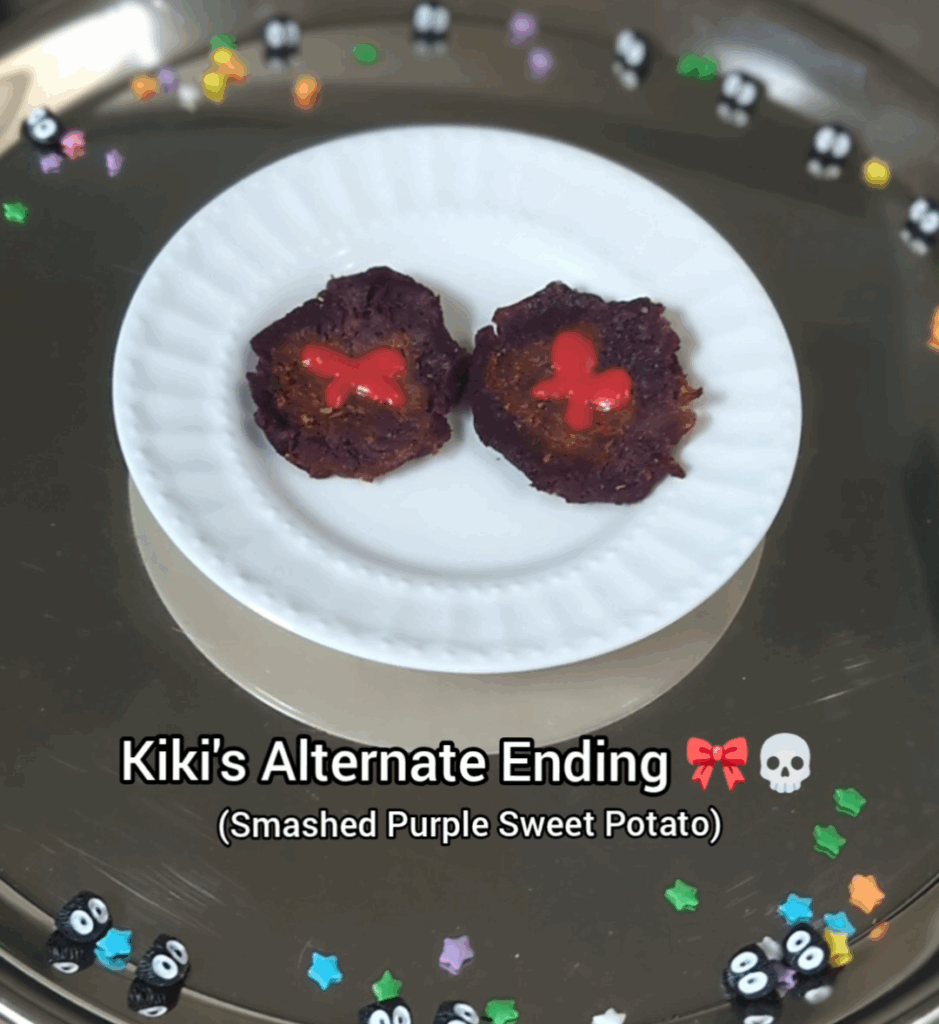
Kiki’s Alternate Ending
Substitutions: Substitute the potatoes in this recipe with purple potatoes. Also, do not smash them with a potato masher. You want them to be smooth so you can draw the bow on top. Use something with a smooth surface, like a glass.

Kiki’s Bow: My original idea was to draw her bow with Sriracha; however, it was a liquidy mess, so I scraped it off and used the red icing pen instead. Sounds like a weird combo, but it actually tasted good. If you like sweet and savory, you’ll like the combo. Before you draw the bow on the smashed potatoes, make sure the potatoes are completely cooled. If they are still warm, the bow will melt. Don’t worry about the bow being perfect. They are smashed for a reason. lol
Warning: This joke is on the dark side, so this dish is probably best served if no young kids are participating.
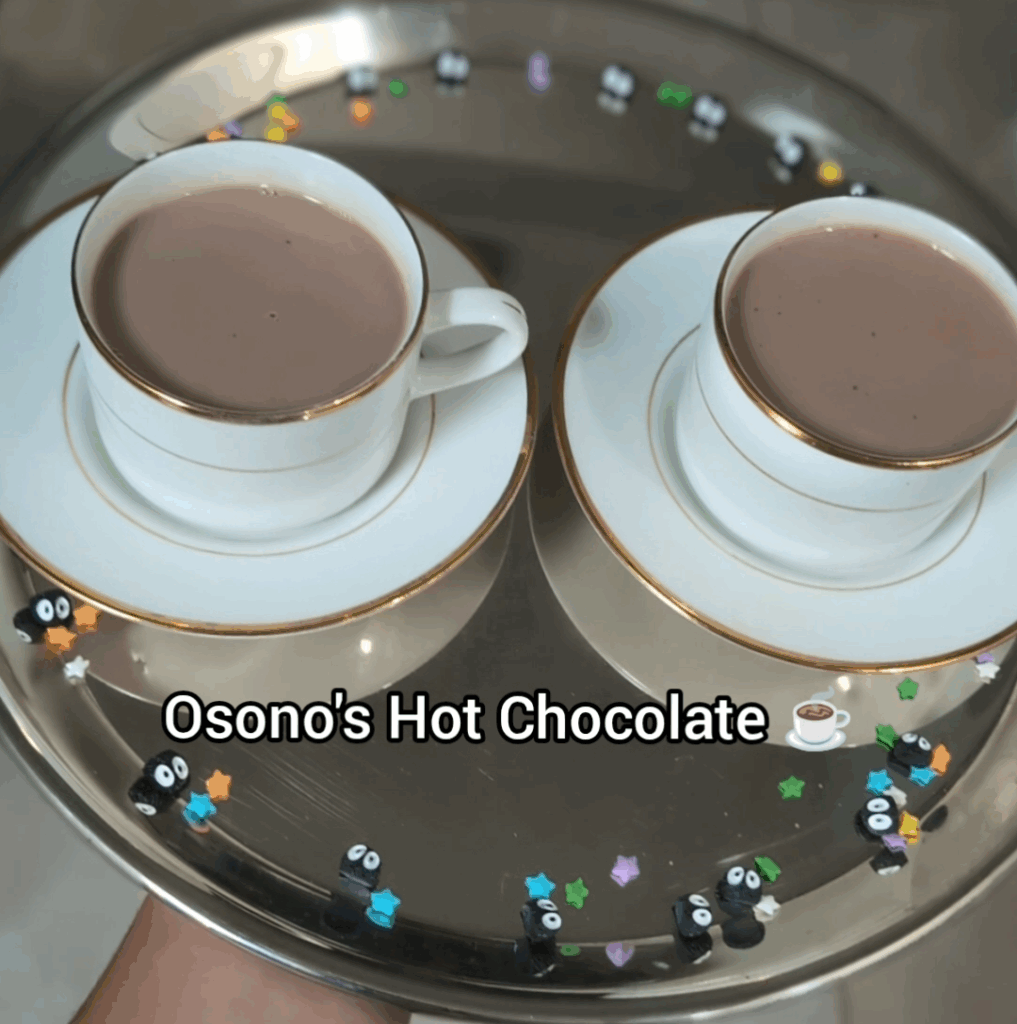
Osono’s Hot Chocolate
This is an easy one to serve, but it takes some additional setup before you start the movie. I used store-bought hot chocolate mix that just needs hot water or milk to be added.
I personally used water because I have an electric kettle, and it heats up the water very fast. Have the water already in the kettle before you start the movie. Also, have the hot chocolate powder already in the mugs. The cue I used gave me 3 minutes before the scene with the hot chocolate. I had just enough time to turn on the kettle, let it heat for about a minute, and then pour, stir, and serve. If you don’t have an electric kettle or you are using milk, you will need to heat it up on the stove top, and that takes extra time.
I suggest adjusting the cues to give yourself more time and start prepping the hot chocolate right after Kiki almost crashes.
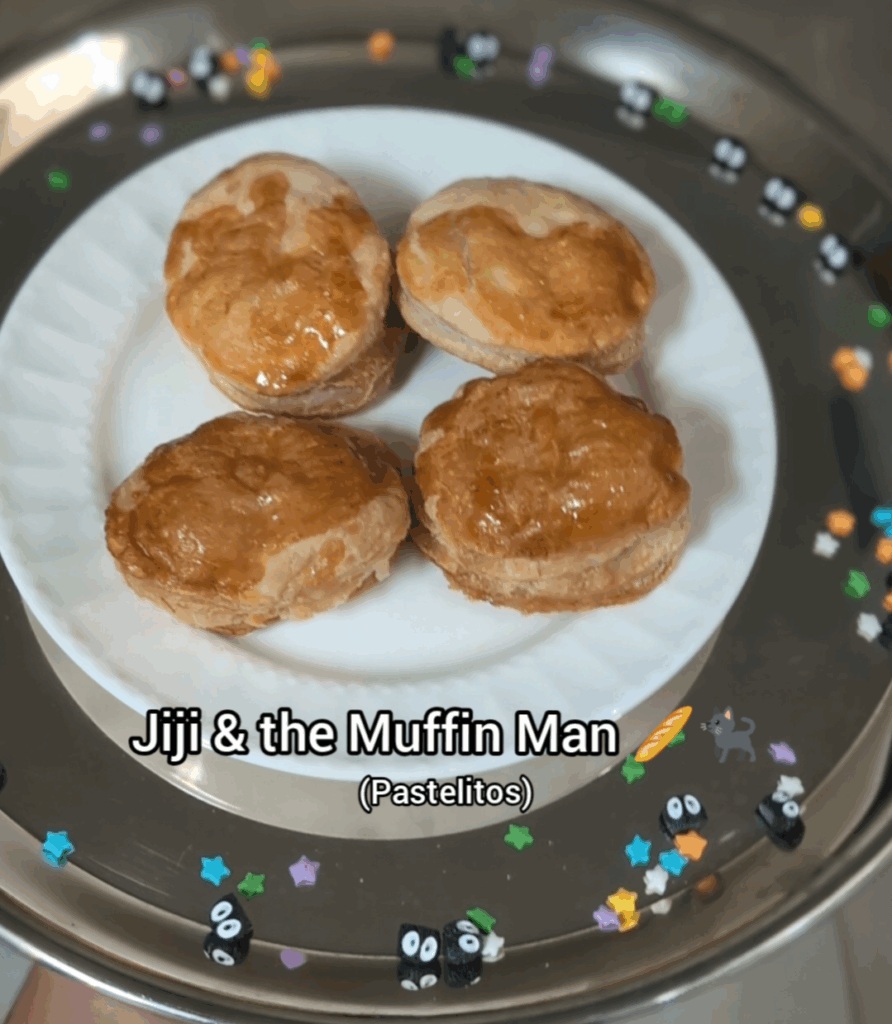
Jiji & the Muffin Man
This is a very easy one to prep and serve! In this scene, Osono’s husband is showing off his baking skills, and Jiji is amazed. The pans he’s working with have a bunch of round dough balls that were most likely set aside to let rise. I have no idea what he was making with them, so I chose a round pastry to match the round dough balls. I love pastelitos, so I served Beef Pastelitos from a local bakery. You can serve whatever pastry you want here. I would just recommend serving a round pastry, so it matches what you see on screen.
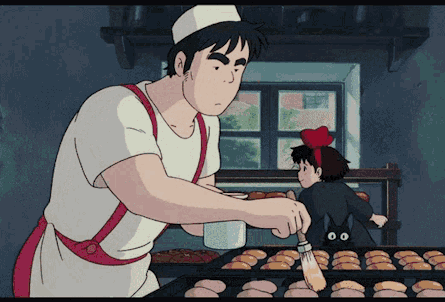
Because the pastelitos are already made and don’t need to be reheated, it was very easy and quick for me to plate and serve.
Kiki’s Wreath
I made a very easy version of a braided bread wreath to make my life easier. If you would like to get a little fancy, here is a recipe for a Seven-Strand Braided Bread Wreath.
If you would like to save time like me, here is how I made it:
I used a can of pizza dough and cut the dough into three long pieces. Roll out each piece to make it longer. Pinch the tops of the three pieces together and start braiding. Pinch both ends of the braid together. Place the wreath on a baking sheet and add a round, oven-safe baking dish in the center. If you don’t have something like this, you can ball up aluminum foil and place that in the center. You want something in the center while the wreath bakes, so it maintains its shape.
Make a garlic butter mixture by adding butter, salt, garlic powder, and oregano to a small bowl. I personally don’t measure. I just taste and add seasoning until I’m happy with the flavor. Microwave the bowl for about 20-30 seconds to melt the butter. Brush half of the butter mixture onto your wreath. Then bake the wreath for about 15-20 minutes at 350 degrees F. Bake until the wreath turns a golden brown.
I saved the remaining garlic butter mixture so I could brush it on the bread right before serving. If you want your bread to be warm before serving, I recommend reheating it in the oven for a few minutes before serving. If you do this, put it in the oven when Kiki goes back to swap Jiji. If you don’t care about reheating, follow the cues I provided. When it’s time to serve, reheat the butter in the microwave and brush the wreath with it before serving.
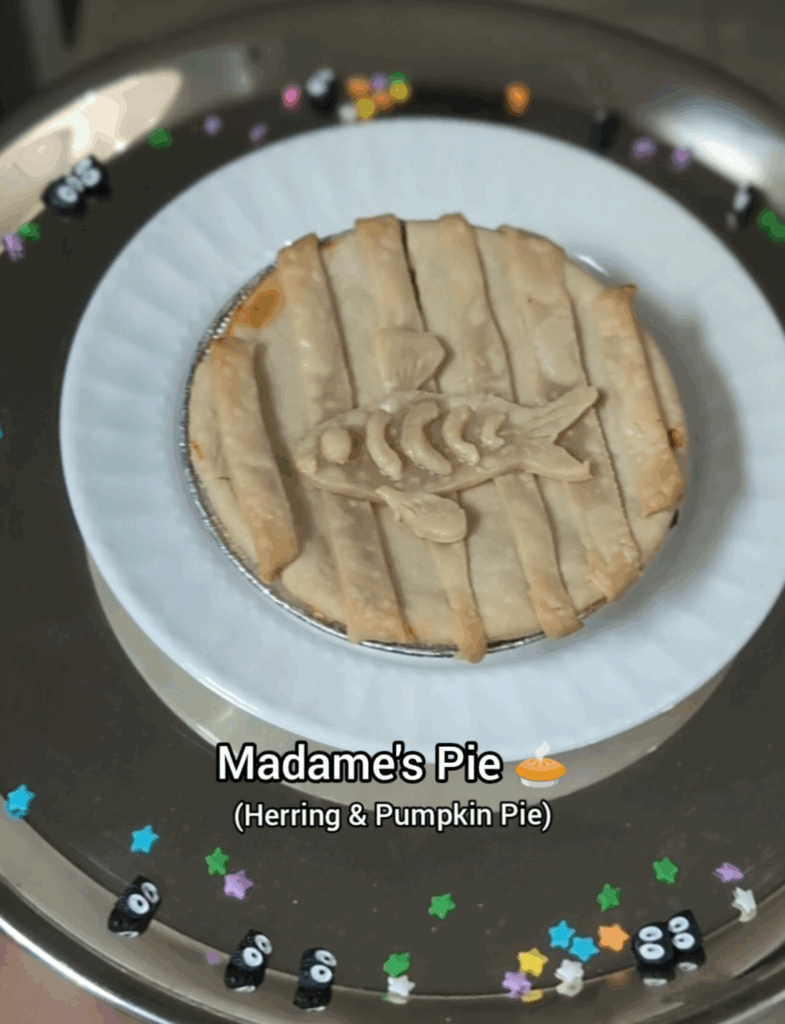
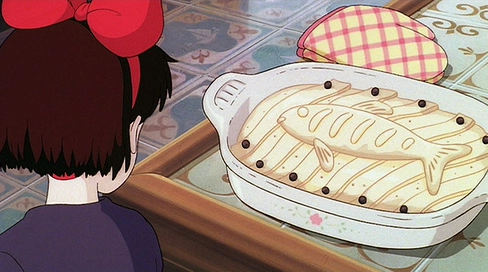
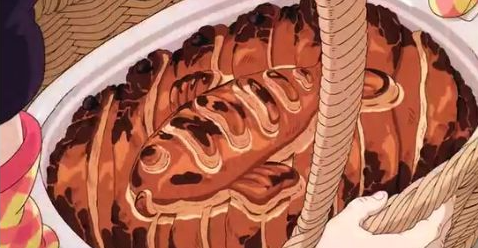
Madame’s Pie
Madame makes a Herring & Pumpkin Pie. However, to save time, I used a small premade Chicken Pot Pie. These are sold in the freezer section of my grocery store by the premade dinners. To decorate the top of the pie, I used premade pie crust. This is usually sold in the dairy section of the grocery store, by the canned biscuits.
I cut out strips of pie crust and fit them to the small pie. I then cut out a little fish shape and all the details, such as the eye and fins. Assemble all the elements of the pie topper decoration and press it lightly on top of the pie. Bake in the oven per the package’s instructions. I would recommend covering the pie with aluminum foil for most of the bake and then uncovering it at the end to give the top some color.
Something I wish I had done to make the pie look better is brush an egg wash on top of the pie. An egg wash on pastries gives them that golden, shiny look. To do this, you just need to whisk your egg (or egg yolk) really well and brush a light layer of that mixture on top of the pie before baking.
If you would like to get fancy and make the actual pie from the movie, here is a recipe for Madame’s Herring & Pumpkin Pie.
Tombo Takes Flight
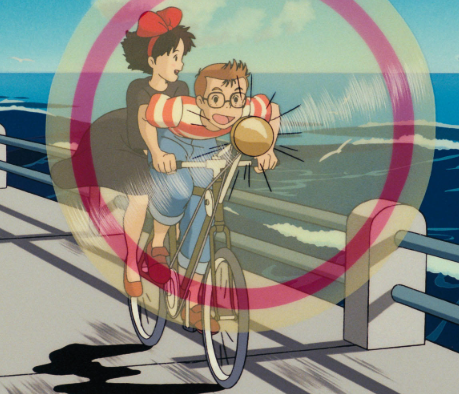
Non- Alcoholic Recipe
Instead of Blue Curaçao Liqueur, add Blue Curaçao Syrup instead. The syrup does not contain alcohol. Omit the white rum and add extra lemonade instead.

Decoration
I wanted to tie in Tombo’s propeller bike somehow, so I garnished the glasses with these little yellow and red propellers.
Preparation
I premixed this drink the day before the movie night to save time the day of. I recommend doing this and storing it in your refrigerator. When it’s time to serve, you just need to add ice, pour your drink, and set up your garnish.
Kiki’s Pancake Breakfast
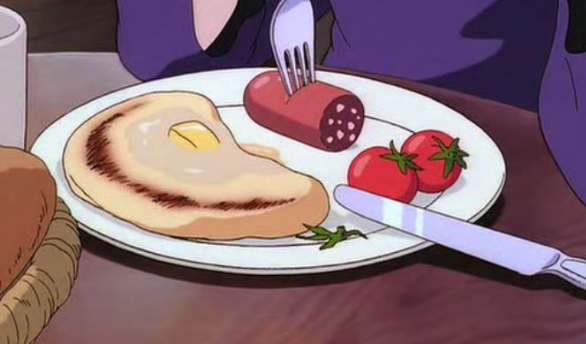
This is my favorite Pancake Recipe!
Kiki’s pancake was folded like a taco, so when you’re making your pancakes, fold them in half to match the movie. I made the pancakes ahead of time and stored them in the refrigerator. Then, before the movie started, I plated my dish (minus the syrup and butter), and stored the plate in the fridge. I recommend having the cube of butter pre-sliced and ready to grab.
For the sausage, I wanted to buy one that looked like what Kiki was eating. It was very red. I bought mine at my local Asian market. They are precooked, so I just pan-fried mine briefly. I did this ahead of time too, and plated it with the pancake.
To serve, I microwaved the pre-plated food for about a minute and then added the butter, syrup, and tomatoes before serving. This dish is super quick to serve if you have everything prepped and ready before the movie.

Broke Girl Dinner
In this scene, Kiki is talking about how she’s not working much, so she’s low on cash, and she serves milk and chocolate donuts that look like they have a filling. I decided to serve Boston Cream Donuts with milk to represent this scene.
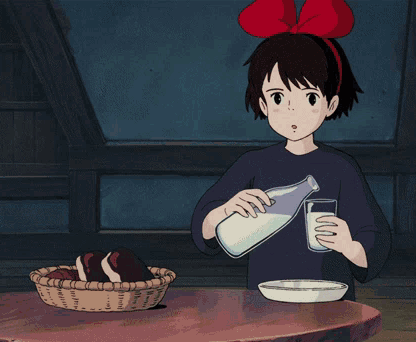
I bought the donuts, so this was a very easy dish to set up and serve. You can even have the milk already poured and stored in the refrigerator before you start the movie so it’s quick to serve.

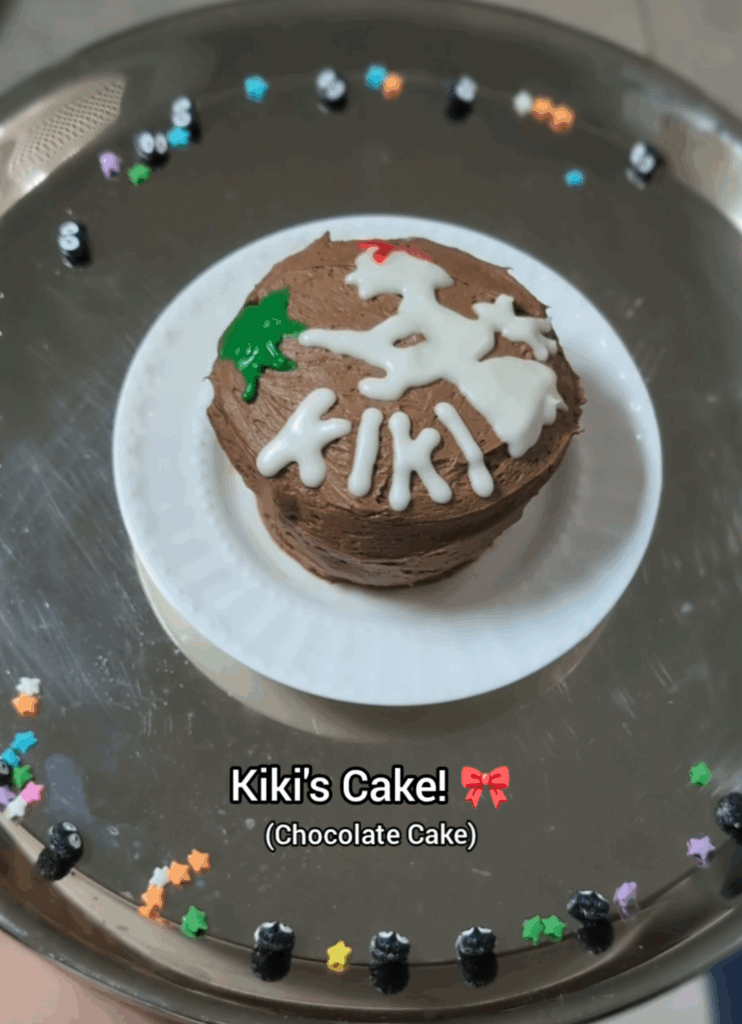
Kiki’s Cake
This sweet scene always makes me cry! I decided to make a very small version of Kiki’s cake so it was a manageable size for us to eat.
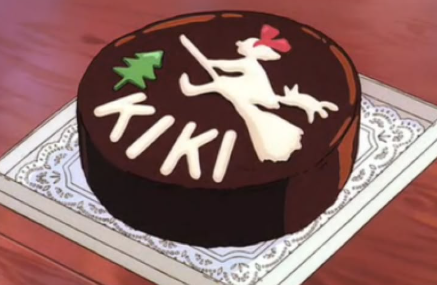
I made a chocolate cake with chocolate buttercream frosting. This is my go-to chocolate cake recipe, and my go-to chocolate buttercream recipe.
If you are going to make a smaller version like me, I recommend making only half the recipe measurements, so you don’t have a lot of leftover batter. I also used a very small cake pan (6” x 2”).
To decorate the cake, I used this Icing Kit. It has green, red, and white. All the colors you need to decorate. I pulled up a picture of the cake from the movie and free-handed the design. If you want more guidance than that, I suggest using a toothpick to trace out the design on the cake before drawing with the icing pens. It does NOT have to be perfect. My design was not perfect, and the movie’s cake looks very homemade as well. That’s the whole point of the scene!
One tip I have for using the icing pens is to massage them first before opening and using them. Sometimes the liquid separates, and it can be very runny if you don’t massage it first.
To save time on the day of movie night, I baked the cake the day before. Then, I just had to decorate it the day of. Have it decorated before you start the movie, so it’s quick for you to serve.