Wicked
Culinary Movie Night Guide
Difficulty Level: Hard


Table of Contents
Equipment
Here is a list (with links) of all the equipment and decorations I used for my Wicked Culinary Movie Night. I would be incredibly grateful if you used my links. I will make a little commission, and that would really help with the cost of the website and related expenses. You can find my full Amazon List here!
Serving Tray Decorations

I also used green moss, poppy flowers, and a wooden log tray to decorate the tray. I got all three items from my local craft store, Michaels. They usually have 40% off sales that help with affordability.
She Came Down in a Bubble!


- Star Cookie Cutter (Optional for strawberries)

The Green Elixir

Defying Gravity
- Green & Gold Firework Decoration (Same product from “She Came Down in a Bubble”)
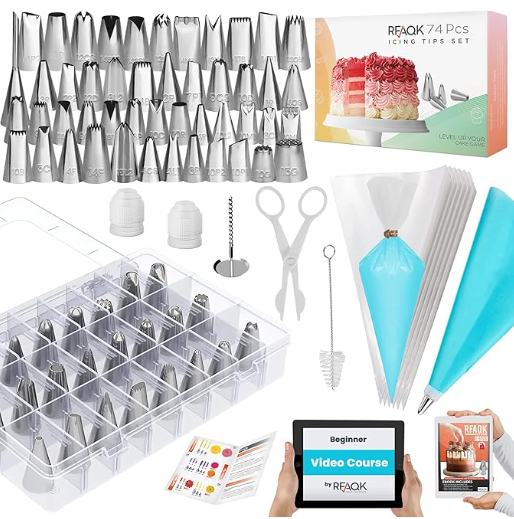
- Piping Kit (For cupcake frosting & melted chocolate decoration on brooms)
Tips
- Personalizing the Menu– When planning your menu for your movie night, don’t feel pressured to serve exactly what I chose to serve. Feel free to remove/add/replace dishes so it makes sense for you and your guests. I’ve included an editable menu in this guide to make it your own!
- Managing Your Time– These movie nights can take a lot of time to prepare, especially if you plan on doing everything yourself. If you are planning a culinary movie night with a group, I suggest doing a potluck style. Have each person contribute a dish or two, and it’ll be very manageable. If you are planning on preparing everything yourself, here are some things I’ve learned while doing these often:
- Make A To-Do List– I can’t stress this enough! It’s very easy to forget simple things like opening a bottle of prosecco before you start the movie so you aren’t fumbling with the seal before serving. I have done this so many times! Your to-do list should include absolutely everything you need to do leading up to pressing play.
- Start Early– I learned this after a few very long days of trying to cook, prepare, and host all on the same day. Anything that can be done in advance should be done during the days leading up to the movie night. Some examples include pre-mixing cocktails, making desserts and other foods like soup that hold up well in the refrigerator, and pre-making any handmade decorations. Hosting is stressful enough without having to make a multi-course meal in one day, so get as much done as possible before.
- No Pausing– The question I get asked the most is “Do you pause the movie to bring out the next dish?”. It’s important to me that I don’t disrupt the flow of the movie, so I do not pause. It’s also important to me to enjoy the movie with my guests. Setting up everything I need before the movie helps me bring out each dish efficiently. The setup usually includes plating each dish and storing it in the refrigerator, so all I have to do is quickly microwave it before serving. I set out any garnish or decoration on my kitchen counter so it’s easily accessible. I even pour the cocktails into their cups and store them in the refrigerator, so all I have to do is add ice and any finishing touches before serving. Always think about how you can do the bare minimum during the film. I always include the setup in my to-do list as well, so I don’t forget about any aspect of the preparation.
- Optional– If your budget permits, I recommend ordering food that you may not be confident in cooking or food that may take a lot of time to cook. I do this occasionally, and it helps cut down the preparation time and supports local businesses. Win Win!
- Decorations- Have fun and decorate your space and serving tray! Add elements from the theme of the movie, but make a budget and stick to it! I usually use things I already own because these movie nights are DIY, and I don’t need to spend a fortune to make it fun. If I do buy decorations for the movie night, I try to find cheap or reusable things. If you are curious about some of the things I’ve used during the movie nights, here is a link to my Amazon List. All these items are things I bought with my own money and enjoyed using.
- Manage Stress- Culinary Movie Nights are fun and a great way to show your friends and family you love them. Sometimes, things you envision in your head will not come out perfectly. When this happens to me, it can be discouraging and stressful, but the people I do these for have NEVER expressed anything but appreciation. Go easy on yourself and remember that your guests are just happy to be there and to experience something you put so much thought and time into making.
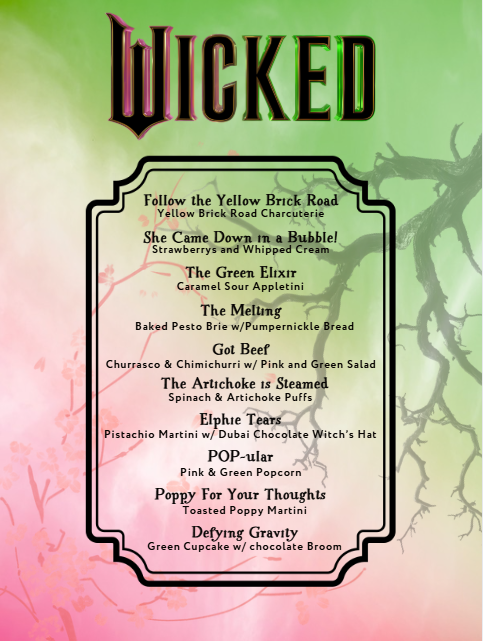
Menu
I have created a free, editable, and printable menu for all the dishes I served for this Culinary Movie Night! Feel free to change it to what will work for you and your guests.
Cues
These are the cues I used during the movie night so I knew when I had to get the next dish ready to serve.
Please note: Each cue describes a scene that happens a few minutes before I have to serve the dish. It does not describe the scene the dish is based on. Some people get confused with that, so I thought I should specify. Because the cues only give you a few minutes to prepare the dish, it’s very important to have everything cooked and set up before the film starts. Review the “Tips” section above for ways to make this seamless.
I often get asked why I don’t use time stamps to keep track of when to serve the next dish and the simple answer is, I don’t find those helpful. If I used timestamps, I would have to have a separate timer going or keep disrupting the movie to check the timestamp. It makes much more sense to have cues to indicate when the next scene is about to happen. This allows me to enjoy watching the film with my guests. Below is the link to the cues I used. This document is editable, so you can make updates if you decide to take out or change dishes.
Recipes
Follow the Yellow Brick Road
To open this culinary movie night, I wanted to serve something that perfectly embodies the franchise of Oz and matches the opening scene with Dorothy and the gang. This yellow brick road charcuterie board is a staple in most Wizard of Oz-themed parties and a great option for guests to enjoy some bite-sized foods that they can pick at but not fill up on.

Here are all the items I used:
- A large block of yellow cheddar cheese
- Raw Broccoli
- Cherry tomatoes
- Ranch or dipping sauce for the veggies
- Cucumber
- Rainbow candy (I used rainbow gummy strips, but Skittles would be a good option too!)
To assemble the board:
I chopped the cheese and cucumber as part of my prep during the day. I then stored the cheese in a Ziplock bag and the cucumbers in an airtight container with a paper towel. The paper towel absorbs excess moisture from the cucumber, keeping it fresh. Make sure you chop the cheese unevenly, so when you create the yellow brick road, it resembles the cobbled effect. Also, make sure to chop your cucumber long because this is going to be the “Emerald City”. It needs to stand tall like the Wizard’s palace.
Because this is the first dish being served, I assembled it once my guests arrived, so it was fresh. Lay out the cheese throughout the center of the board, making sure to curve the road slightly to match the winding brick road from the movie. Add the raw broccoli and cherry tomatoes along the perimeter of the brick road. The broccoli and cherry tomatoes are the “poppy fields” in the movie. I also added a small dipping cup filled with ranch for the raw veggies.
To finish the charcuterie board, add a glass of the chopped cucumbers to the top of the board. Also, add little dishes of rainbow candy to each side of the cucumber glass. Serve to your guests right before you start the movie, along with “She Came Down in a Bubble” and “The Green Elixir”. These three scenes happen very early on in the movie, so I chose to serve them all right before starting the film, so I didn’t have to stress.

She Came Down in a Bubble!
For this scene, I wanted to design a dish that represents Galinda in her bubble. If you’ve been following me for a bit, you might have noticed I love to use “fill your own ornaments” to resemble bubbles in dishes. It’s something I came up with when planning my Ponyo-themed movie night, and I use every chance I get to use them now!

This dish is not only cute, but very functional. I piped strawberry whipped cream inside the bubble dish to represent Galinda’s pink dress. The ornament has a part with a little hole that is usually used to hang the ornament with a string, but I used it to hold the pink wand. The pink wand also doubles as a food pick, so you can use it to dip the star-shaped strawberries in the whipped cream.

Here is the recipe for strawberry whipped cream. This is the piping kit I used to make the cute design of Galinda’s dress. I ran out of whipped cream, so that’s why one looks uglier than the other. ☹
I used these star cookie cutters to make the strawberries star-shaped. The star shape is a callback to the 1939 Glinda wand, which was shaped as a star.

Serve to your guests right before you start the movie, along with “Follow the Yellow Brick Road” and “The Green Elixir”. These three scenes happen very early on in the movie, so I chose to serve them all right before starting the film, so I didn’t have to stress.

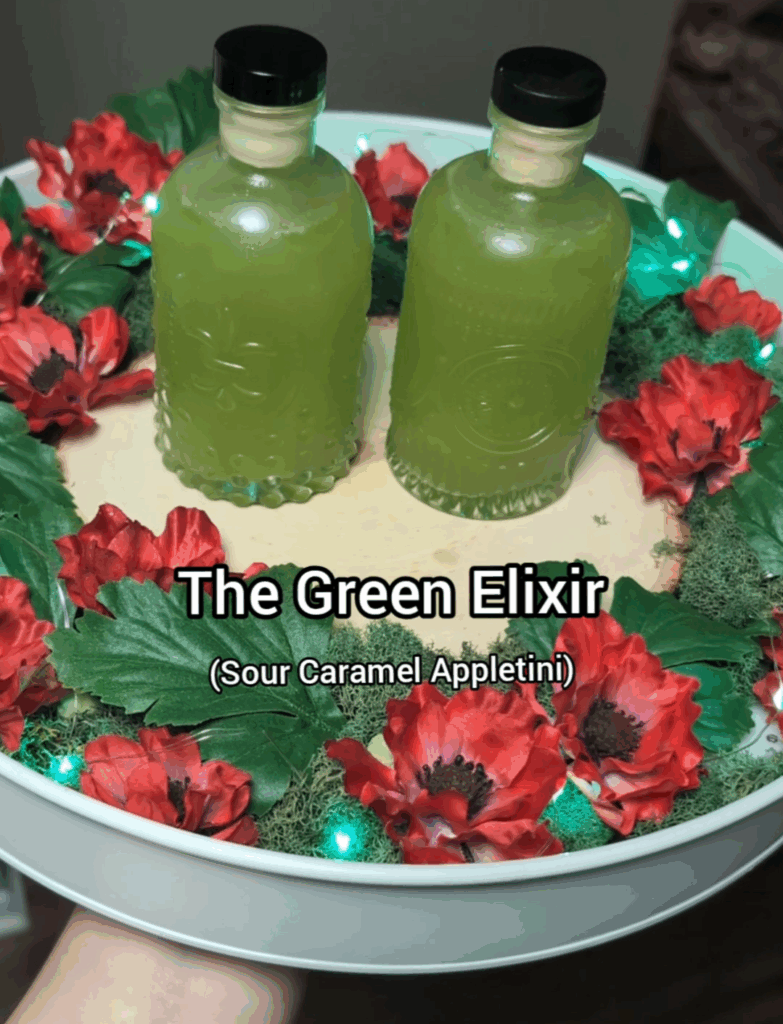
The Green Elixir
Sour Caramel Appletini Recipe

Ingredients: Serves 1
2 oz Vodka
4 oz sour apple Schnapps
4 oz caramel mix (See Below)
Club Soda
Instructions:
Add your Vodka, sour apple Schnapps, and caramel mix to your vials with a cork. The vials come with a funnel, so use that to add the ingredients. Shake and store them in your refrigerator. I like doing this the day before movie night to save time the day of. It also gets the drinks cold for serving.
When it’s time to serve, fill the rest of the vials with club soda, using the funnel.
Caramel Mix Recipe Add ¼ cup of caramel syrup and ½ cup of water to a small saucepan. Heat on medium-low heat and stir often until your ingredients are completely melted and combined. Turn the stove top off and take the pan off the heat. Let cool before adding this mixture to your cocktail premix.
The Melting
“The Wizard and I” is a complex song that, at first, seems to be a hopeful anthem for Elphaba finally being accepted somewhere. However, it has dark undertones as she is unknowingly predicting her own death. The song takes a humorous/lighthearted approach to this dark theme, so I wanted to match that level of dark humor with my dish. “I’d be so happy I could… MELT!”.

I served a baked brie round with basil pesto to turn the cheese green for Elphaba. I used toasted pumpernickel bread for her hair (if only I could micro-braid pumpernickel), and I cut circular pieces with a hole in them to resemble her glasses.
I purchased a truffle & basil pesto from TJMAX, but if you can’t find something similar, a regular basil pesto is good too. The important thing is that it’s green!
This dish is served relatively early on in the movie night, so it’s one of the last things I prepped before starting the movie. Slice the pumpernickel into small pieces. Place them on a baking sheet, drizzle with some olive oil on top, and toast them in the oven at 350 degrees F. It should only take about 5-7 minutes to toast them. I then covered them in foil and left them on my counter for easy access when it was time for me to serve.
To make the baked brie, you will need a small brie round and pesto. Cut off the top layer of the brie so the cheese is exposed. Place the brie on a baking sheet and bake in the preheated oven at 350 degrees F for 5 minutes. Then take it out and add about 2 tablespoons of the pesto and mix it with the melted brie so it turns green. Bake for an additional 5 minutes.
When the brie was done baking, I took it out of the oven and placed it on the serving plate. I kept the plate on my kitchen counter for easy access.
To serve: I microwaved the plate with the brie to reheat the cheese. It only needed about 30 seconds. I then added the pumpernickel bread for her hair and glasses. Make sure you have the glasses cut before you start the movie so it’s prepped and ready to go.

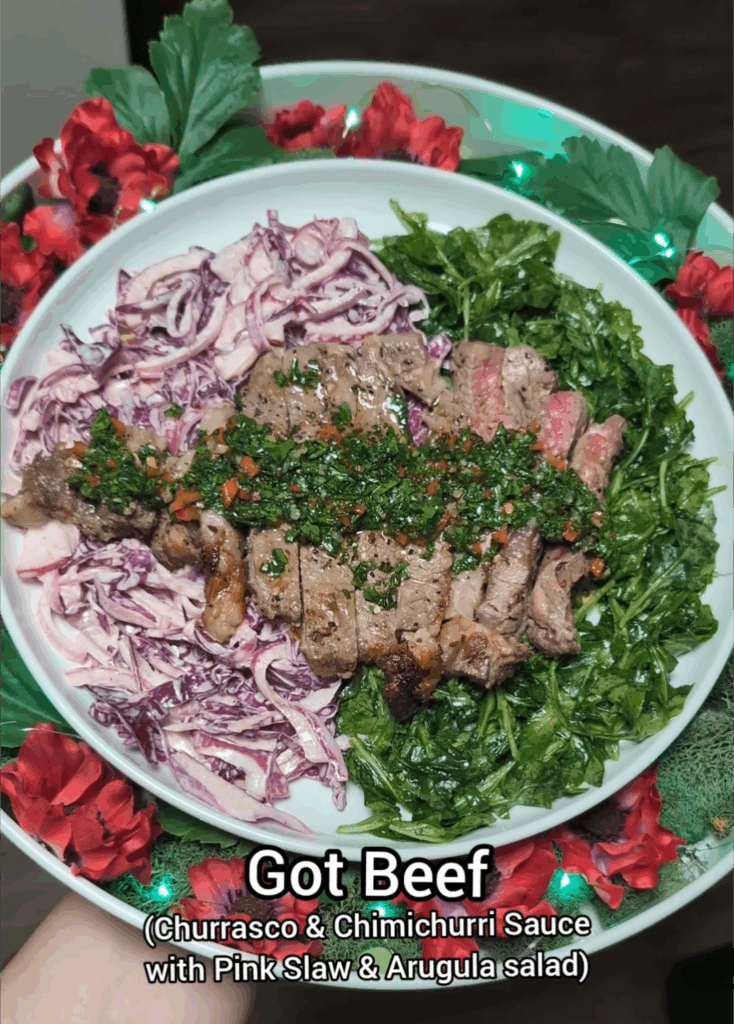
Got Beef
For this scene, I wanted my dish to resemble the split screen of Galinda and Elphaba fighting. For Galinda’s half of the plate, I served a pink slaw. For Elphaba’s half of the plate, I serve an arugula salad. On top of the split dish, I served a chimichurri steak because they got beef!

Pink Slaw Recipe– I changed a few things about the dish. I personally don’t like beets, so I replaced those with shredded purple cabbage. I also used mayo instead of ranch dressing. I made this earlier in the day and stored it in an airtight container in my refrigerator.
Arugula Salad– To make this simple salad, I premade a salad dressing containing equal parts olive oil and lemon juice. I also added a pinch of salt and ground black pepper. Mix the dressing a taste it. Adjust the portions based on your taste. I also pre-washed the arugula and patted it dry with a paper towel. Store the arugula in your refrigerator and DO NOT add the dressing until it’s time to serve. The dressing will make the salad soggy if you add it too soon.
Churrasco & Chimichurri Sauce Recipe– I made the chimichurri earlier in the day. I like to add some diced red peppers to my chimichurri, but that’s optional. For the steak, I cooked it in a cast-iron pan close to when I was about to start the film. It needs to marinate for at least 30 minutes, so keep that in mind. I don’t think steak tastes as good reheated, so I wanted it to be fresh. After it was done cooking, I let it rest on a cutting board for a few minutes before cutting the steak into slices. I let the steak rest on the kitchen counter until it was time to serve. This dish is a salad, so it’s okay that it’s not hot when you serve it.
To Serve– When it’s time to serve, I drizzled some of the dressing I made onto the arugula and massaged it into the salad. On a serving plate, I added the arugula salad to half the plate and the pink slaw to the other half. I then added the sliced steak pieces to the center of the plate and topped it with chimichurri. If you have all the elements of the dish prepped before the movie starts, it should only take about two minutes to bring the dish together.
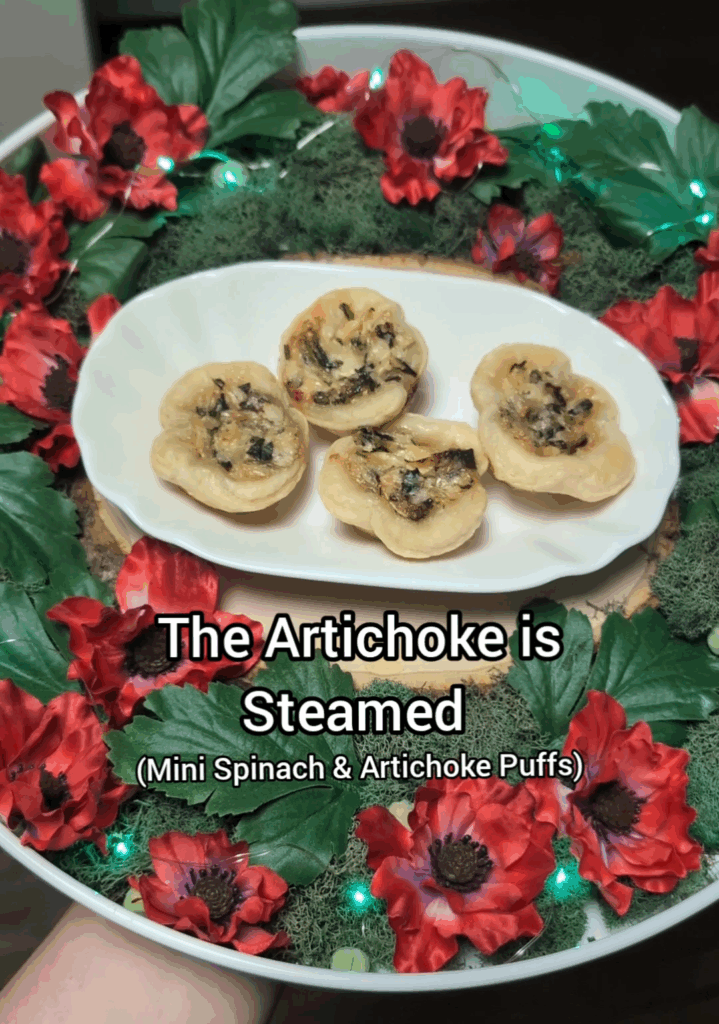
The Artichoke is Steamed
I’m personally an Elphaba girl, but I have to give Galinda credit. It was a good burn. LMAO!

Mini Spinach and Artichoke Puff Recipe
To save time, I bought a premade spinach and artichoke dip at my grocery store. My store usually sells it in the deli (prepared foods) section.
I baked these earlier in the day and stored them in an airtight container in my refrigerator. Before serving, I microwaved it for about 30 seconds.
Elphie Tears
A little bit of Elphie Tears…. A little bit of my tears…. This scene always gets to me!

Pistachio Martini Recipe
Ingredients: Serves 1
4oz Pistachio cream liqueur (my favorite is the brand Valmas)
1oz vodka
1oz simple syrup
Pistachio cream spread (to decorate glass)
Instructions:
Add the pistachio cream liqueur, vodka, and simple syrup to a jar and shake to combine. Store in your refrigerator until it’s time to serve. Make sure to multiply the ingredients depending on how many people you are serving. This is a great item to prep ahead of time to save time on the day of the movie night.
Prep your glasses earlier in the day by drizzling or smearing pistachio cream in your glasses. Make sure the mouth of the glass is small so you can fit the chocolate witch’s hats on top.
When it’s time to serve, shake well and pour your premade drink mix into your glasses and top with your Dubai Chocolate-filled witch’s hat.
Dubai Chocolate-filled Witch’s Hats:
I made a few changes to this recipe to simplify things. I did not roll them in black sanding sugar or make a fondant decoration. I left them covered in just chocolate. I also did not use a cookie as a base. It was too much work for all the cooking I had to do for other dishes, so I just used extra melted chocolate and made a round base for the hat. I also did not fill the hats with M&Ms. I wanted to continue the pistachio theme, so I filled the hats with Dubai chocolate.
Dubai Chocolate Filling Recipe
Just make the filling portion of this recipe:
150g/5ozs kataifi pastry, chopped and separated
360g/12.7ozs pistachio paste
20g/0.8oz tahini
Fat pinch salt
First make the kataifi filling using a large, high sided frying pan. If you have a small frypan I’d recommend doing this in two lots, halve the butter and kataifi and cook separately to ensure that it is completely toasted. In a very large frying pan with high sides melt the butter on medium heat and add the kataifi pastry, breaking it up as you add it in. Toast the kataifi pastry well all over. This will take around 10 minutes to toast the whole batch. This is very important to ensure that you get the requisite crunch. In a large bowl mix the pistachio paste, tahini and salt and then add in the kataifi.

POP-ular
“Pink goes good with green!”

Green and pink popcorn for “Popular”!
I bought the green popcorn from TJMAX. It was key lime-flavored, which sounds weird, but it was sooooooo delicious! I could not find any pink popcorn at the store, so I ended up making it. I would suggest buying it if you can, though, because the store-bought one had a better crunch to it. The homemade one was still very good, though!
You can use green food coloring gel instead of pink if you want to make green popcorn too!
This is a dish I made earlier that day. I also set it up in the serving bowl and had it easily accessible on my kitchen counter so I could serve it quickly.

Poppy For Your Thoughts
“He’s been thinking”. “I’ve been thinking”. One of the funniest lines in the movie!

Toasted Poppy Martini Recipe
Ingredients- Serves 1
2oz Vodka
4oz Toasted Poppy Syrup (see below)
.5oz Lemon Juice
Instructions-
Add the Vodka, Toasted Poppy Syrup, and Lemon Juice to a jar with a lid and shake. Store in your refrigerator. I like to premix my drinks the day before movie night to help save time. Before serving, add some ice to your jar and with the lid on, shake well. Then strain the drink into your glass. Remember to multiply the ingredients depending on how many people you’re serving.
I also used a mini clothespin to attach one of the fake poppy flowers to the glass as a garnish. This is optional, of course, but it ties everything together nicely.
Toasted Poppy Syrup Recipe
Ingredients-
1 tbsp poppy seeds
¼ cup rose buds (sold as a dried tea ingredient)
¼ cup sugar
½ cup water
Almond extract (just a dash)
Instructions-
Start by adding the poppy seeds to a dry, small saucepan. On medium heat, stir constantly so the poppy seeds don’t burn. Let them toast for about 7-10 minutes. The seeds will be fragrant. When you are done toasting them, add in your water, sugar, and rose buds. The rose buds add a slight floral flavor that brings in the flower element of the poppy. Stir often. Once all the sugar has dissolved, takes about 5 minutes, turn the heat off and remove the pot from the burner. Add a dash of almond extract. This adds an extra sweet, nutty flavor to the drink.
Let the syrup cool. Leaving it sitting for a bit will also give the rose and poppy seeds extra time to infuse their flavors. Once the syrup is mostly cooled, pour it into a bottle or jar using a fine mesh strainer. You may need to use a funnel too, depending on how narrow the bottle is. The fine mesh strainer will catch the rose buds and poppy seeds, so what you’re left with is the liquid syrup. Using a spatula or spoon, press done on the contents of the strainer so any extra juices are added to your bottle. Let the syrup completely cool before mixing it in with your drink.
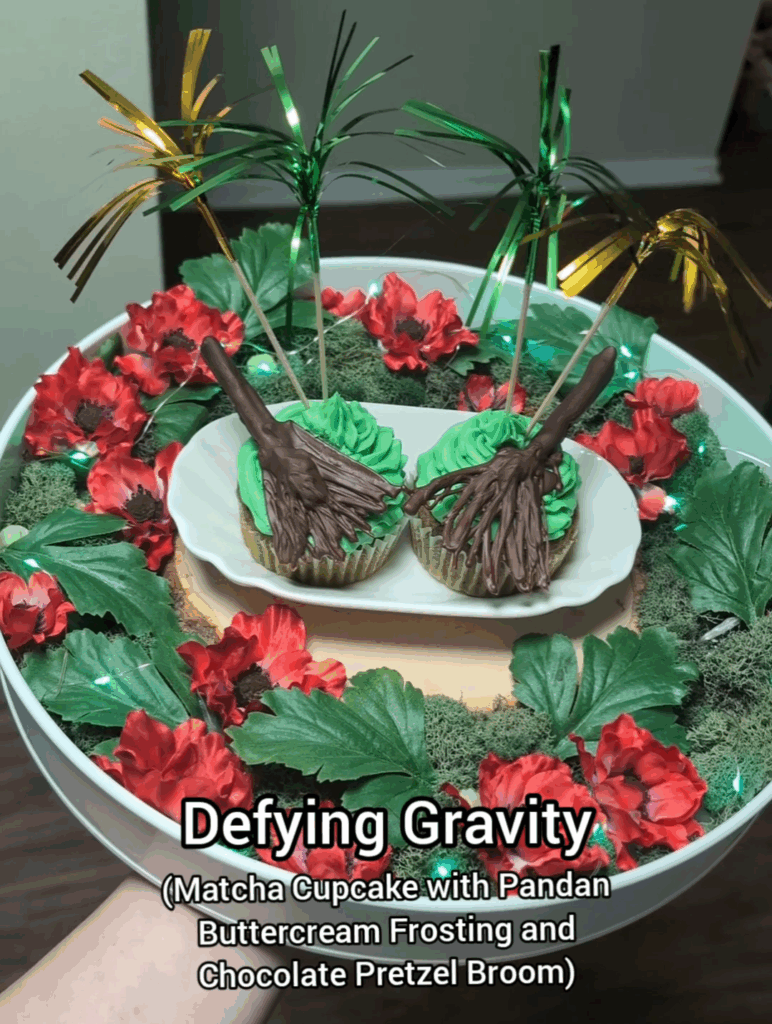
Defying Gravity
Sing it, Cynthia!

I wanted this dish to be ALL ABOUT ELPHABA! I went with an all-green cupcake. Matcha cupcake with a pandan buttercream frosting. Pandan has a sweet coconut flavor. It’s so good! I also wanted to bring in an element of her power, so I added a chocolate pretzel broom as well as green and gold firework garnishes to resemble the Emerald City going ka-boom!
Matcha Cupcake Recipe <— Click Here
Pandan Buttercream Frosting Recipe
Ingredients-
1 cup unsalted butter (room temperature)
4 cups powdered sugar
¼ cup milk
2 tsp vanilla extract
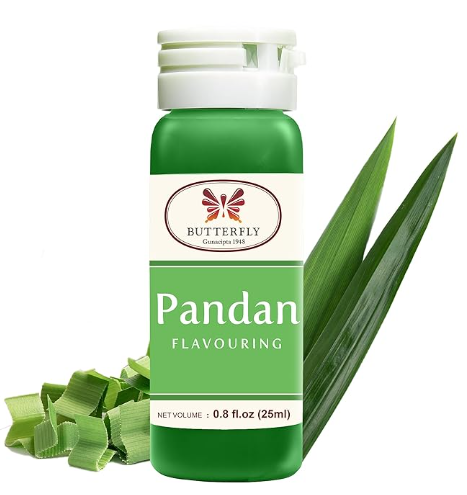
4-5 drops of Pandan flavoring
Pinch of salt
Instructions-
In a large bowl, add all your ingredients and mix with a hand mixer. To make the buttercream more vibrant green, add more drops of Pandan Flavoring.
Chocolate Pretzel Brooms– To make the chocolate broom garnish, I used the same melted chocolate from the witch’s hats I made for “Elphie Tears”. Dip your pretzel sticks in the melted chocolate and place them on a baking sheet lined with parchment paper. Each chocolate-dipped pretzel equals one broomstick. Add the remainder of the melted chocolate to a piping kit with a very small attachment. Drizzle the chocolate over the bottom of the chocolate pretzels, fanning it out to create the “broom look”. Let the chocolate brooms cool in the refrigerator for about 10-15 minutes.
Assemble the Cupcakes-To assemble the cupcakes, add the buttercream to a piping bag with a decorative tip. Pipe the cupcakes and then place a chocolate pretzel on top. Finish the look off by sticking the green and gold firework food picks into the cupcakes. The cupcakes do not need to be refrigerated, so I made them earlier in the day and left them on my kitchen counter. This makes it easy to quickly serve before the scene.