Zootopia
Culinary Movie Night Guide
Difficulty Level: Medium


Table of Contents
Equipment
Here is a list (with links) of all the equipment and decorations I used for my Zootopia Culinary Movie Night. I would be incredibly grateful if you used my links. I will make a little commission, and that would really help with the cost of the website and related expenses. You can find my full Amazon List here!
Serving Tray Decorations
I wanted the serving tray to resemble the Hopp’s Family farm, so I decorated it with a small white picket fence, green moss, a flat wooden log, and fake blueberries and carrots. I sourced all of these items from craft stores. My favorite is Michaels because they regularly have 40% off sales or more.
Pawpsicle Hustle

- Green Floral Foam (to stick the popsicle in)- I got this from the floral section in the craft store.
Carrots For One

The Big Donut
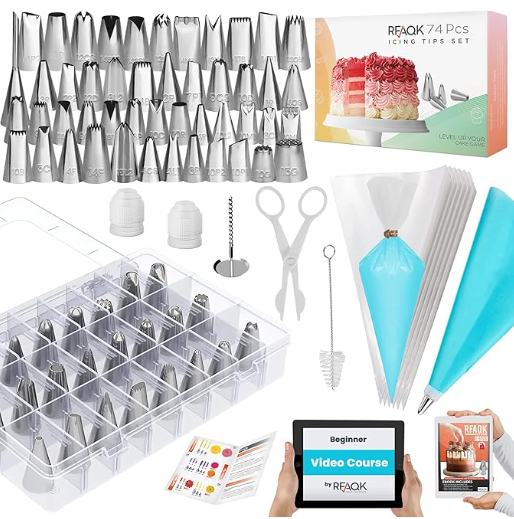
- Piping Kit (for letters and sprinkles)
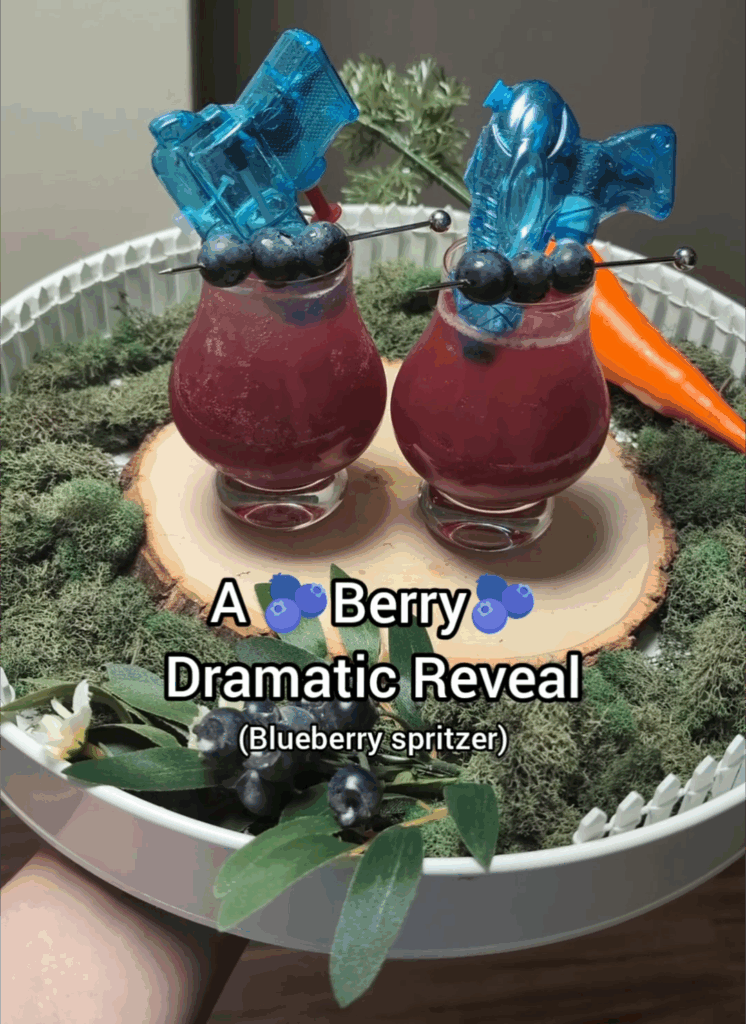
A Berry Dramatic Reveal

Tips
- Personalizing the Menu– When planning your menu for your movie night, don’t feel pressured to serve exactly what I chose to serve. Feel free to remove/add/replace dishes so it makes sense for you and your guests. I’ve included an editable menu in this guide to make it your own!
- Managing Your Time– These movie nights can take a lot of time to prepare, especially if you plan on doing everything yourself. If you are planning a culinary movie night with a group, I suggest doing a potluck style. Have each person contribute a dish or two, and it’ll be very manageable. If you are planning on preparing everything yourself, here are some things I’ve learned while doing these often:
- Make A To-Do List– I can’t stress this enough! It’s very easy to forget simple things like opening a bottle of prosecco before you start the movie so you aren’t fumbling with the seal before serving. I have done this so many times! Your to-do list should include absolutely everything you need to do leading up to pressing play.
- Start Early– I learned this after a few very long days of trying to cook, prepare, and host all on the same day. Anything that can be done in advance should be done during the days leading up to the movie night. Some examples include pre-mixing cocktails, making desserts and other foods like soup that hold up well in the refrigerator, and pre-making any handmade decorations. Hosting is stressful enough without having to make a multi-course meal in one day, so get as much done as possible before.
- No Pausing– The question I get asked the most is “Do you pause the movie to bring out the next dish?”. It’s important to me that I don’t disrupt the flow of the movie, so I do not pause. It’s also important to me to enjoy the movie with my guests. Setting up everything I need before the movie helps me bring out each dish efficiently. The setup usually includes plating each dish and storing it in the refrigerator, so all I have to do is quickly microwave it before serving. I set out any garnish or decoration on my kitchen counter so it’s easily accessible. I even pour the cocktails into their cups and store them in the refrigerator, so all I have to do is add ice and any finishing touches before serving. Always think about how you can do the bare minimum during the film. I always include the setup in my to-do list as well, so I don’t forget about any aspect of the preparation.
- Optional– If your budget permits, I recommend ordering food that you may not be confident in cooking or food that may take a lot of time to cook. I do this occasionally, and it helps cut down the preparation time and supports local businesses. Win Win!
- Decorations- Have fun and decorate your space and serving tray! Add elements from the theme of the movie, but make a budget and stick to it! I usually use things I already own because these movie nights are DIY, and I don’t need to spend a fortune to make it fun. If I do buy decorations for the movie night, I try to find cheap or reusable things. If you are curious about some of the things I’ve used during the movie nights, here is a link to my Amazon List. All these items are things I bought with my own money and enjoyed using.
- Manage Stress- Culinary Movie Nights are fun and a great way to show your friends and family you love them. Sometimes, things you envision in your head will not come out perfectly. When this happens to me, it can be discouraging and stressful, but the people I do these for have NEVER expressed anything but appreciation. Go easy on yourself and remember that your guests are just happy to be there and to experience something you put so much thought and time into making.
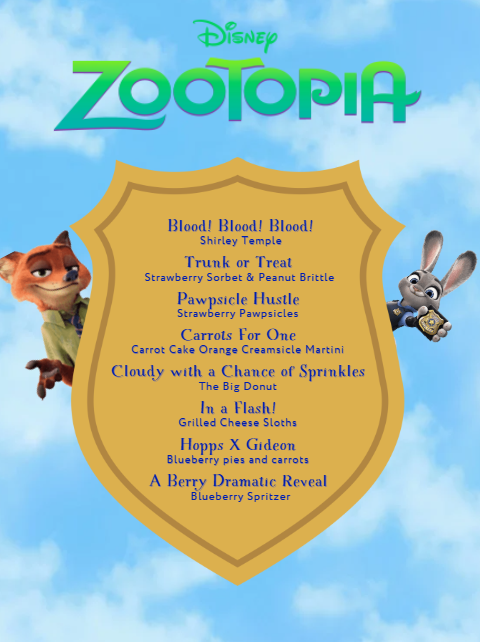
Menu
I have created a free, editable, and printable menu for all the dishes I served for this Culinary Movie Night! Feel free to change it to what will work for you and your guests.
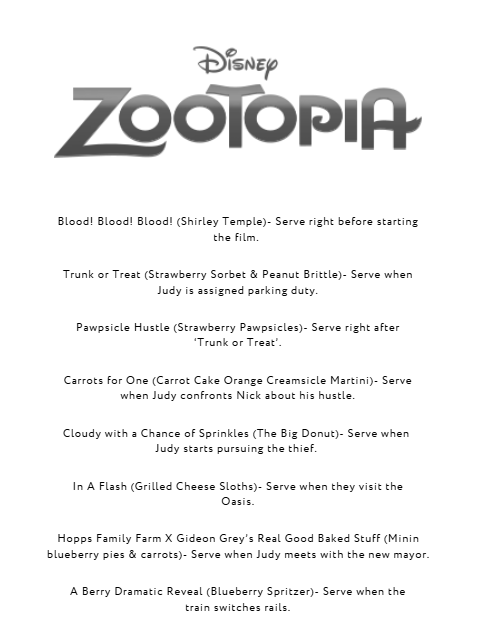
Cues
These are the cues I used during the movie night so I knew when I had to get the next dish ready to serve.
Please note: Each cue describes a scene that happens a few minutes before I have to serve the dish. It does not describe the scene the dish is based on. Some people get confused with that, so I thought I should specify. Because the cues only give you a few minutes to prepare the dish, it’s very important to have everything cooked and set up before the film starts. Review the “Tips” section above for ways to make this seamless.
I often get asked why I don’t use time stamps to keep track of when to serve the next dish and the simple answer is, I don’t find those helpful. If I used timestamps, I would have to have a separate timer going or keep disrupting the movie to check the timestamp. It makes much more sense to have cues to indicate when the next scene is about to happen. This allows me to enjoy watching the film with my guests.
Below is the link to the cues I used. This document is editable, so you can make updates if you decide to take out or change dishes.
Recipes
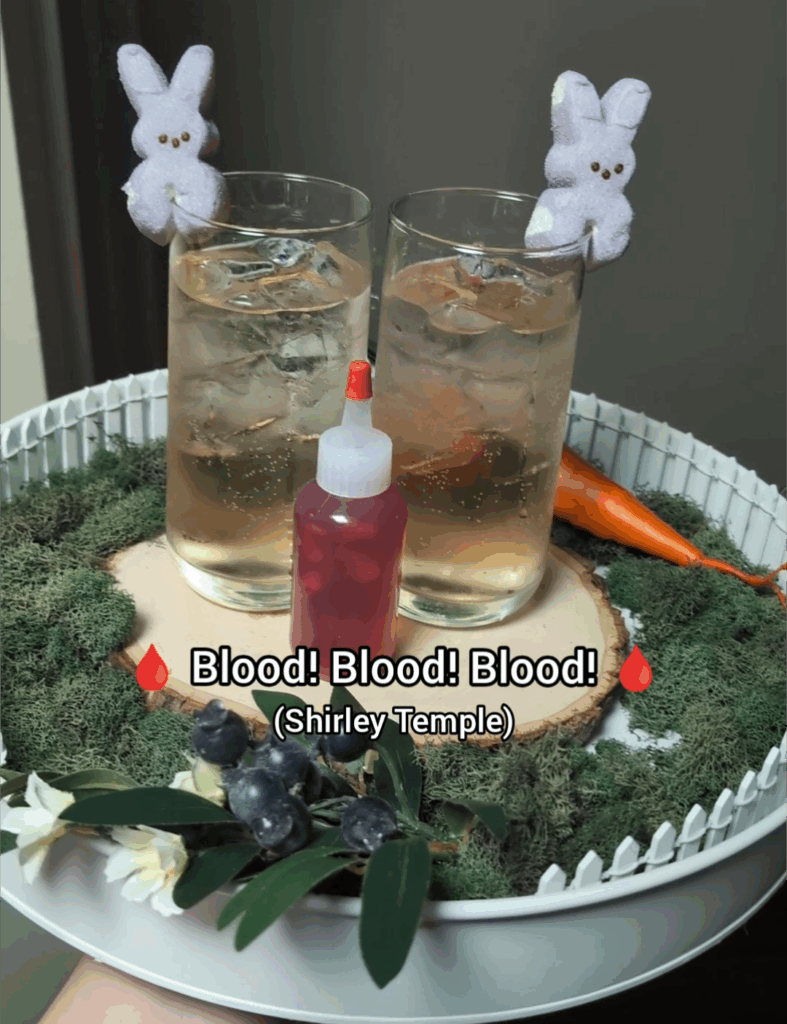
Blood! Blood! Blood!
I was inspired to serve a Shirley Temple when little Judy used the squirt bottle to create a fake blood scene. I thought it would be a fun and interactive way to start the film by squirting the grenadine into the Sprite, as Judy is dramatizing her role as prey. Lol
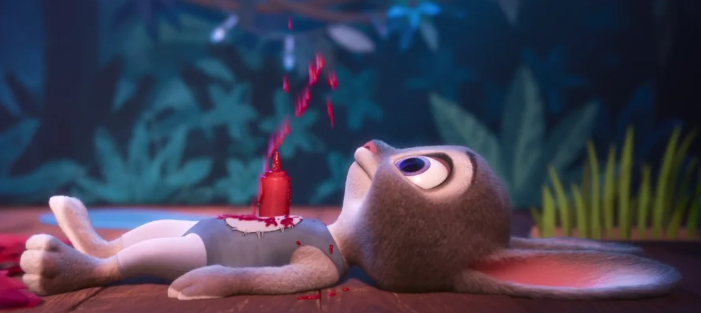
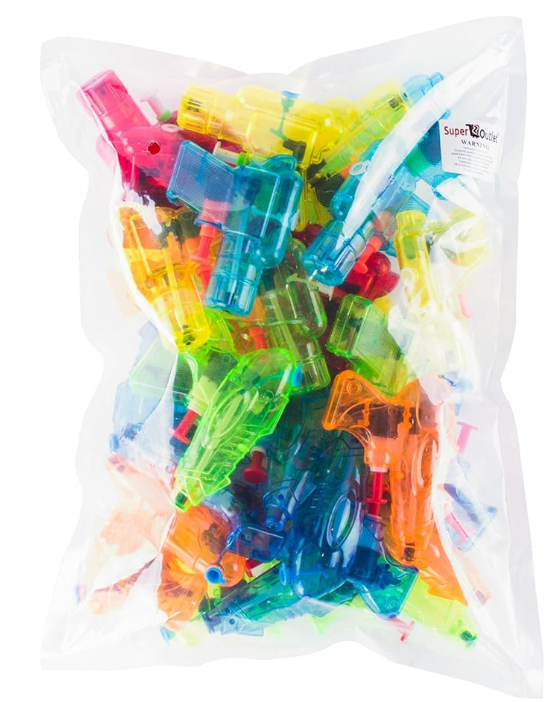
I also added a purple bunny Marshmallow Peep as a garnish to tie in Judy. I would recommend either blue or purple for the Peep since those are Judy’s colors. I used the little squirt bottles I had on hand for the grenadine, but you can use the bottle it already comes in. This is also the beginning of the movie, so I didn’t have to prep anything earlier. I made the drinks fresh right before I started the movie.
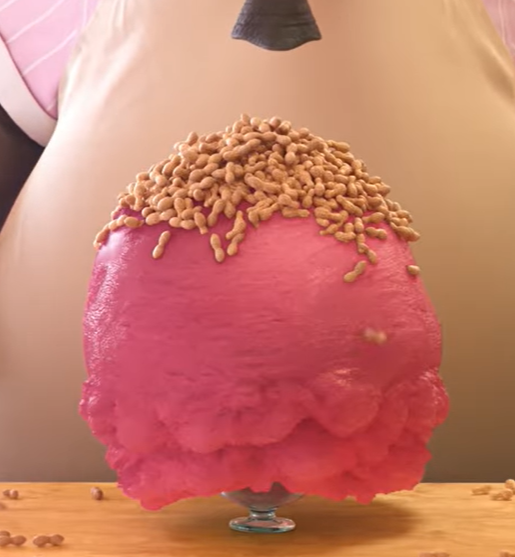
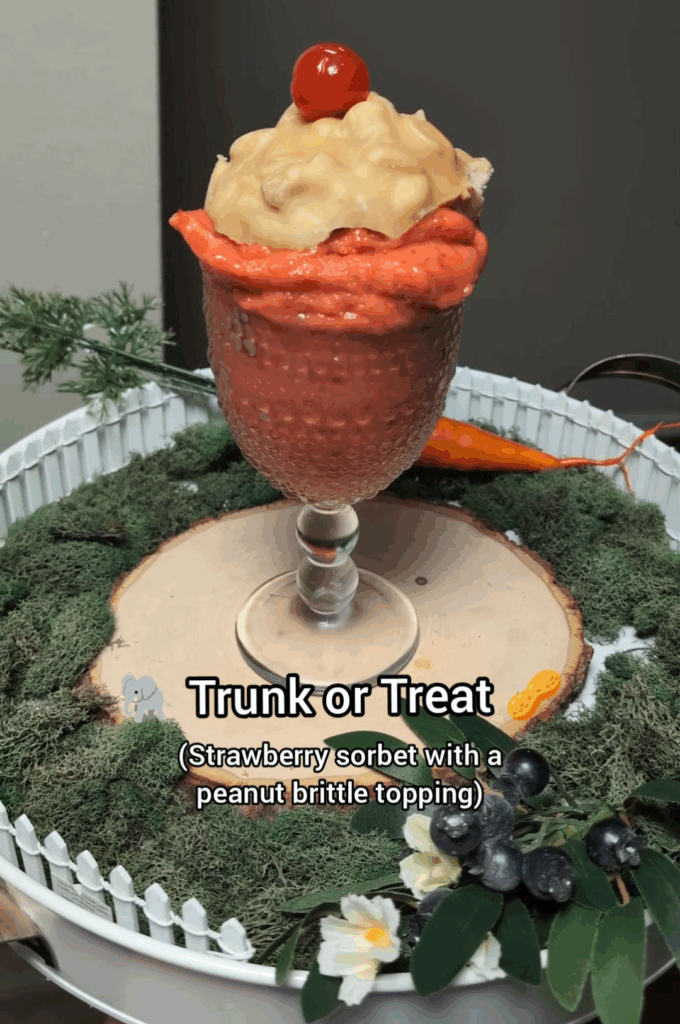
Trunk or Treat
I decided to serve a strawberry sorbet for this dish since it goes so well with peanuts. It’s like a PB&J ice cream! I did want to top the sorbet with shelled peanuts, so I had this idea to use peanut brittle instead. I’m so glad I did because it added a nice crunch to the dish! If you want to save time, you can just add some peanuts on top. That would be delicious too, and much easier. Of course, you can’t forget the cherry on top!
I made both the sorbet and the peanut brittle earlier in the day. You can even make the peanut brittle the night before to save time. Before starting the film, I scooped the sorbet into the serving glass and stored it in the freezer. Then, when it was time to serve, I added the peanut brittle and cherry on top.
Pawpsicle Hustle
The iconic Pawpsicle scene!
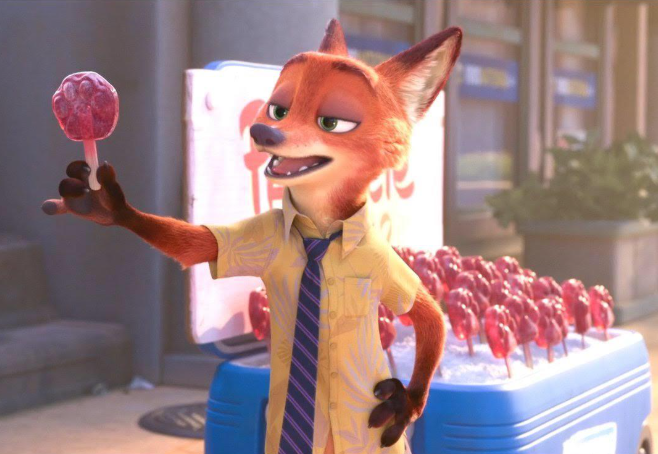
I wanted to make my life as easy as possible while preparing for this movie night, so to make these pawpsicles, I used the strawberry sorbet from the “Trunk or Treat” dish and watered it down to make the liquid for the paw molds. I used a 1 tbsp (strawberry sorbet) to ¾ cup (water) ratio to make the liquid.
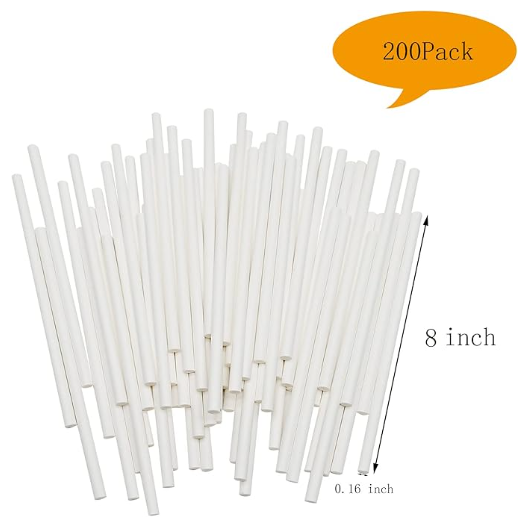
I used these Silicone Paw Molds and poured the liquid to the top of each paw. I also used these Lollipop Sticks for the popsicle sticks. You can also use wooden sticks like they do in the movie. I already had these on hand from when I filmed Encanto, and I always try to use what I have before buying something new.
Once you have your molds filled and your sticks placed in the molds, put the molds in the freezer. Make sure the sticks are mostly submerged so they get frozen inside the mold. I bent my sticks a little to make them more submerged.
Make sure you do this hours before the movie night or even the day before, so the paws are fully frozen. When they are frozen, gently pop them out of the paw molds with the sticks still intact. Store them in the freezer until you’re ready to serve.
To serve, you can put them in a bowl full of ice like the cooler Nick has in the movie. Or, you can do what I did, which is stand them up by sticking them into a floral foam holder I got from the craft store. If you do this, make sure to tape the foam down so the weight of the pawpsicles doesn’t make it fall over.

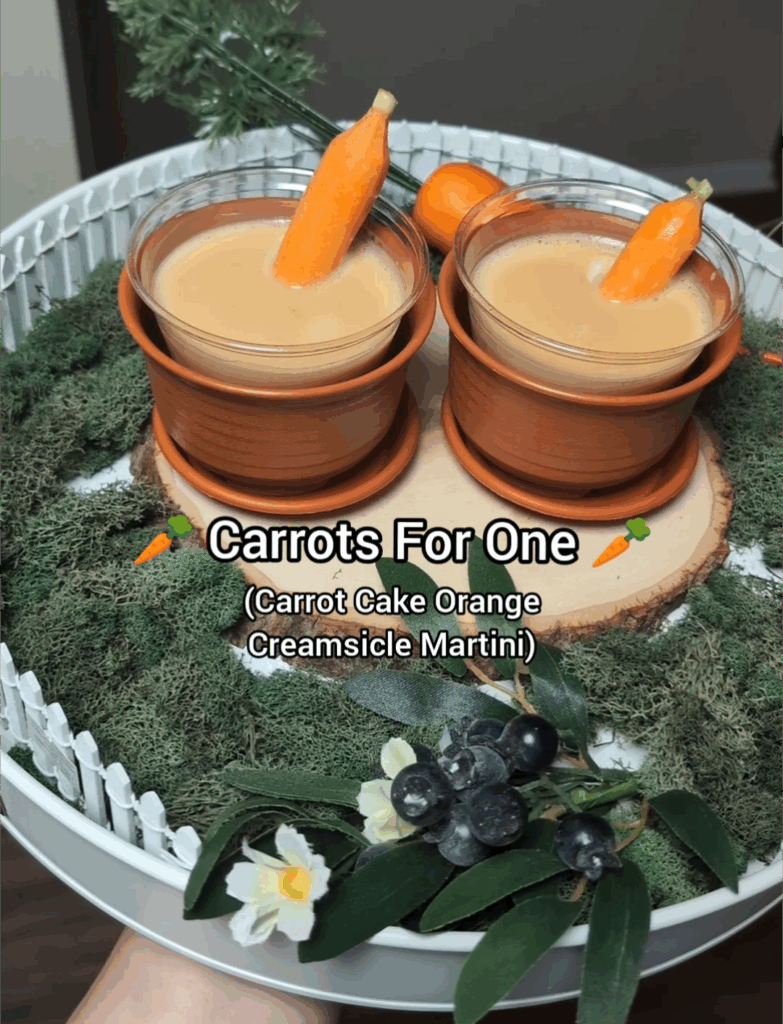
Carrots For One
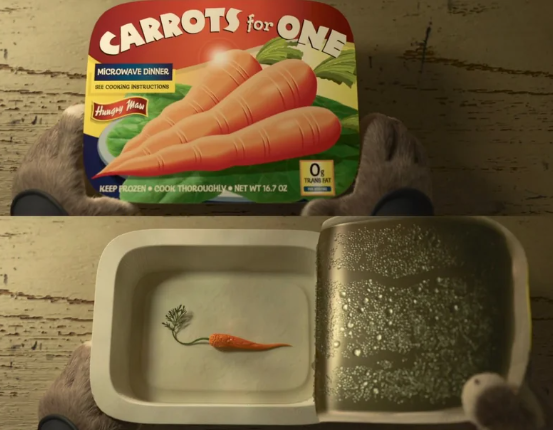
Carrot Cake Orange Creamsicle Martini
Non-alcoholic Orange Creamsicle Recipe
After you make your creamsicles, add in 1 oz of carrot cake syrup. Mix or shake well to combine all ingredients. Add a single carrot as a garnish to tie in the movie scene and serve in these small planters if you want to add an extra farm element.
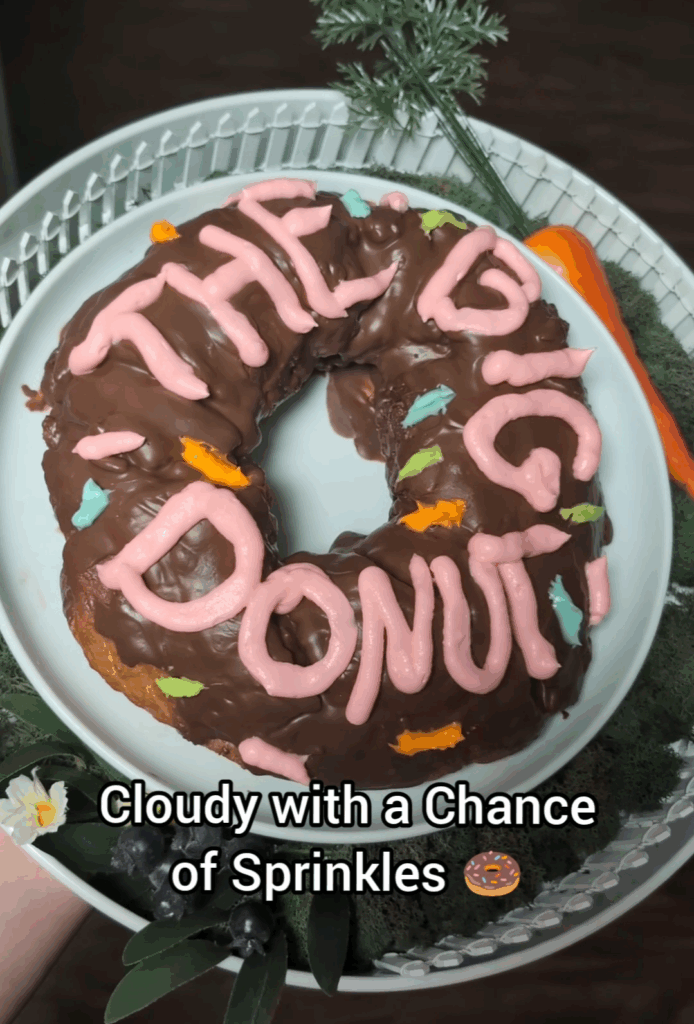
The Big Donut
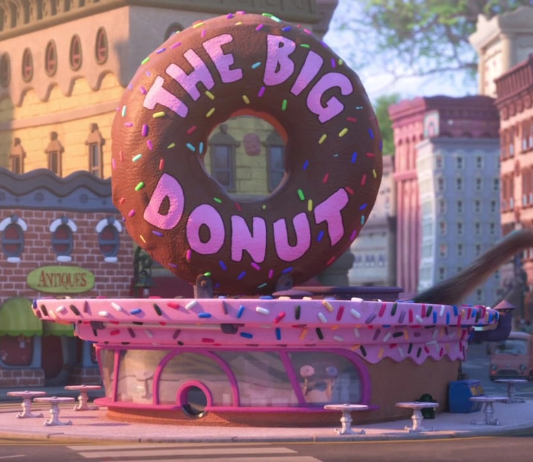
For The Big Donut scene, I wanted to serve an actual huge donut. I made the dough for multiple donuts, but instead of dividing it, I kept it as one. In hindsight, I wish I had divided it into two and made two big donuts, because one was far too heavy. When I flipped it to cook the other side, it broke from the weight, and I had to Frankenstein it back together with chocolate icing.
Follow this recipe for Chocolate Glazed Donuts, but split the dough into two donuts instead of twelve.
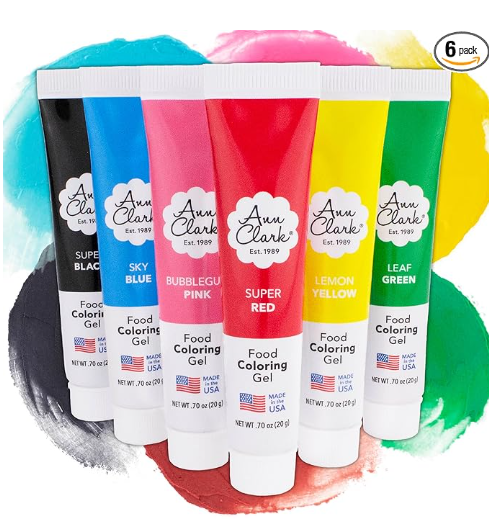
For the icing sprinkles, and the writing ‘THE BIG DONUT’, I used this vanilla buttercream recipe. I then split the icing into multiple bowls and used Food Coloring Gels to make the different colors.
To decorate the donut with sprinkles and the writing, I used this frosting piping kit. I wanted the donut to be relatively fresh, so I fried it about an hour before I wanted to start movie night. Keep in mind you need to allow for time for the dough to rise, so plan accordingly when you’re making your to-do list. I also recommend having the frosting made before. Even the day before. This way, you have it ready to go once the donut is cooled and you’re ready to decorate it.
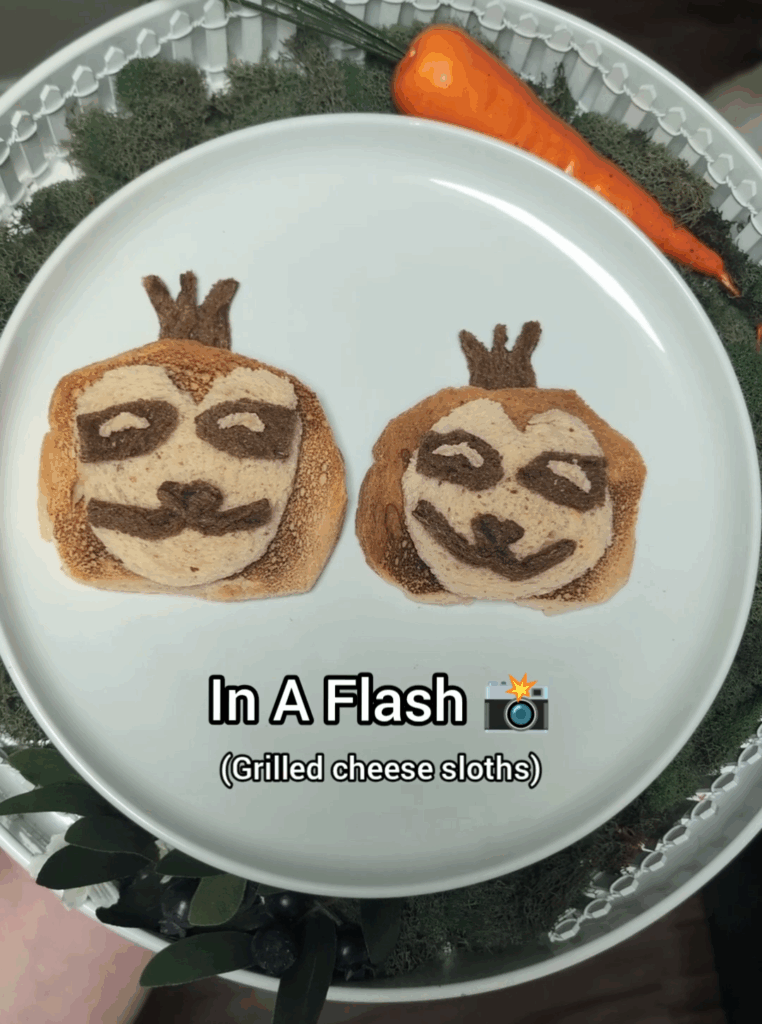
In A Flash
This movie night features a lot of sweets, so I wanted to incorporate a savory dish when possible. Sloths at the DMV is the funniest gag EVER, so I thought making sloth sandwiches would be perfect! I’m glad I did because my husband’s reaction was priceless! Also, the main sloth is named Flash, so I thought the name fit perfectly in the scene!
Here is where I got the inspiration for the sandwich design. They walk you through how they made the design. Theirs came out so much cuter than mine. I had to make two attempts at them, but I think my final result is cute too!
You can make any sandwich with these. I chose a grilled cheese because I had cheese already at home, and I thought a non-meat option was more fitting for the movie. I made a grilled cheese as normal, and then when it was cooled, I cut it into the round sloth head shape and added all the final touches. This was the last thing I prepped before starting the movie because it was the only food item that really needed to be served fresh.
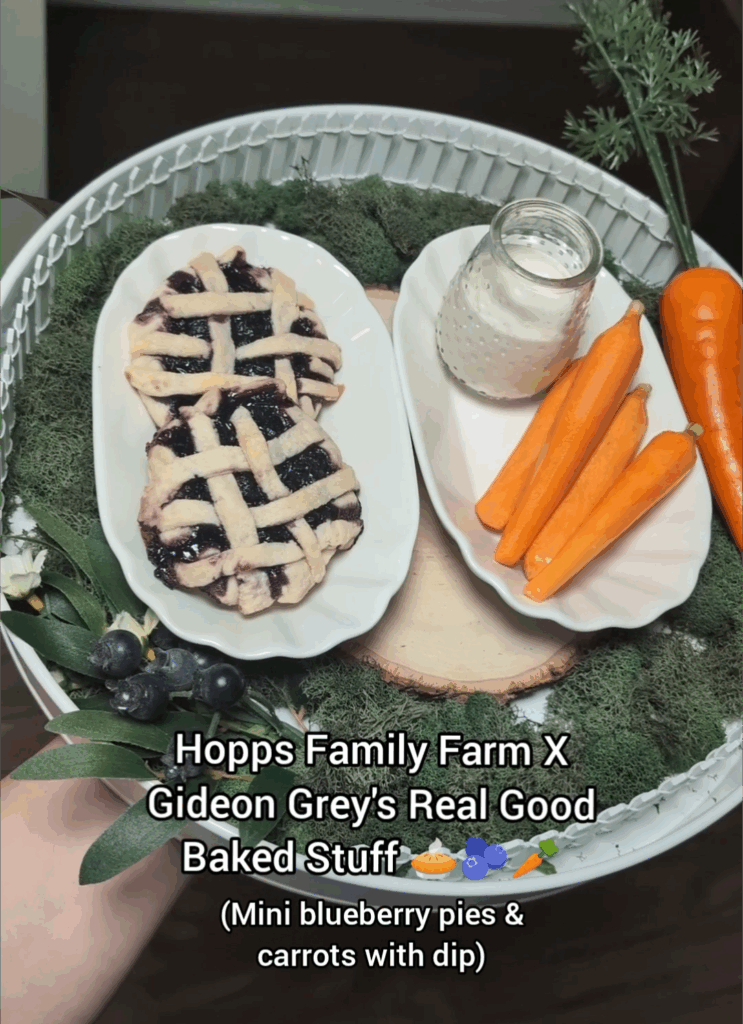
Hopps Family Farm X Gideon Grey’s Real Good Baked Stuff
To represent the prey and predator coming together in peace, I made mini blueberry pies for Gideon and Carrots and ranch to represent the Hopps. The carrots I used were the same as the garnish in “Carrots For One”.
I made the mini pies the day before to save time and stored them in an airtight container. Before starting the film, I placed the pies on the serving dish and kept them on my kitchen counter for easy access. I also plated the carrots and ranch and kept that dish in the refrigerator. Both dishes were easy to access and served quickly when it was time.
A Berry Dramatic Reveal
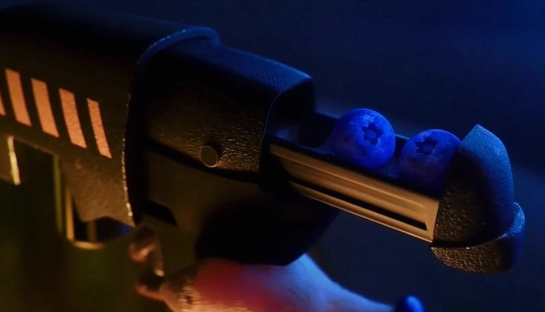
Blue Berry Spritzer– This is an easy one to make! I added blueberry juice to one-third of the glass and filled the rest with Sprite. If you want to add some alcohol, you can add an ounce or two of gin or vodka.
For the garnishes, I used this Cocktail Pick with three blueberries on it to match the three blueberries they swapped in the gun. I also added mini water guns to the top of the drink to tie in the final reveal.