Project Hail Mary
Culinary Movie Night Guide
Difficulty Level: Medium

Table of Contents
Equipment
Here is a list (with links) of all the equipment and decorations I used for my Project Hail Mary Culinary Movie Night. I would be incredibly grateful if you used my links. I will make a little commission, and that would really help with the cost of the website and related expenses. You can find my full Amazon List here!
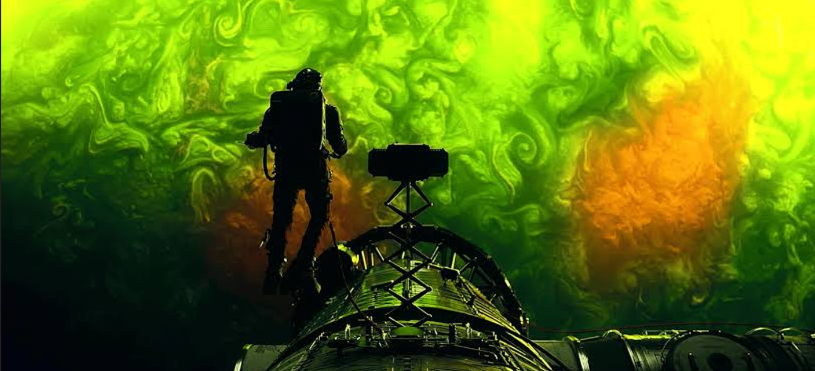
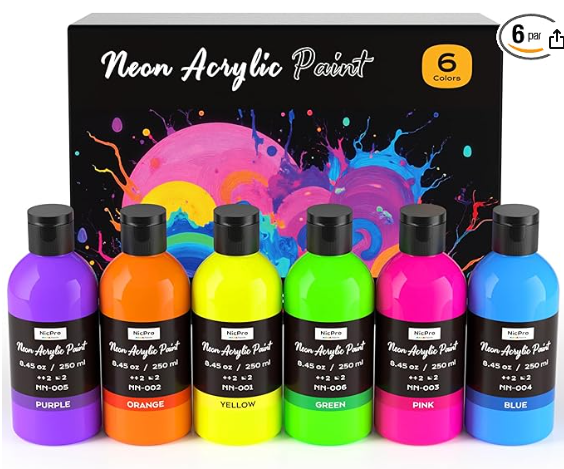
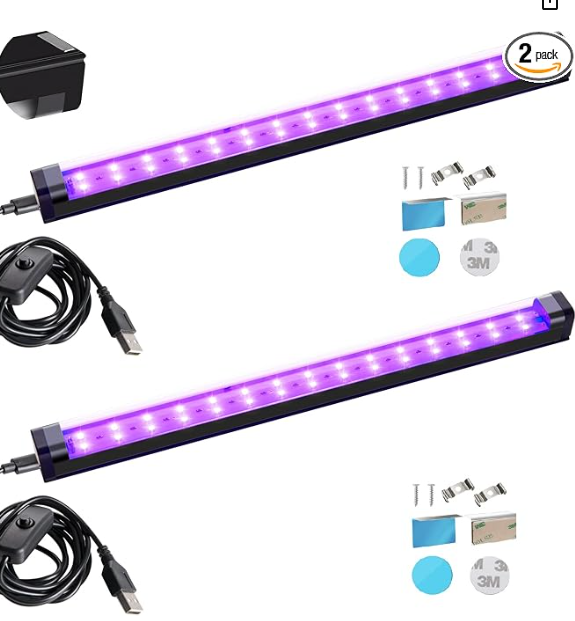
For the serving tray, I wanted to make one that looked like the Planet Tau Ceti. I bought air-dry clay and flattened it out to a circular shape. I let it dry for a few days. It was still not completely hardened, so I put another tray on the bottom of it. I used green and orange neon paint and a blacklight to create the bright swirls of the planet. This is optional, but you can also get a clay gloss at your local craft store, and it’ll add a nice glaze on top of the paint.
Tips
- Personalizing the Menu– When planning your menu for your movie night, don’t feel pressured to serve exactly what I chose to serve. Feel free to remove/add/replace dishes so it makes sense for you and your guests. I’ve included an editable menu in this guide to make it your own!
- Managing Your Time– These movie nights can take a lot of time to prepare, especially if you plan on doing everything yourself. If you are planning a culinary movie night with a group, I suggest doing a potluck style. Have each person contribute a dish or two, and it’ll be very manageable. If you are planning on preparing everything yourself, here are some things I’ve learned while doing these often:
- Make A To-Do List– I can’t stress this enough! It’s very easy to forget simple things like opening a bottle of prosecco before you start the movie so you aren’t fumbling with the seal before serving. I have done this so many times! Your to-do list should include absolutely everything you need to do leading up to pressing play.
- Start Early– I learned this after a few very long days of trying to cook, prepare, and host all on the same day. Anything that can be done in advance should be done during the days leading up to the movie night. Some examples include pre-mixing cocktails, making desserts and other foods like soup that hold up well in the refrigerator, and pre-making any handmade decorations. Hosting is stressful enough without having to make a multi-course meal in one day, so get as much done as possible before.
- No Pausing– The question I get asked the most is “Do you pause the movie to bring out the next dish?”. It’s important to me that I don’t disrupt the flow of the movie, so I do not pause. It’s also important to me to enjoy the movie with my guests. Setting up everything I need before the movie helps me bring out each dish efficiently. The setup usually includes plating each dish and storing it in the refrigerator, so all I have to do is quickly microwave it before serving. I set out any garnish or decoration on my kitchen counter so it’s easily accessible. I even pour the cocktails into their cups and store them in the refrigerator, so all I have to do is add ice and any finishing touches before serving. Always think about how you can do the bare minimum during the film. I always include the setup in my to-do list as well, so I don’t forget about any aspect of the preparation.
- Optional– If your budget permits, I recommend ordering food that you may not be confident in cooking or food that may take a lot of time to cook. I do this occasionally, and it helps cut down the preparation time and supports local businesses. Win Win!
- Decorations- Have fun and decorate your space and serving tray! Add elements from the theme of the movie, but make a budget and stick to it! I usually use things I already own because these movie nights are DIY, and I don’t need to spend a fortune to make it fun. If I do buy decorations for the movie night, I try to find cheap or reusable things. If you are curious about some of the things I’ve used during the movie nights, here is a link to my Amazon List. All these items are things I bought with my own money and enjoyed using.
- Manage Stress- Culinary Movie Nights are fun and a great way to show your friends and family you love them. Sometimes, things you envision in your head will not come out perfectly. When this happens to me, it can be discouraging and stressful, but the people I do these for have NEVER expressed anything but appreciation. Go easy on yourself and remember that your guests are just happy to be there and to experience something you put so much thought and time into making.
Menu
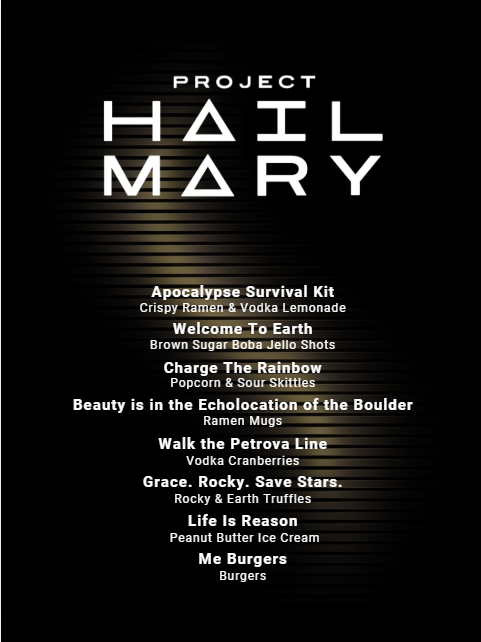
I have created a free, editable, and printable menu for all the dishes I served for this Culinary Movie Night! Feel free to change it to what will work for you and your guests.
Cues
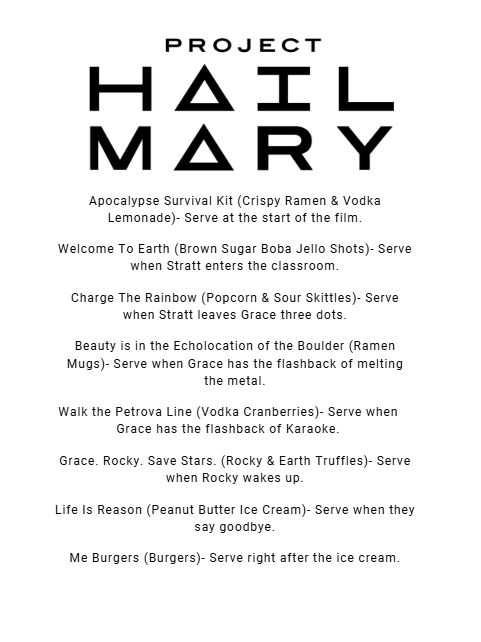
These are the cues I used during the movie night so I knew when I had to get the next dish ready to serve.
Please note: Each cue describes a scene that happens a few minutes before I have to serve the dish. It does not describe the scene the dish is based on. Some people get confused with that, so I thought I should specify. Because the cues only give you a few minutes to prepare the dish, it’s very important to have everything cooked and set up before the film starts. Review the “Tips” section above for ways to make this seamless.
I often get asked why I don’t use time stamps to keep track of when to serve the next dish and the simple answer is, I don’t find those helpful. If I used timestamps, I would have to have a separate timer going or keep disrupting the movie to check the timestamp. It makes much more sense to have cues to indicate when the next scene is about to happen. This allows me to enjoy watching the film with my guests.
Below is the link to the cues I used. This document is editable, so you can make updates if you decide to take out or change dishes.
Recipes
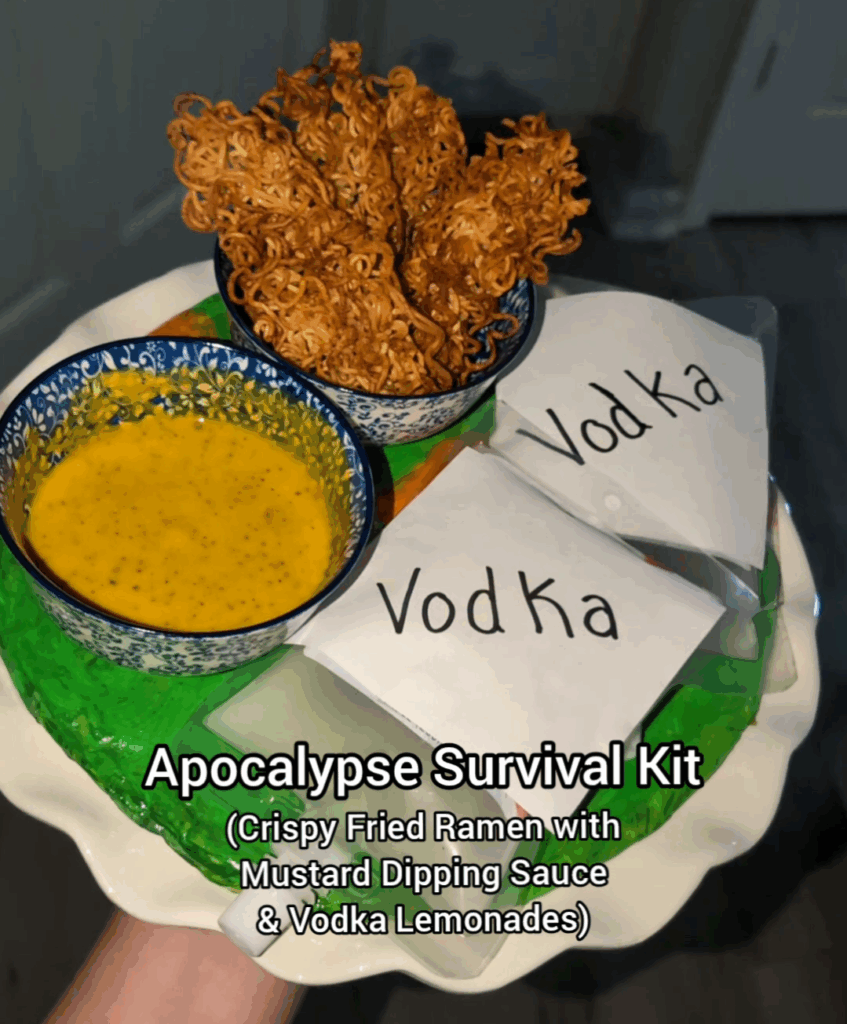
Apocalypse Survival Kit
Now you could raw dog a ramen packet with yellow mustard like Grace did in this scene, but I wanted to serve something a bit more cooked and tasty. LOL! I went with Crispy Fried Ramen chips and a yellow mustard dipping sauce.
To make the sauce, I added yellow mustard to a small bowl with some honey, salt, garlic powder, and black ground pepper. Mix, taste, and adjust the seasoning to your liking. I kept it super simple so the mustard taste would shine.
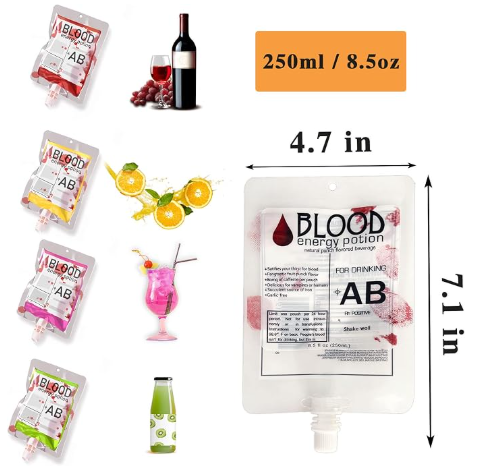
You also can’t forget about the vodka pouches from this scene! I didn’t want to serve straight vodka, so I made them vodka lemonades. To make these, I did a ratio of 2 oz of vodka to 4 oz of lemonade. Adjust the ratio depending on how strong you want them. Use a funnel to fill the pouches and seal them back up. I taped a paper to the pouches that says vodka to look like the one in the movie.
I made these vodka lemonade pouches ahead of time and stored them in my refrigerator so they were nice and cold for movie night.
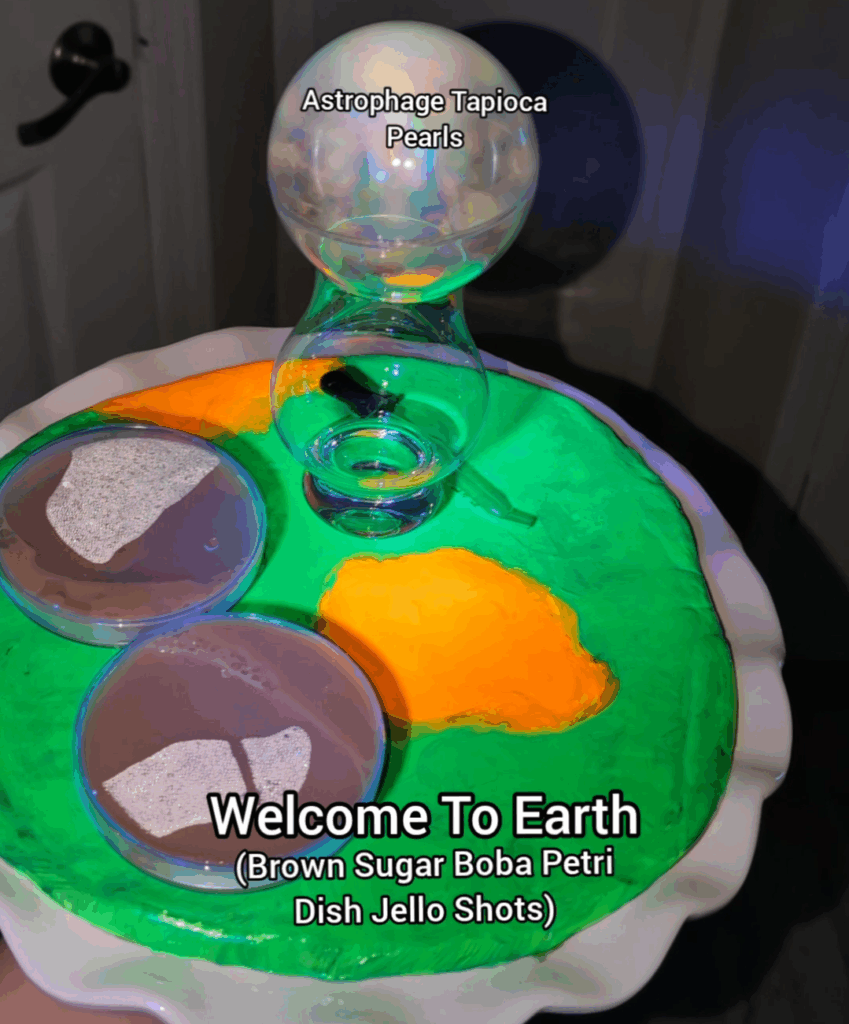
Welcome To Earth
The astrophage dots immediately reminded me of brown sugar boba, so I thought it would be a fun idea to make brown sugar boba jello shots, but have them in petri dishes to resemble the experiments Grace does.
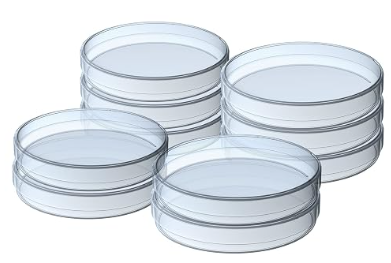
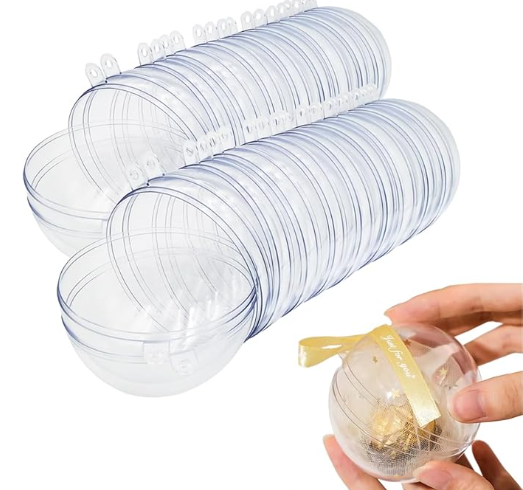
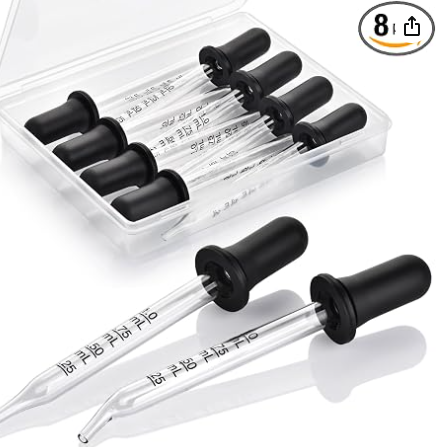
I placed the brown sugar boba pearls in these bubble containers that look like the ones in the movie. I used these petri dishes for the brown sugar tea jello shots. I used this dropper to add more brown sugar syrup on top to recreate the scene where Grace places the astrophage in the petri dish.
Brown Sugar Jello Shot Recipe:
Ingredients:
1/2 cup + 2 tbsp of hot black tea
2 tbsp of cold milk
2 tbsp of brown sugar
1 packet of gelatin
1/4 cup of vodka
Instructions:
- First, start by making your black tea in a medium-sized bowl. After steeping for a few minutes, add the brown sugar and stir until it’s dissolved.
- Then add the cold milk to the sweetened tea. Once the tea is warm but not scalding hot, add the gelatin packet and vodka.
- Mix well and carefully pour the mixture into your petri dishes. It will make about 4 jello shots.
- Place the petri dishes in your refrigerator and let them set for a few hours or overnight.
I made the jello portion of this dish the day before, and I made the brown sugar boba topping right before starting the movie. Keep it warm on your stove top so they stay fresh.
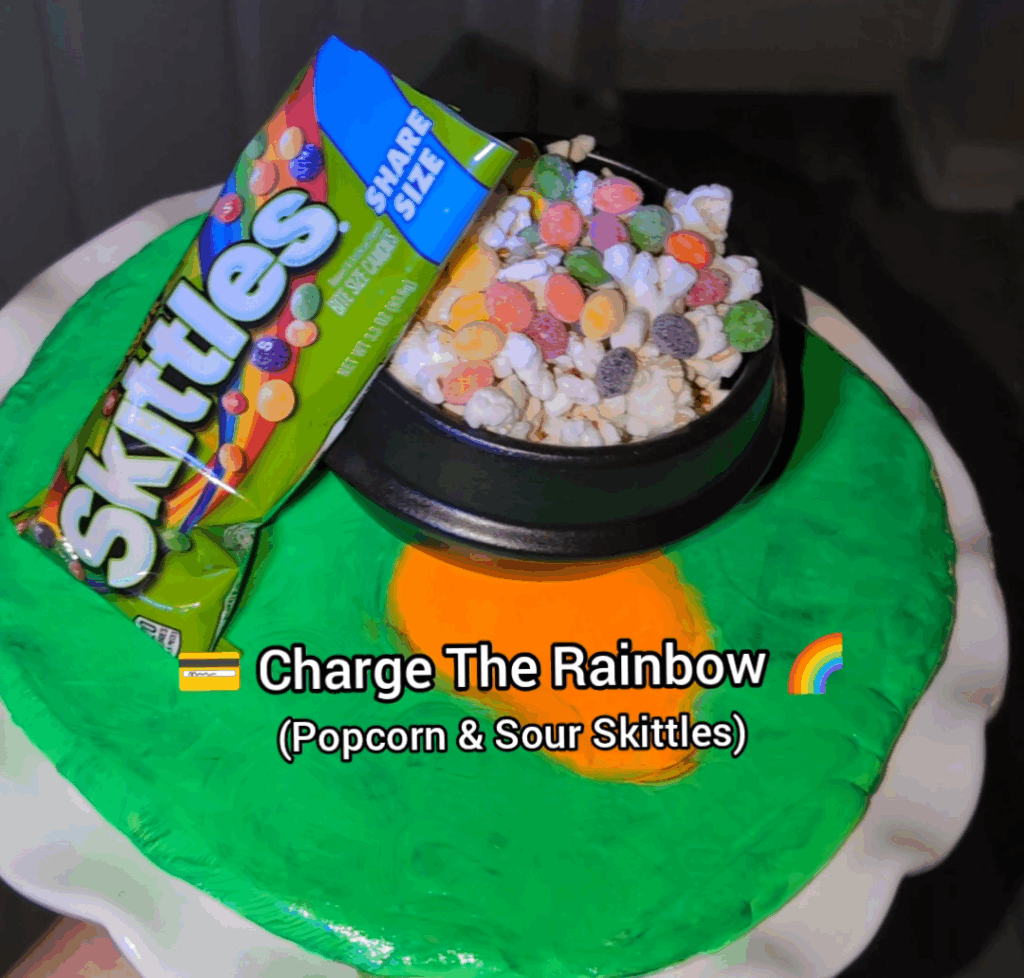
Charge The Rainbow
An easy one to serve! For this dish, I just served popcorn with sour Skittles because of Grace’s love for them. To keep it quick to serve, make sure to set up the bowl of popcorn and Skittles before you start the movie. That way, you just have to quickly grab the bowl when it’s your cue.
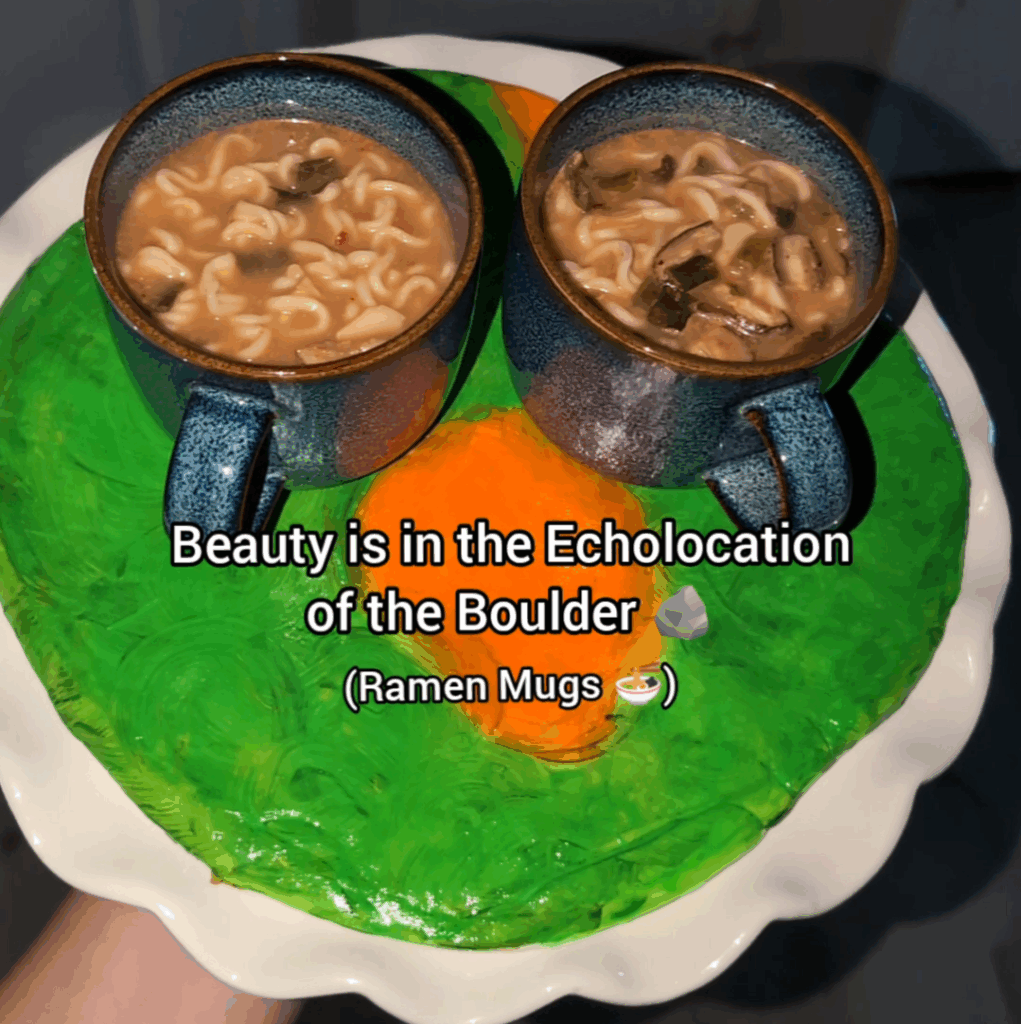
Beauty is in the Echolocation of the Boulder
“Beauty is in the eye of the beholder”…. But Rocky doesn’t have eyes, so….. LOL!
For this dish, I served ramen in a coffee mug to mimic how Grace was eating his ramen. I used one package of Shin Beef Bone Broth Ramen. To make sure I served it fresh, I boiled the noodles separately for a few minutes and then placed them in the mugs. Then I made the broth separately and kept it warm on my stove top. Follow the instructions on the package. If you want a creamier broth, you can add some milk or cream. Do all of this before starting the movie.
When it was time for me to serve, I poured the hot broth into the mugs with the precooked noodles and served. By doing this, the noodles reheat in the hot broth and aren’t soggy because they were kept separate. This also results in a very quick turnaround time because everything is already made. You just have to pour the broth.
Walk the Petrova Line
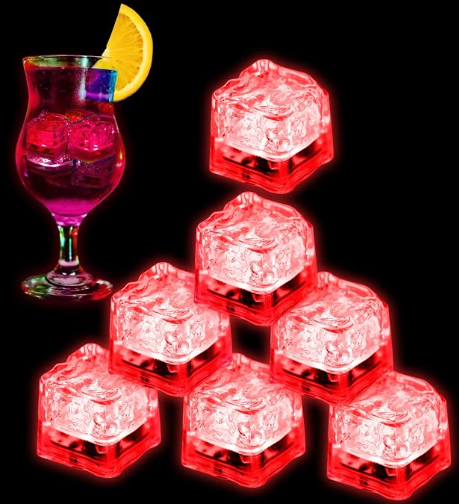
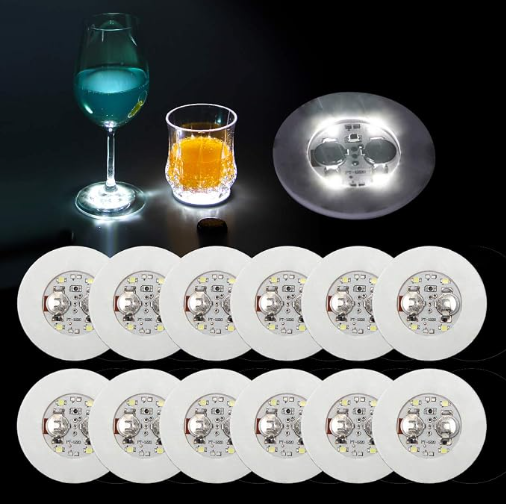
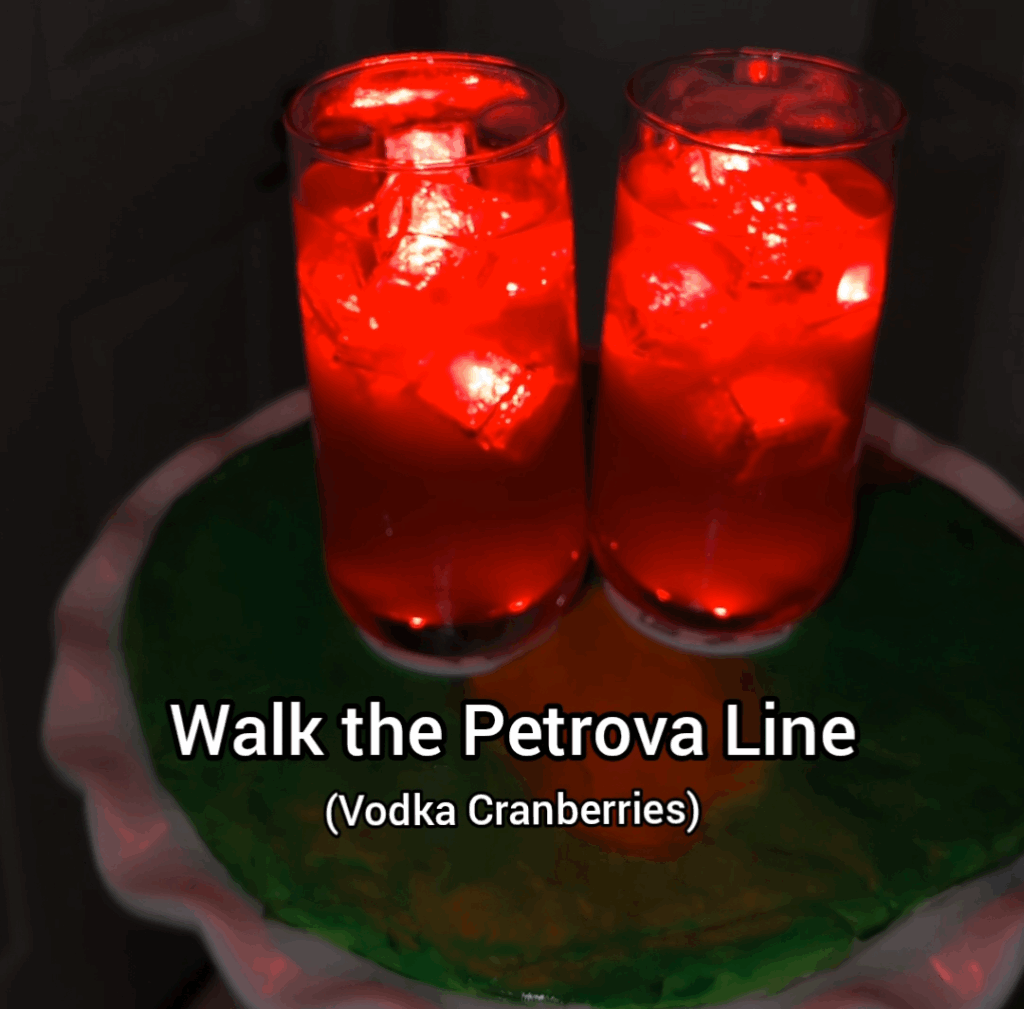
For this scene, I wanted to recreate the beautiful red lights from the Petrova line scene, so I thought about red ice cube lights served with a vodka cranberry. I had these red coaster lights to add more red light, and these red ice cubes that light up when submerged in liquid.
For the vodka cranberries, I did a ratio of 2 oz of vodka to 4 oz of cranberry juice. I also add a splash of lime juice. That’s optional, but it really adds a nice flavor. Make sure to premix your drink before you start the movie so you can serve everything quickly. Store the drink in your refrigerator so it’s nice and cold when you serve. Have the ice cube lights already in the glass, too, so you don’t have to waste time fumbling with them.
Grace. Rocky. Save Stars.
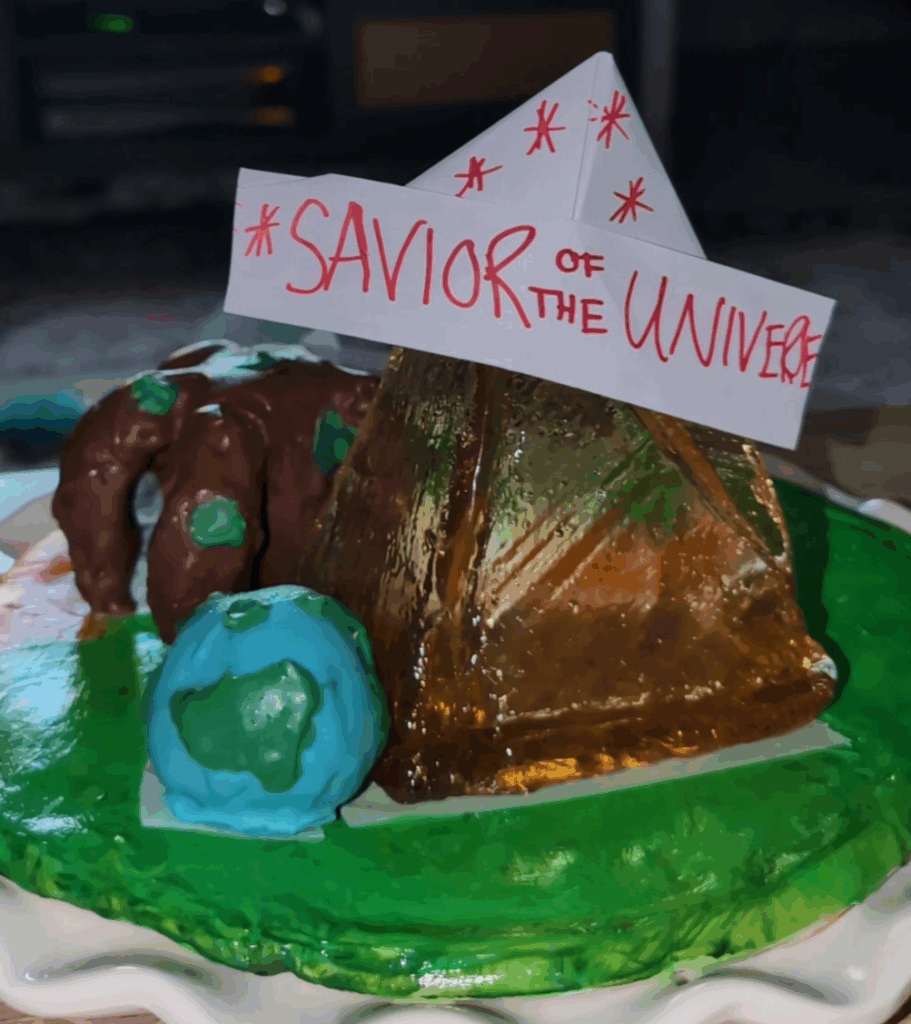
This is the basic recipe to make the truffles. To make Rocky, I shaped his body and five legs with the Oreo Truffle mix and froze the pieces. I also made a ball shape for “Earth”.
When the pieces were frozen (after a few hours), I melted the chocolate and dipped his leg pieces into the chocolate and attached each piece to his body. Make sure to hold each piece to his body until the chocolate hardens into place. Drizzle more chocolate onto his entire leg and where it’s attached to the body, and let it harden as well. This will reinforce the attachment so the leg stays in place. Repeat this process with each leg until they are all attached. Make sure his entire body is covered in chocolate, and then place him back in the freezer so he stays intact.
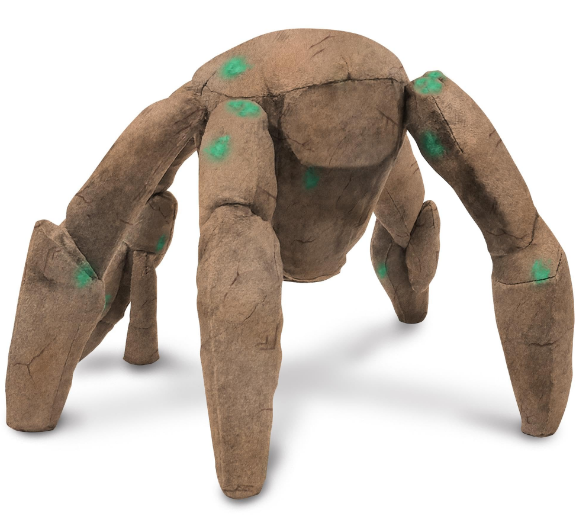
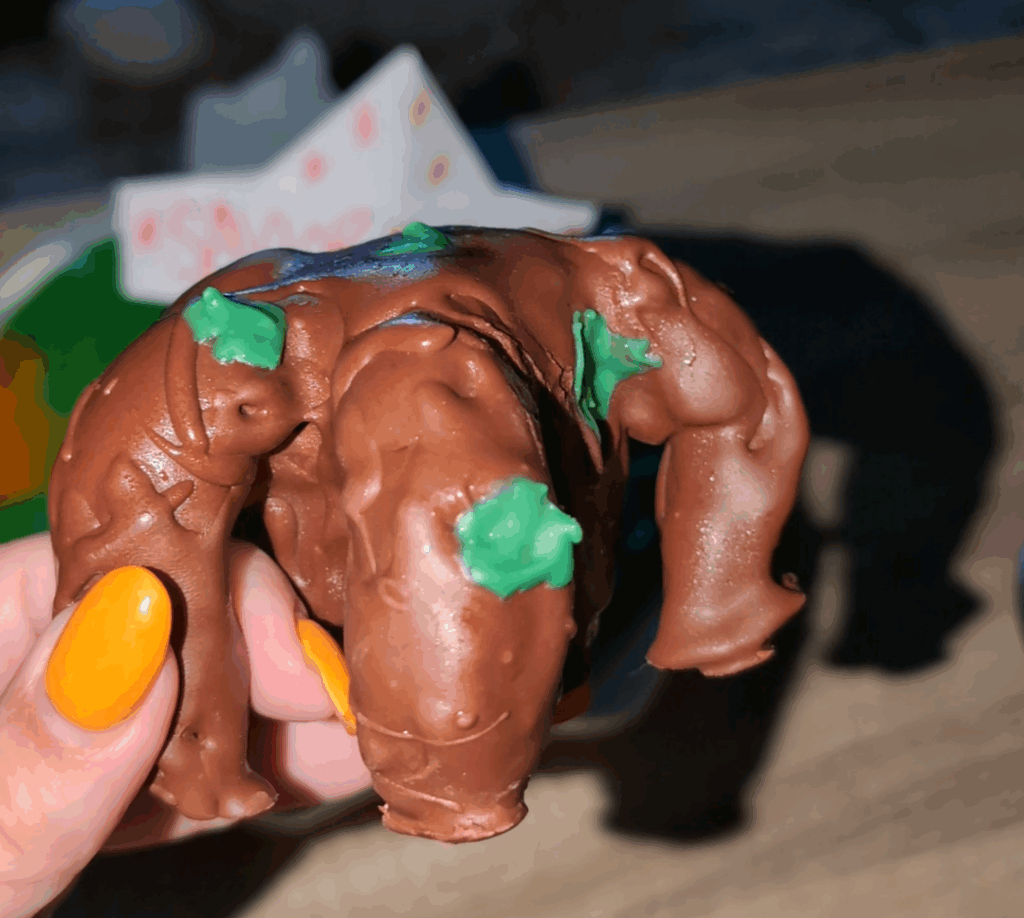
For the earth truffle, you will need blue and green melting chocolates. Melt the chocolate, and first dip the ball into the blue chocolate and let it completely harden in the freezer for a few minutes. Then use the green chocolate to make the land portion of the Earth ball. I used a small utensil to make the shapes. They don’t have to be perfect, so whatever you have on hand will work. Make sure to add some green spots on Rocky as well.
Once I broke the glass candy into pieces, I used a kitchen torch to melt the edges of the glass and welded the pieces together to make Rocky’s enclosure. I made a wall-like enclosure that I could hide Rocky behind, but easily remove him as well. Be careful because the shattered glass candy can be quite sharp.
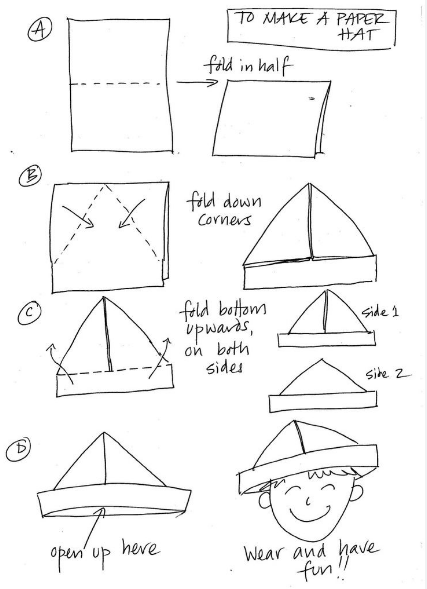
For the hat, I used this diagram to make it. I wanted the hat to be smaller, so it would fit on the small-scale enclosure, so I cut the paper in half before folding it.
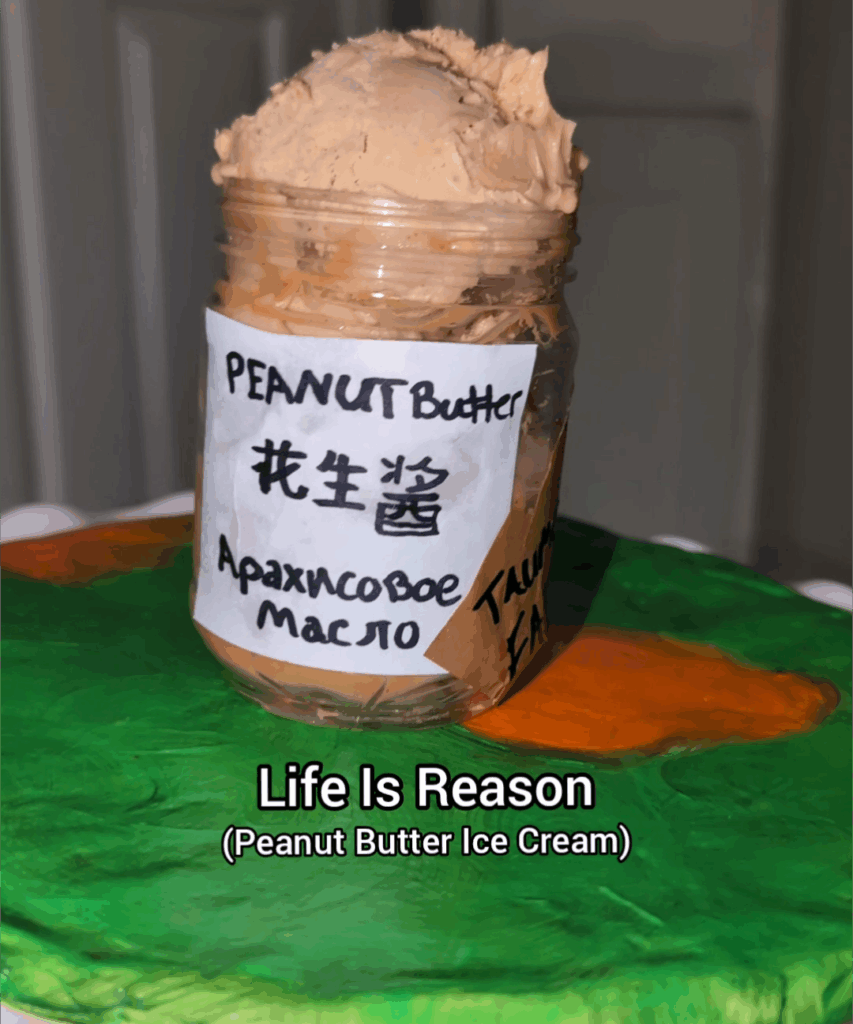
Life Is Reason
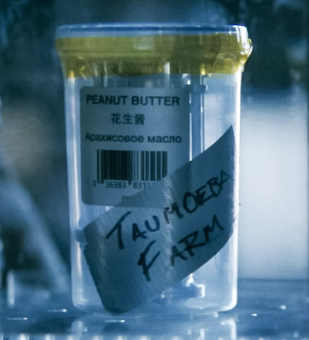
This is a funny nod to the fact that Grace used an empty peanut butter container when sending the Taumoeba Farm back in the Beatles. Another detail I love is that Peanut butter was written in English, Chinese, and Russian for each astronaut who was supposed to be on the mission. I did my best with the foreign words. Hopefully they came out okay!
To make the Peanut Butter Ice Cream, I mixed one part Peanut butter with two parts Vanilla Ice Cream. So, 1 cup of peanut butter and 2 cups of vanilla ice cream. I let the ice cream soften on my counter for a bit, so it was easy to mix, and then I blended it with the peanut butter. This is optional, but you could also fold in chunks of peanut butter cups and other yummy toppings. I decided to keep it simple with no toppings.
Store the peanut butter ice cream in a freezer-safe container. Before placing the lid on top, cover the ice cream with parchment paper. This helps prevent freezer burn.
Make sure you have your peanut butter container decorated and the ice cream made before starting the movie. I also recommend letting the ice cream sit out for a bit before the scene comes, so you can scoop it easily. I took it out after serving the Petrova line drink.
Me Burgers
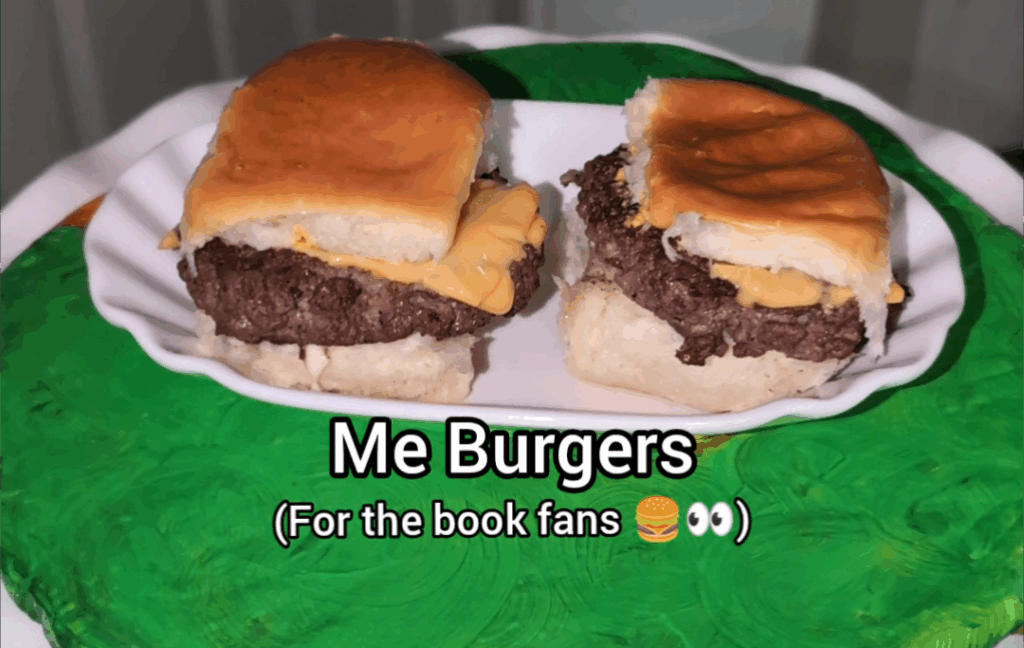
If you haven’t read the book, you may be a bit confused. When Rocky brought Grace back to his planet in the book, there was a lot of struggle to make sure Grace had everything he needed to survive. One of those things was finding food sources that were safe for him to consume. The Eridian scientists were finally able to recreate meat in a lab, and Grace was able to eat burgers again. The source of that meat….. was Grace. So he called them Me Burgers.
I served a simple slider using Hawaiian rolls as the bun, American cheese, and burger patties seasoned with salt, pepper, and garlic powder. I cooked the patties ahead of time and stored them in my refrigerator. Then, before serving, I just reheated the patties in the microwave, added the cheese on top, and condiments before serving.