
Matilda
Culinary Movie Night Guide
Difficulty Level: Medium


Table of Contents
Equipment
Here is a list (with links) of all the equipment and decorations I used for my Matilda Culinary Movie Night. I would be incredibly grateful if you used my links. I will make a little commission, and that would really help with the cost of the website and related expenses. You can find my full Amazon List here!
- Mini Red Bows
- Teacher Confetti (The one I bought is no longer on Amazon, but this alternative is close.)
- Newt Silicon Mold
- Orange Truffle Wrappers
Tips
- Personalizing the Menu– When planning your menu for your movie night, don’t feel pressured to serve exactly what I chose to serve. Feel free to remove/add/replace dishes so it makes sense for you and your guests. I’ve included an editable menu in this guide to make it your own!
- Managing Your Time– These movie nights can take a lot of time to prepare, especially if you plan on doing everything yourself. If you are planning a culinary movie night with a group, I suggest doing a potluck style. Have each person contribute a dish or two, and it’ll be very manageable. If you are planning on preparing everything yourself, here are some things I’ve learned while doing these often:
- Make A To-Do List– I can’t stress this enough! It’s very easy to forget simple things like opening a bottle of prosecco before you start the movie so you aren’t fumbling with the seal before serving. I have done this so many times! Your to-do list should include absolutely everything you need to do leading up to pressing play.
- Start Early– I learned this after a few very long days of trying to cook, prepare, and host all on the same day. Anything that can be done in advance should be done during the days leading up to the movie night. Some examples include pre-mixing cocktails, making desserts and other foods like soup that hold up well in the refrigerator, and pre-making any handmade decorations. Hosting is stressful enough without having to make a multi-course meal in one day, so get as much done as possible before.
- No Pausing– The question I get asked the most is “Do you pause the movie to bring out the next dish?”. It’s important to me that I don’t disrupt the flow of the movie, so I do not pause. It’s also important to me to enjoy the movie with my guests. Setting up everything I need before the movie helps me bring out each dish efficiently. The setup usually includes plating each dish and storing it in the refrigerator, so all I have to do is quickly microwave it before serving. I set out any garnish or decoration on my kitchen counter so it’s easily accessible. I even pour the cocktails into their cups and store them in the refrigerator, so all I have to do is add ice and any finishing touches before serving. Always think about how you can do the bare minimum during the film. I always include the setup in my to-do list as well, so I don’t forget about any aspect of the preparation.
- Optional– If your budget permits, I recommend ordering food that you may not be confident in cooking or food that may take a lot of time to cook. I do this occasionally, and it helps cut down the preparation time and supports local businesses. Win Win!
- Decorations- Have fun and decorate your space and serving tray! Add elements from the theme of the movie, but make a budget and stick to it! I usually use things I already own because these movie nights are DIY, and I don’t need to spend a fortune to make it fun. If I do buy decorations for the movie night, I try to find cheap or reusable things. If you are curious about some of the things I’ve used during the movie nights, here is a link to my Amazon List. All these items are things I bought with my own money and enjoyed using.
- Manage Stress- Culinary Movie Nights are fun and a great way to show your friends and family you love them. Sometimes, things you envision in your head will not come out perfectly. When this happens to me, it can be discouraging and stressful, but the people I do these for have NEVER expressed anything but appreciation. Go easy on yourself and remember that your guests are just happy to be there and to experience something you put so much thought and time into making.
Menu
I have created a free, editable, and printable menu for all the dishes I served for this Culinary Movie Night! Feel free to change it to what will work for you and your guests.
Cues
These are the cues I used during the movie night, so I knew when I had to get the next dish ready to serve.
Please note: Each cue describes a scene that happens a few minutes before I have to serve the dish. It does not describe the scene the dish is based on. Some people get confused about that, so I thought I should specify. Because the cues only give you a few minutes to prepare the dish, it’s very important to have everything cooked and set up before the film starts. Review the “Tips” section above for ways to make this seamless.
I often get asked why I don’t use time stamps to keep track of when to serve the next dish, and the simple answer is, I don’t find those helpful. If I used timestamps, I would have to have a separate timer going or keep disrupting the movie to check the timestamp. It makes much more sense to have cues to indicate when the next scene is about to happen. This allows me to enjoy watching the film with my guests.
Below is the link to the cues I used. This document is editable, so you can make updates if you decide to take out or change dishes.

Recipes
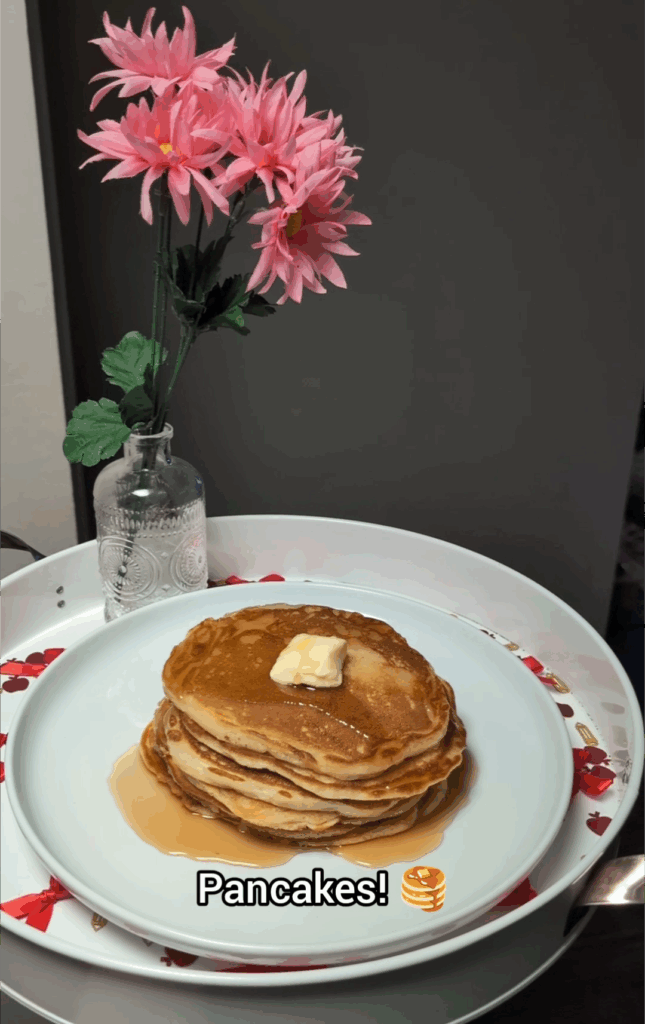
Pancakes
This is my go-to pancake recipe.
To save time, you have a few options to prep the pancakes. You can make the batter fresh and fry them right before you start the film. It’s the first dish of this movie night, so serving fresh is a great option.
You could also make them in advance and reheat right before serving. Pancakes still taste great after being reheated, in my opinion. If you do this option, I suggest having a square of butter cut and ready to grab in your refrigerator. Then you can microwave it before the scene and add the butter and maple syrup before serving.
I also suggest that you serve the pancakes with pink flowers, so it matches the setup Matilda has. We ended up keeping the flowers on the table for the rest of the movie, which was extra cute. I purchased the flowers at my local Michaels craft store for a discounted price. They usually have good sales on their florals.
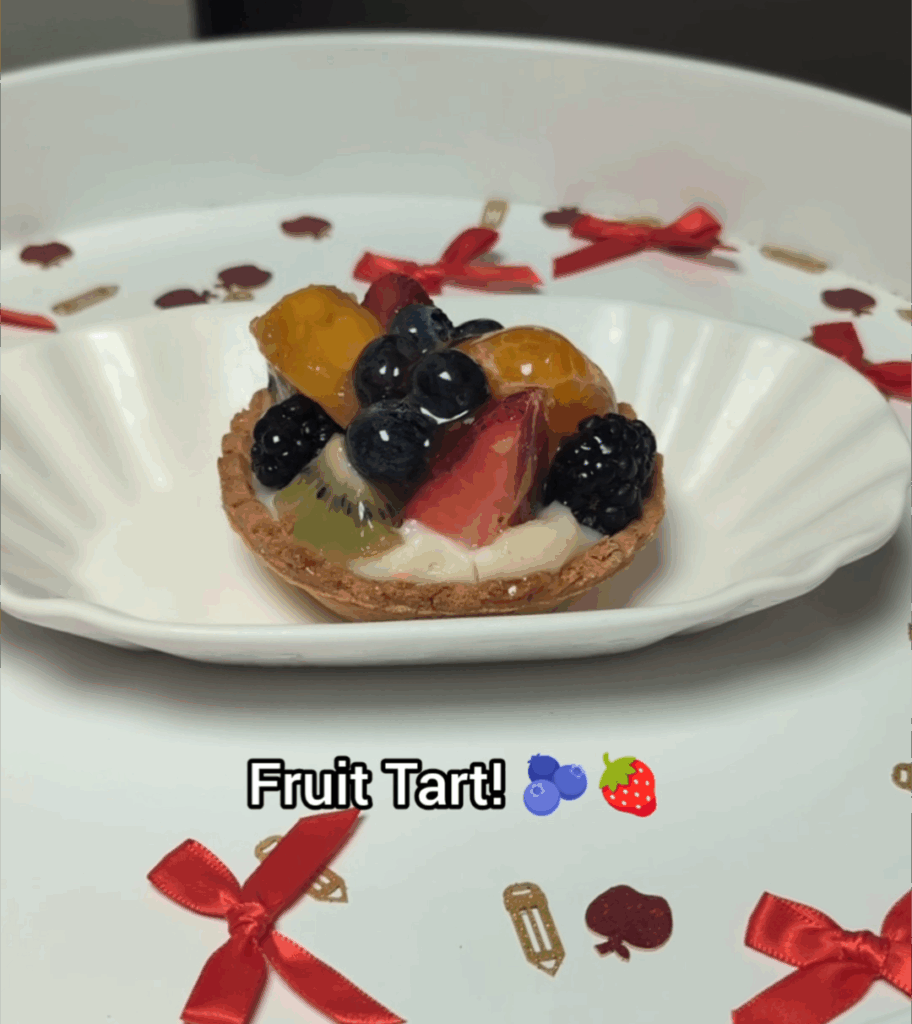
Fruit Tart
This was an easy dish to serve because I bought the fruit tart from my local grocery store. They are usually located in the bakery section for a few dollars. This is a great dish to buy because the cost to make it would be greater than buying it. Plus, you save time on prep, which is valuable when you’re hosting a movie night like this!
I purchased the fruit tart the day of the movie night, so it was fresh. I recommend buying two, just in case one gets messed up in transport. Before I started the movie, I removed the tart from the packaging and plated it. Then stored it in the refrigerator until it was time to serve.
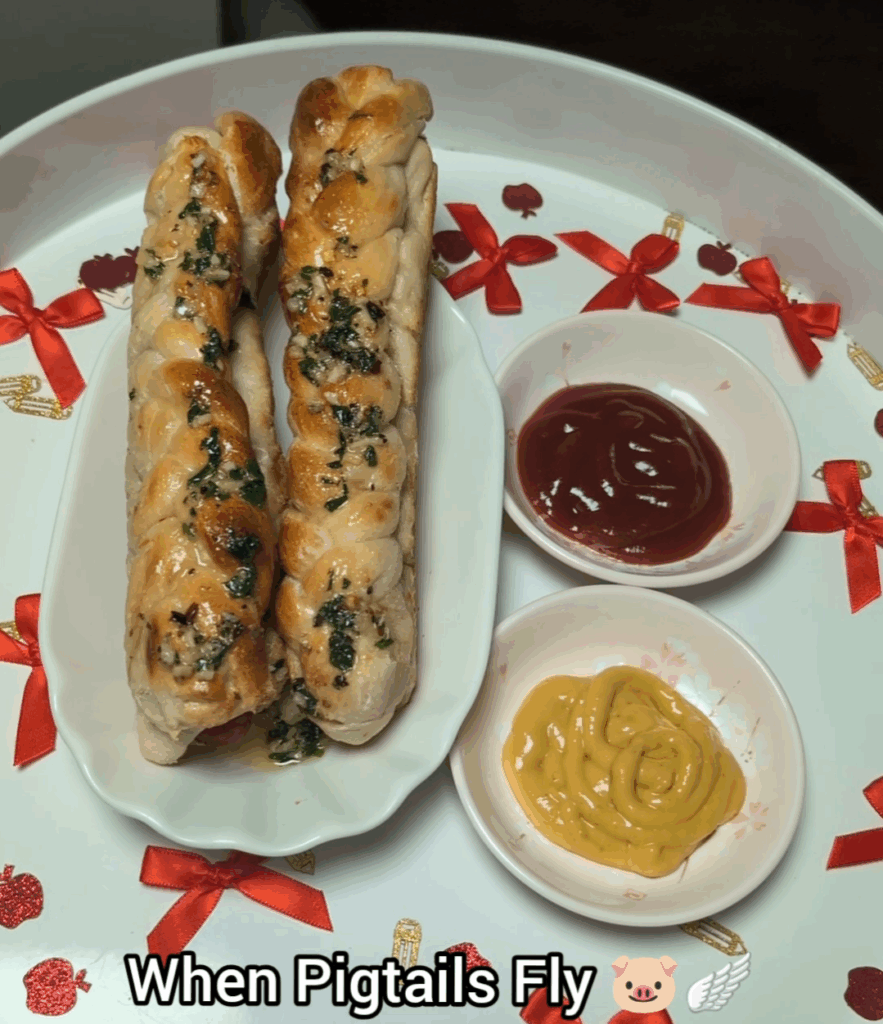
When Pigtails Fly
This scene is a core memory for me. Watching as a kid, it was terrifying. As an adult, it’s hilarious! I just knew I had to include it in this movie night. This menu is heavy on the sweets, so I chose to create a savory dish to balance everything.
“Are you a pig, Amanda?” LOL! I created a braided pork sausage hot dog to represent this entire scene.
This is what you’ll need to recreate: (Makes Two)
A can of pizza dough
Pork sausage, precooked hotdogs
1 egg yolk, whisked
2 tbsp of salted butter
½ tbsp of minced garlic
½ tbsp of finely chopped parsley
Optional for extra flavor- a pinch of salt and garlic powder
Ketchup and mustard for dipping
How to make:
Start by using half the dough to wrap the hot dogs. Make sure you pinch the ends of the dough to seal it, so it doesn’t come apart when it bakes.
Using the other half of the dough, roll it out so it gets longer, and cut 6 long pieces. These will be the pieces you use to braid the tops of the hot dogs.
Take three of the long pieces and pinch the tops of them to the top of the wrapped hot dog. Start braiding. When you get to the bottom of the wrapped hot dog, pinch the end of the braided dough to the hot dog dough. Repeat with the other hot dog.
Brush the tops of the braided hot dogs with the whisked egg yolk. This adds a nice shiny look when you bake them. Place them on a parchment paper-lined baking sheet.
Bake the braided hot dogs in the oven at 350°F for about 15-20 minutes. They will be done when the dough is golden brown.
I suggest checking halfway through to make sure the braid is staying put. I had some trouble with the hot dogs tipping over and the braid coming off, so I had to take them out of the oven halfway through and readjust.
When the braided hot dogs were done and cooled, I plated them and stored them in the refrigerator until it was time to reheat and serve. I also added the butter, minced garlic, chopped parsley, and salt + garlic powder to a microwave-safe bowl. I stored that bowl in the refrigerator along with the dishes of mustard and ketchup. Having all of this set up helped me serve this dish quickly.
Serving tips: When it’s time to start serving, I reheated the braided hot dogs and the butter bowl in the microwave. Mix the butter once it’s melted and brush it over the hot dogs before serving.
Trunchbull’s Chocolate Cake
THE CAKE that everyone wanted to eat as a kid! I used my favorite chocolate cake recipe for this one!
This recipe is a two-layer cake, but Trunchbull’s cake is three layers. To make it a three-layer cake, I used a smaller pan so it could be divided into three instead of two.
This is the buttercream recipe. I wanted to go overboard with the chocolate buttercream, so I made double the amount. More is always better, so you can put a THICK layer in between each cake layer.
Pro tip: I cannot recommend this simple tip enough to make the BEST cake. This is the secret step every professional cake baker takes to add extra moisture to their cakes. It’s simple syrup! When you are done baking the cake, and it’s cooled, poke holes into the cake using a toothpick and drizzle simple syrup on top. It’ll absorb into the cake, and it gives it the best texture!
It’s “Newt” A Snake
For this scene, Miss Trunchbull gets pranked by Miss Honey’s class with a newt in her water pitcher.
For this scene, I decided to serve prosecco instead of water, and an orange chocolate newt to resemble the orange newt that scares Miss Trunchbull.
This is a quick and easy dish to serve because the chocolate newt needs to be made ahead of time. I also suggest removing the seal from the prosecco bottle before you start the movie, so you don’t have to waste time removing it before serving.
To make the newt, all you need is orange melting chocolate and the silicone newt mold. I got the chocolate from Michaels craft store and the Newt silicon mold from Amazon.
How to melt the chocolate:
I added about ¼ cup of the chocolate and ½ tsp of coconut oil to a microwave safe dish. I then microwaved them for 15 seconds, and mixed well. Repeat the microwaving process until the chocolate is melted.
Add the melted chocolate to the mold that looks like the lizard/newt. Scrap any excess chocolate from the top and then freeze for about 10 minutes.
When it’s fully hardened, carefully push the bottom of the mold to get the newt out. I lost part of the tails when I did this, but it still turned out cute. Repeat until you have enough chocolate newts for the number of people you are serving.
Store the newts in the refrigerator until it’s time to serve.

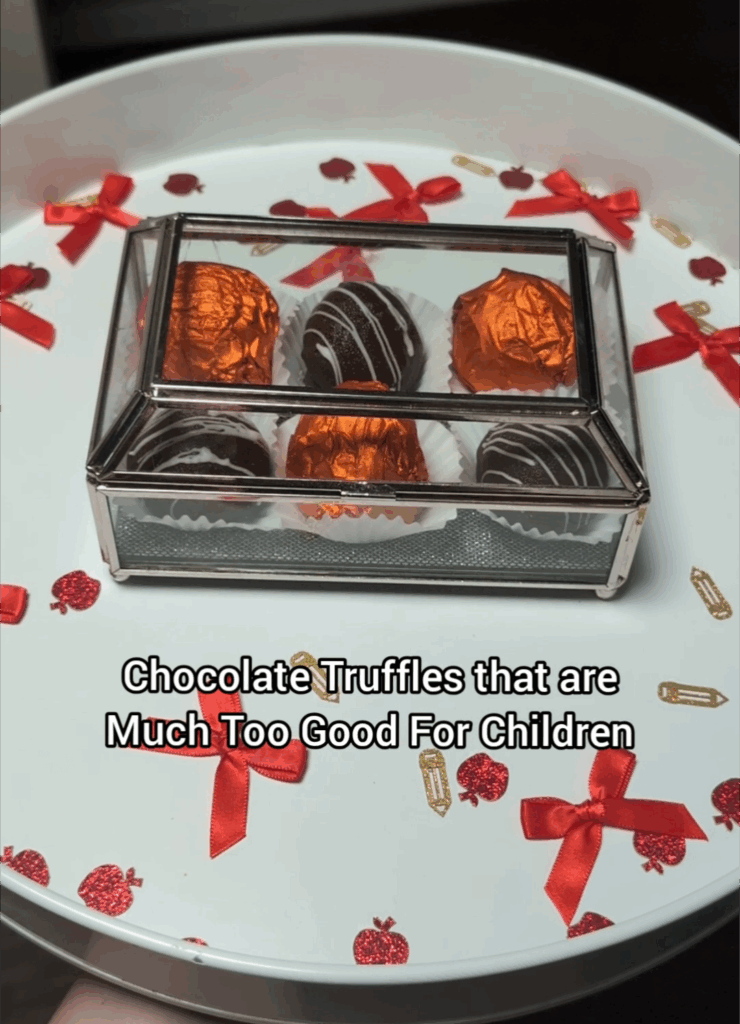
Chocolate Truffles
“That are much too good for children.”
For this scene, I decided to serve homemade Oreo truffles in a little jewelry box I already owned. Oreo truffles are easy to make, but you could save even more time by buying premade chocolates and putting them in a decorative box. If you want to make the truffles I made, here is the recipe:
Oreo Truffles
Ingredients-
8oz package of cream cheese
1 package of regular Oreos
2 cups of milk chocolate
¼ cup of white chocolate
1 tbsp of coconut or vegetable oil (for milk chocolate)
½ tsp of coconut oil or vegetable oil (for white chocolate)
Orange foil wrappers (to wrap some of the chocolates)
Mini cupcake liners
Instructions-
- In a blender, add all the Oreos and blend until they are a sand-like consistency.
- Add the blended Oreos to a bowl with the cream cheese. Mix until the cream cheese is completely incorporated with the Oreos. I use my hands. It’s messy, but it yields the best results.
- Roll the truffle dough into balls and place them on a parchment-lined baking sheet. Put the baking sheet in the freezer so they can harden.
- In a microwave-safe container, add the milk chocolate chips and 1 tbsp of the oil. Microwave for 30 seconds and then remove and stir. Then, keep microwaving in 15-second increments, removing in between to stir well. Chocolate burns very easily, so it’s important to only expose it to the heat of a microwave briefly while stirring often.
- Once your chocolate is ready for dipping, dip them in the chocolate and use a fork to remove the chocolate-covered truffles. Place each truffle back on the parchment paper and when done, place the baking sheet in the refrigerator so the chocolate can completely harden.
- Add your white chocolate chips and ½ tsp of oil in a microwave-safe bowl. Microwave for 15 seconds and then remove and stir. Then, keep microwaving in 15-second increments, removing in between to stir well.
- When the white chocolate is melted, remove your truffles from the refrigerator and, using a fork, dip the fork in the melted white chocolate and drizzle it on top of the truffles.
- Place the tray back in the refrigerator. After about 30 minutes, they will be completely hardened, and you can wrap half of them in the orange foil.
- I suggest setting up the truffles in the decorative box before you start the movie. Store the truffles on your counter so they aren’t too cold from the refrigerator when you serve them.
- Please note the truffles contain dairy, so if you do not consume all the truffles during the movie, you will need to store the leftovers in the refrigerator so they don’t spoil.
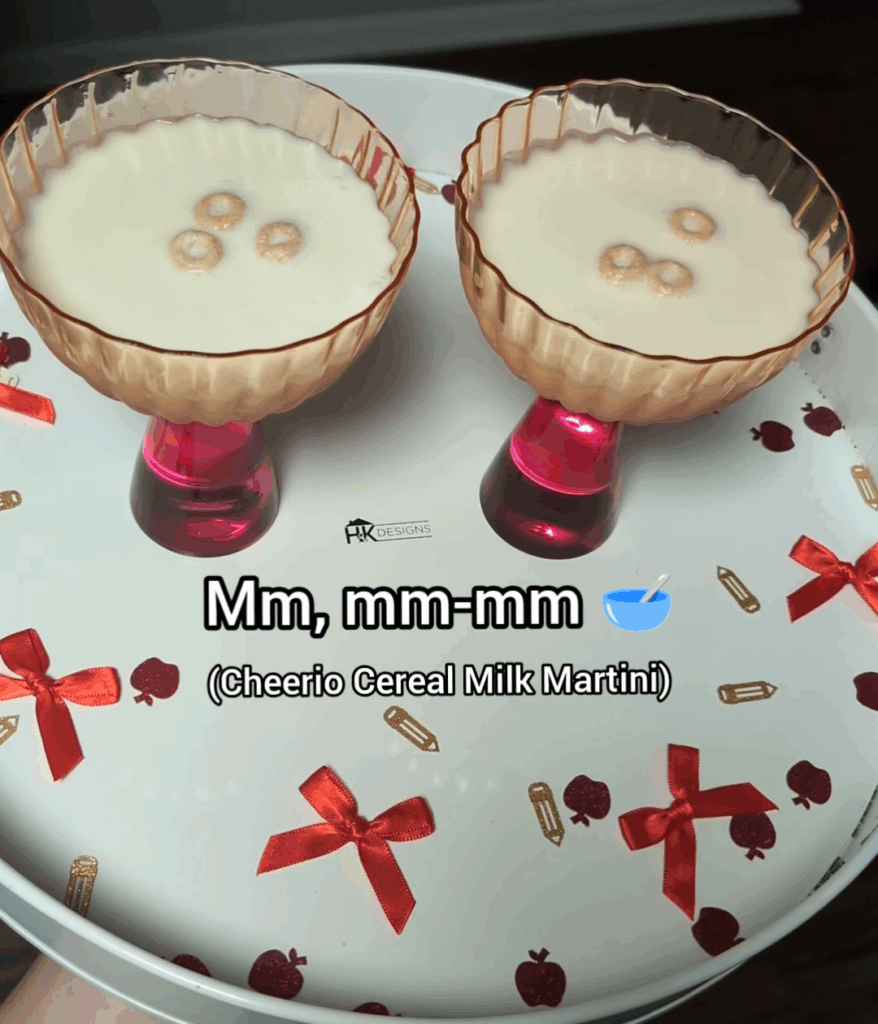
Mm, mm-mm!
For the scene where Matilda practices her power and serves herself Cheerios and milk, I decided to serve a Cereal Milk Martini using Cheerios as the base flavor. This was SOOOOOO good! One of my favorite drinks I’ve created to date!
Cheerio Cereal Milk Martini
Ingredients- Serve 2
2 cups of milk
¼ cup of sugar or honey
½ cup Cheerios
4-6 oz of Vodka (depends on how strong you want your Martini)
Cheerios for garnish
Instructions-
- Add the milk and sugar to a sauce pot and heat on the stovetop over medium heat.
- Stir occasionally and keep the milk at just below a simmer. You don’t want it to overheat and become too thick.
- Once the sugar is completely dissolved, which takes less than 10 minutes, turn the stove off and remove the pot from the heat.
- Add the Cheerios to the hot milk and stir. Let them soak in the milk for about 10 minutes. The flavor of the Cheerios will absorb into the milk.
- After 10 minutes, pour the milk into a heat-resistant jar through a strainer so only the liquid goes into the jar. You can toss the soaked Cheerios.
- Add 4 oz of vodka to the jar and shake with the lid on. Try the martini, and if you want it to be stronger, you can add an additional 2 oz of vodka.
- Store the jar in your refrigerator until you are ready to serve.
- When it’s time to serve, you can shake the premade martini and serve as is, or if you want it extra cold, add ice to the jar and shake well. Then strain it into your martini glasses so the ice does not enter the glasses.
- Top with three Cheerios in each glass as a garnish.
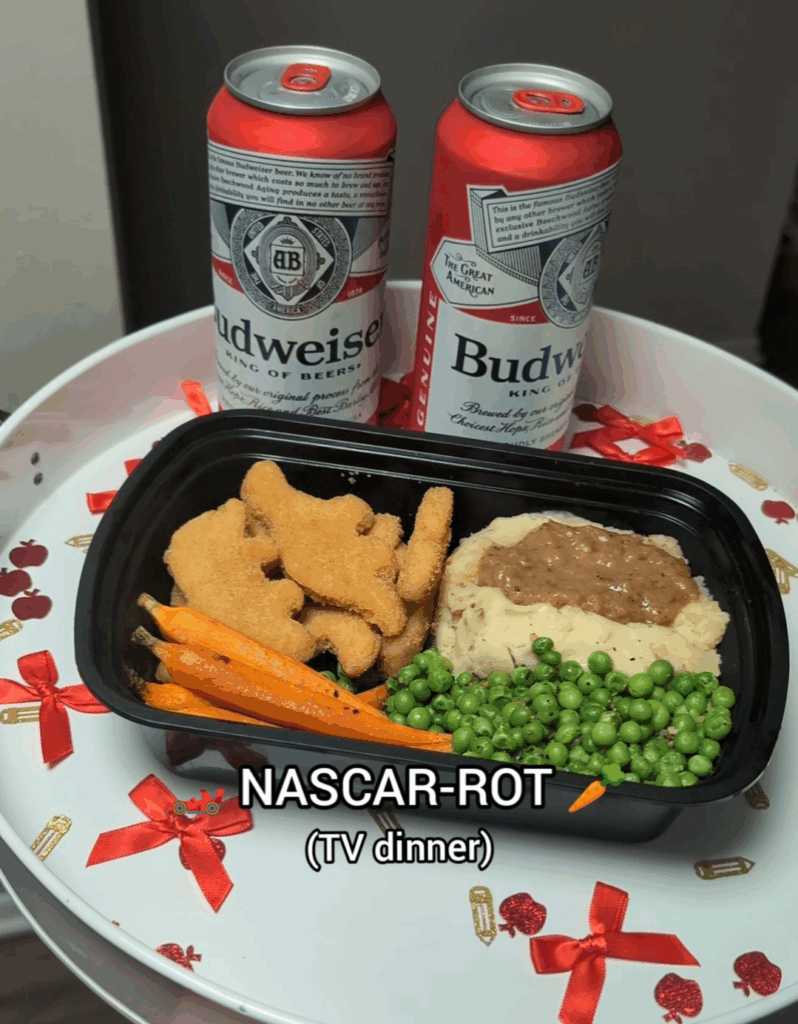
NASCAR-ROT
So you probably noticed, but I made this “TV Dinner” at home. Haha! To be honest, none of the frozen dinners at the store looked good or similar to the one Matilda’s brother was eating. I had leftover food from the Jurassic Park Movie Night I did, so I used those leftovers instead. I was in the process of moving, so I prefilmed a bunch of these and utilized some leftovers to save time and money.
You can make it exactly how I made it, you can buy an actual TV dinner from the store, or you can put together your own version with your favorite foods. Whatever you decide, just make sure you have the carrots, so it matches the funny scene where Matilda stands up to her brother’s bullying.
If you would like to make the version I made, here is how I made everything:
- Budweiser Beer– Because the Wormwoods are always drinking beer.
- Dino Nuggets– Make them per the packaging’s instructions.
- Mashed Potatoes– To make the mashed potatoes, keep it simple to save time. Boil your potatoes, I used Yukon Gold Potatoes, and when they are tender, drain the water. Using a potato masher, mash your potatoes. Then, add a few tbsp of butter and heavy cream and mix the potatoes until the butter is melted. Add salt, black pepper, garlic powder, onion powder, and rosemary powder and keep tasting and adjusting your seasonings to match your preference.
- Gravy- You can buy canned gravy to save time, but I recommend making it because it’s quick and tastes way better than canned.
- To make gravy-
- Ingredients:
- 2 tbsp of butter
- 2 tbsp of olive oil
- ½ cup of diced onions
- 3 garlic cloves, minced
- 3 tbsp of flour
- 3 cups of stock (preferably beef)
- 1 tbsp Better Than Bouillon beef base
- 1 tsp of dried thyme
- Salt and black pepper
- Instructions:
- Add butter, olive oil, and diced onions to a saucepan and heat over medium heat. After a few minutes of stirring occasionally, add minced garlic. Cook for another minute, stirring often.
- Next, sprinkle in the flour while continuing to stir. It will form a paste. Once all the flour is added, slowly pour in your stock while continuing to stir. When all the stock is added, add the Better Than Bouillon.
- Bring your gravy to a simmer and stir often. The gravy will thicken. Water can be added if you want a more liquid gravy. When you are happy with the consistency, add your thyme and salt, and black pepper to taste.
- Peas– To make the peas, I kept it very simple. Add frozen peas to a small pot along with some butter and seasonings such as salt, pepper, and garlic powder. Heat on medium heat and stir occasionally. Once the peas are no longer frozen, they are done. Peas wilt when they are overcooked, so make sure you don’t cook them too long.
- Carrots– Preheat your oven to 350 degrees F. Make sure you buy the small, long carrots so they match the ones from the film. I kept these simple, too. Place your washed carrots on a parchment-lined baking sheet. Drizzle them with olive oil, and sprinkle some salt and pepper on them. Roast them in the oven for 10 minutes. Then take them out, drizzle some honey on top, and roast for another 5 minutes.
Set up your TV dinner tray. I used a washed takeout container. I did this before I started the movie and stored it in the refrigerator. Then I just had to microwave the tray before serving.
Please note: Another iconic food scene from the movie is tea and cookies with Miss Honey. I chose not to serve these because I try to keep these Movie Nights concise, and it was already a lot of food, particularly sweets. If you do choose to include these, I recommend serving them at the end of the movie when Matilda’s parents sign away their parental rights. You can start preparing the tea when Matilda is using her powers on Miss Trunchbull in the classroom.