Pride & Prejudice
Culinary Movie Night Guide
Difficulty Level: Medium


Table of Contents
Equipment
Here is a list (with links) of all the equipment and decorations I used for my Pride & Prejudice Culinary Movie Night. I would be incredibly grateful if you used my links. I will make a little commission, and that would really help with the cost of the website and related expenses. You can find my full Amazon List here!
- Pride & Prejudice Book with Letters
- Pumpkin Dish for Braised Beef Pot Pie
- Leaf Mold for Braised Beef Pot Pie
- Cocktail Picks for “Dancing Queen”
- Paw Molds
To decorate the serving tray and entertainment center, I bought floral vines, a wood cutout, and green moss from my local craft store. I also used artwork I own that I felt fit the theme, and a Pride & Prejudice book with letters from the movie.
Tips
- Personalizing the Menu– When planning your menu for your movie night, don’t feel pressured to serve exactly what I chose to serve. Feel free to remove/add/replace dishes so it makes sense for you and your guests. I’ve included an editable menu in this guide to make it your own!
- Managing Your Time– These movie nights can take a lot of time to prepare, especially if you plan on doing everything yourself. If you are planning a culinary movie night with a group, I suggest doing a potluck style. Have each person contribute a dish or two, and it’ll be very manageable. If you are planning on preparing everything yourself, here are some things I’ve learned while doing these often:
- Make A To-Do List– I can’t stress this enough! It’s very easy to forget simple things like opening a bottle of prosecco before you start the movie so you aren’t fumbling with the seal before serving. I have done this so many times! Your to-do list should include absolutely everything you need to do leading up to pressing play.
- Start Early– I learned this after a few very long days of trying to cook, prepare, and host all on the same day. Anything that can be done in advance should be done during the days leading up to the movie night. Some examples include pre-mixing cocktails, making desserts and other foods like soup that hold up well in the refrigerator, and pre-making any handmade decorations. Hosting is stressful enough without having to make a multi-course meal in one day, so get as much done as possible before.
- No Pausing– The question I get asked the most is “Do you pause the movie to bring out the next dish?”. It’s important to me that I don’t disrupt the flow of the movie, so I do not pause. It’s also important to me to enjoy the movie with my guests. Setting up everything I need before the movie helps me bring out each dish efficiently. The setup usually includes plating each dish and storing it in the refrigerator, so all I have to do is quickly microwave it before serving. I set out any garnish or decoration on my kitchen counter so it’s easily accessible. I even pour the cocktails into their cups and store them in the refrigerator, so all I have to do is add ice and any finishing touches before serving. Always think about how you can do the bare minimum during the film. I always include the setup in my to-do list as well, so I don’t forget about any aspect of the preparation.
- Optional– If your budget permits, I recommend ordering food that you may not be confident in cooking or food that may take a lot of time to cook. I do this occasionally, and it helps cut down the preparation time and supports local businesses. Win Win!
- Decorations- Have fun and decorate your space and serving tray! Add elements from the theme of the movie, but make a budget and stick to it! I usually use things I already own because these movie nights are DIY, and I don’t need to spend a fortune to make it fun. If I do buy decorations for the movie night, I try to find cheap or reusable things. If you are curious about some of the things I’ve used during the movie nights, here is a link to my Amazon List. All these items are things I bought with my own money and enjoyed using.
- Manage Stress- Culinary Movie Nights are fun and a great way to show your friends and family you love them. Sometimes, things you envision in your head will not come out perfectly. When this happens to me, it can be discouraging and stressful, but the people I do these for have NEVER expressed anything but appreciation. Go easy on yourself and remember that your guests are just happy to be there and to experience something you put so much thought and time into making.
Menu
I have created a free, editable, and printable menu for all the dishes I served for this Culinary Movie Night! Feel free to change it to what will work for you and your guests.
Cues
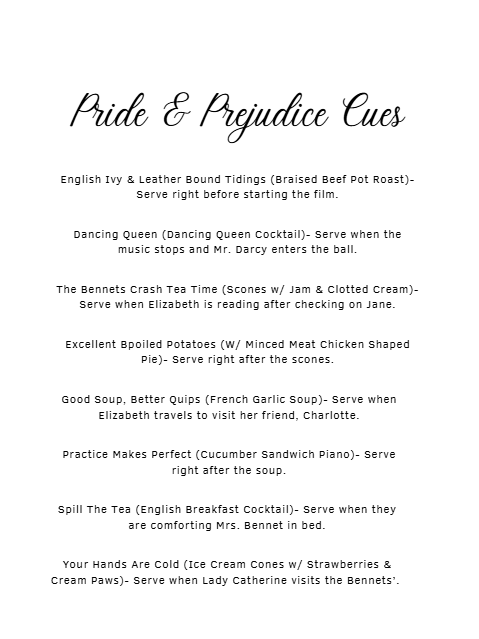
These are the cues I used during the movie night so I knew when I had to get the next dish ready to serve.
Please note: Each cue describes a scene that happens a few minutes before I have to serve the dish. It does not describe the scene the dish is based on. Some people get confused with that, so I thought I should specify. Because the cues only give you a few minutes to prepare the dish, it’s very important to have everything cooked and set up before the film starts. Review the “Tips” section above for ways to make this seamless.
I often get asked why I don’t use time stamps to keep track of when to serve the next dish and the simple answer is, I don’t find those helpful. If I used timestamps, I would have to have a separate timer going or keep disrupting the movie to check the timestamp. It makes much more sense to have cues to indicate when the next scene is about to happen. This allows me to enjoy watching the film with my guests.
Below is the link to the cues I used. This document is editable, so you can make updates if you decide to take out or change dishes.
Recipes
English Ivy & Leather Bound Tidings
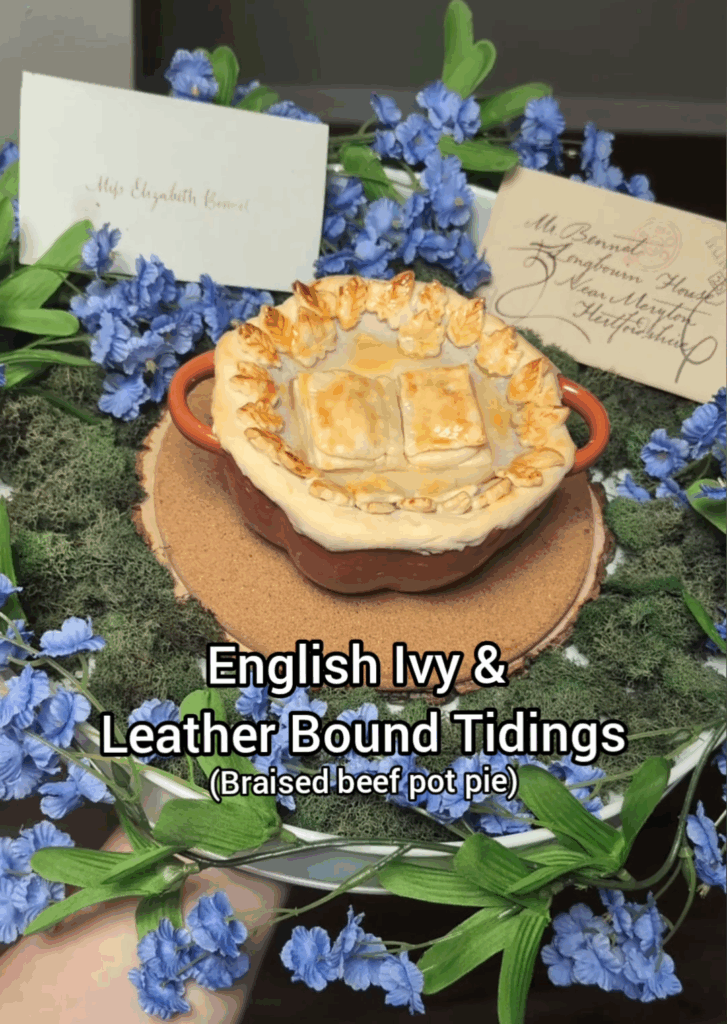
For the start of the movie, I wanted to serve a dish that was warm and comforting. A dish that gives you the same feeling as watching Elizabeth walk through the field as the sun rises and the piano plays. I also wanted to serve dishes that are common in the UK, such as a pot pie.
Braised Beef Pot Pie Recipe
Ingredients:
For beef:
4lbs of beef chuck (more affordable cut), cut into 3-inch pieces
¼ cup of Cornstarch
1 tsp of salt
½ tsp of black pepper
3-4 tbsp of bacon grease or cooking oil
For braising liquid:
3 carrots, diced
3 celery sticks, diced
5 garlic cloves, minced
Half an onion, chopped
2 tbsp of tomato paste
2 cups of beef stock
2 cups of red wine
1 tbsp of chopped thyme 2 tsp of black pepper
Instructions:
- Add your beef chuck pieces to a large bowl and add the cornstarch, salt, and pepper. Mix to lightly coat the beef.
- Add your bacon grease or cooking oil to a large Dutch oven style pot. Heat the oil for about a minute or two and then sear each side of your beef chuck pieces. Remove the pieces from the pot once they are seared but not cooked fully.
- In the same pot, add carrots, onions, celery, and minced garlic. Add a little extra cooking oil if there is none left from the beef. Cook the vegetables for about 5 minutes, and then add your tomato paste and stir.
- Next, add your beef stock, red wine, thyme, and black pepper. Scrape the bottom of your pot to deglaze.
- Add your beef chuck back into your pot and adjust the pieces so they are submerged in the liquid.
- Place the lid on the Dutch oven and bake in the oven at 350 degrees F for 2 hours. After two hours, your braised beef is done and should be very tender.
For decorative pie crust:
To make the pastry leaves and book for the top of the pot pie, I used premade pie crust. This is usually found in the dairy section of the grocery store, near the canned biscuits. These packages usually come with two rolls of pie crust. Set one aside to become room temperature and use the second one for the decorative elements.
To make the leaves, pinch off a piece of the pie crust and roll it into a ball. Press the ball into the leaf mold until it’s completely inside the mold. Then carefully remove the newly shaped leaf pastry. The mold will leave an imprint of the leaf pattern. Repeat until you have enough leaves to decorate the edges of your pie. I placed them on a parchment paper-covered baking sheet and froze them. Freezing the leaves makes it easier to work with.
To make the book pastry, I cut out rectangular pieces of the pie crust to make up the pages. I then rolled out a cylinder-shaped piece that was the same vertical length of the pages, as the spine of the book. I pieced everything together by wetting my fingers and then using my fingers to wet the pie dough. It makes it sticky so I can pinch the ends of the pages to the book spine. To make the pages look fuller, I added a small piece of dough in between each page. I loved this effect because it made the book look more lifelike.
Keep in mind the scale of the pot you’re using so the book fits in the center of the pie.
To assemble your Pot Pie:
Fill an oven-safe dish (I used this pumpkin dish) with the braised beef. It shouldn’t be overflowing but decently full. Roll out the other, room-temperature pie crust, and place it over your dish. Cut the excess pie off, so only a little bit of the pie dough overlaps the dish. Press the dough to the edge of the dish so it completely seals the top of the dish.
Brush the top of the dough with an egg wash (beaten egg). This gives the dough a glossy look when you bake it. Then start decorating the dough with your book pastry in the center and the leaves around the edge. When you are happy with the design, dip your finger in the egg wash and delicately brush it over the book, and leave so the decorations have the egg wash too.
Place the dish on a baking sheet and bake in the oven at 350 degrees F for about 15 minutes or until the pie crust is golden brown.
Please note: I like to use pie crust instead of puff pastry because pie crust doesn’t expand much when you bake it so your design will still look as good as it did when you made it.
Serving Tips: To save time, I made and decorated this dish in advance and stored it in the refrigerator. Then, when my friends arrived, I placed it in the preheated oven. By the time everyone had drinks and was settled in to watch the movie, the pot pie was done baking, and I started the film. This allowed me to serve it fresh.
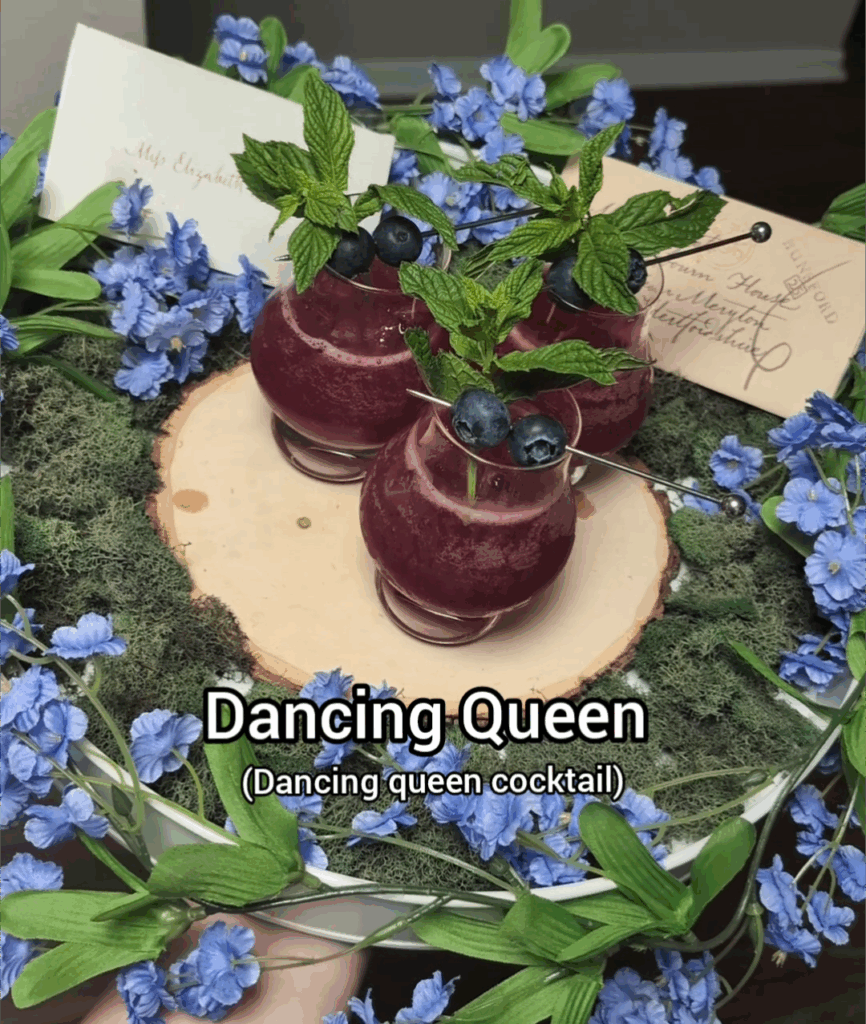
Dancing Queen
“Dancing. Even if one’s partner is barely tolerable.” What a line! I had to honor our girl Lizzie with a Dancing Queen Cocktail! This is a gin-based cocktail with blueberry and mint. It was incredible!
Serving tips: I recommend premixing the cocktail (minus to club soda) the day before and storing it in your refrigerator. Also, have your mint garnish and blueberry garnish ready before you start the film. Then, when it’s time to serve, you just have to add ice to your glasses, pour your premixed cocktail, and top with club soda and garnishes.
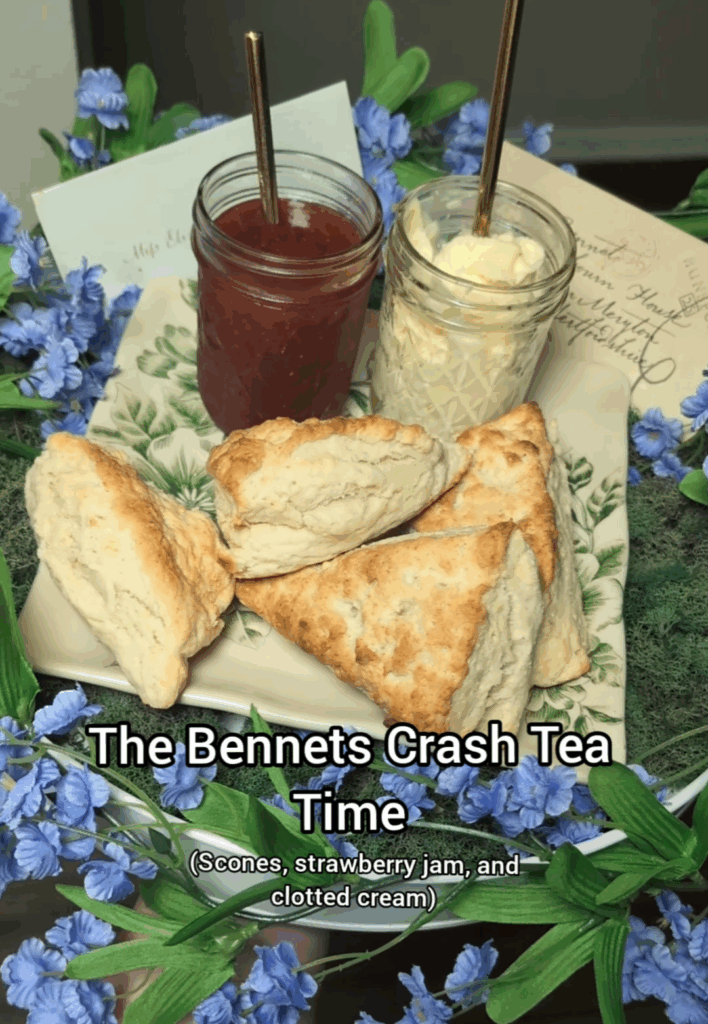
The Bennets Crash Tea Time
For this scene, I’m not entirely sure what Mr. Darcy, Bingley, and Bingley’s sister are eating and drinking, but it looks like tea and pastries. I decided to serve scones, strawberry jam, and clotted cream to continue the theme of common UK foods.
Clotted Cream Recipe (This gives a 12-hour process as well as a quicker recipe)
I recommend making the clotted cream the day before. Before starting the movie, make sure you have the clotted cream and jam set up in their serving dishes. That way, you can quickly grab them from the refrigerator to place on your serving tray.
I also recommend making your scones in advance. You can freeze them after you are done baking them and they’ve cooled. By freezing them, you lock in the moisture. When you bake your pot pie right before starting the film, you can also bake your scones for 15 minutes so they are fresh for serving.
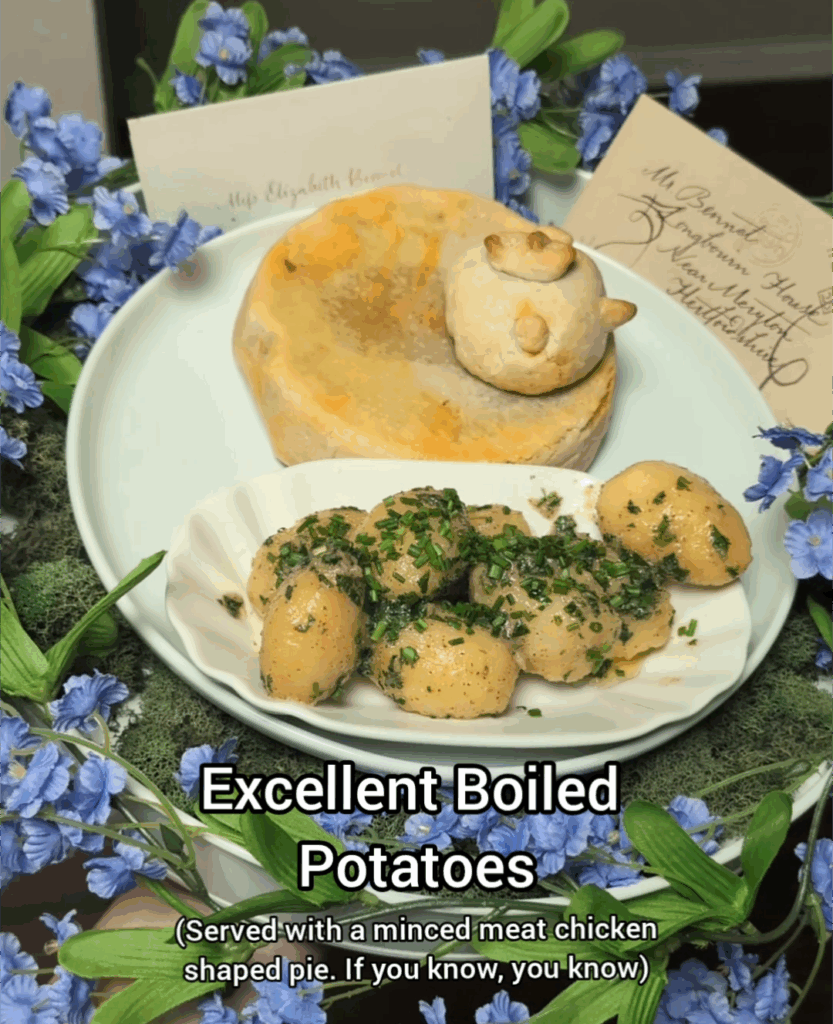
Excellent Boiled Potatoes
The most important dish for a Pride & Prejudice Movie Night is “Excellent Boiled Potatoes”!
I knew I had to make the BEST boiled potatoes, so I went all out with the preparation. I used Golden Yukon potatoes because of their buttery richness. I peeled the potatoes so that when I boiled them, they would be able to absorb all the flavors. To boil them, I did not use water. I wanted every part of the potatoes to be flavorful, so I boiled them with a mixture of chicken stock and cream. I then tossed them in a garlic and butter sauce before topping them with chives.
This scene also features a chicken-shaped dish that looks to be some type of meat pie. I wanted to add this funny little easter egg for fans of the movie. I went with a minced meat pie (with a Cuban twist for my friends who are Cuban) since that is another common food eaten in the UK.
To make the boiled potatoes:
Start by washing your potatoes and carefully peeling the skin off. Once your potatoes are prepped, fill a pot big enough to boil your potatoes with heavy cream and chicken stock. I didn’t measure this. I just submerged the potatoes in the chicken stock and then added some heavy cream on top to make the stock turn a creamy color. I recommend using regular chicken stock without reduced salt. It tastes better when there is salt for the potatoes to absorb.
Bring the pot to a boil and cook the potatoes until they are tender but not overcooked to the point they are falling apart. When the potatoes are done, transfer them to a large bowl and set aside or store in your refrigerator. I recommend doing this before the movie starts and then adding the butter and garnish right before you serve the dish.
To make the garlic butter– I used a 24oz bag of Yukon gold potatoes, so these butter measurements are based on that. I recommend adjusting the quantity if you use a bigger or smaller bag.
Add ¼ cup of salted butter, ¼ cup of olive oil, 3 garlic cloves (minced), and 1 tbsp of finely chopped parsley to a microwave-safe dish. I prepped this butter mixture before the movie started. When it was time to serve, I reheated the potatoes in the microwave and also microwaved this dish of butter. When the butter is melted (takes about 30-45 seconds), I mixed it and poured it on top of the potatoes. I tossed the potatoes a bit to make sure they were fully coated in the butter and then added them to the serving dish. Sprinkle some salt on top as a finishing step. I also had prechopped chives ready to go, so I sprinkled them on top before serving.
How to make the chicken-shaped minced meat pie:
This is the recipe I used to make the minced meat filling.
I wanted to make a Cuban fusion dish because my friends who attended this Movie Night are Cuban, and empanadas are the most delicious “minced meat pasties” in my opinion.
Ignore the dough portion of this recipe and just make the filling part. Once the filling is made, it’s time to assemble the chicken.
I used a small, circular baking dish. (See below) For the dough, I used premade pie dough. You can buy it in the dairy section of the grocery store, usually located by the canned biscuits.
Let the dough come to room temperature so you can easily unroll it. The pre-packaged dough usually comes with two pie crusts. Use one for the chicken’s body and one for the head.
Spray or butter the baking dish so it’s non-stick and fit the pie crust to the circular dish. If the dough breaks, just pinch the crack together again. Fill the pie with the empanada meat you made. Then fold the dough on top of the meat. It probably won’t close all the way, but that’s okay. (See picture below)
Next, make the chicken heads:
I made three just to have backups in case the baking process ruined them. I’m glad I did because only one came out perfect.
Using the second rolled-up pie crust, cut out three circles. I used a small bowl to trace the circles so they would be even. Add some of your empanada meat to the center of each circle and pinch it close to make a round dough ball. Wet your fingers to help soften the dough. This makes it sticky and easier to pinch the dough ball closed.
Once you have three empanada dough balls, you can use the scraps of the dough to make round little eyes, a small pointy beak, and the “comb” that’s on the top of the head. Wet your hands slightly to make the dough easier to mold and stick to the chicken head. It’s basically like playing with Play-Doh.
Place your chicken heads and pie pan on a parchment paper-lined baking sheet. (See below) Bake in the oven at 350 degrees F for about 15-20 minutes, or until the pastry is hard and slightly golden.
How to assemble the chicken:
When your pastries are done baking, take them out of the oven and let them cool. Once cooled, use a knife to gently separate the edges of the pie from the pan. It should be easy since you greased the pan. Flip the pan so the pie comes out of the pan, and the bottom of the pie now becomes the top of the pie. Pick out which chicken head came out best and place it on top of the meat pie.
Serving Tips: I made all this about 2 hours before movie night and covered it with aluminum foil so it stayed relatively fresh and protected on my stove top. When you get the scones out of the oven to serve, put your chicken-shaped minced meat pie in the oven so it reheats. You are serving this dish right after the scones so it won’t stay in the oven that long. When you are done prepping your potatoes, you can take this chicken pastry out of the oven and plate it to serve.
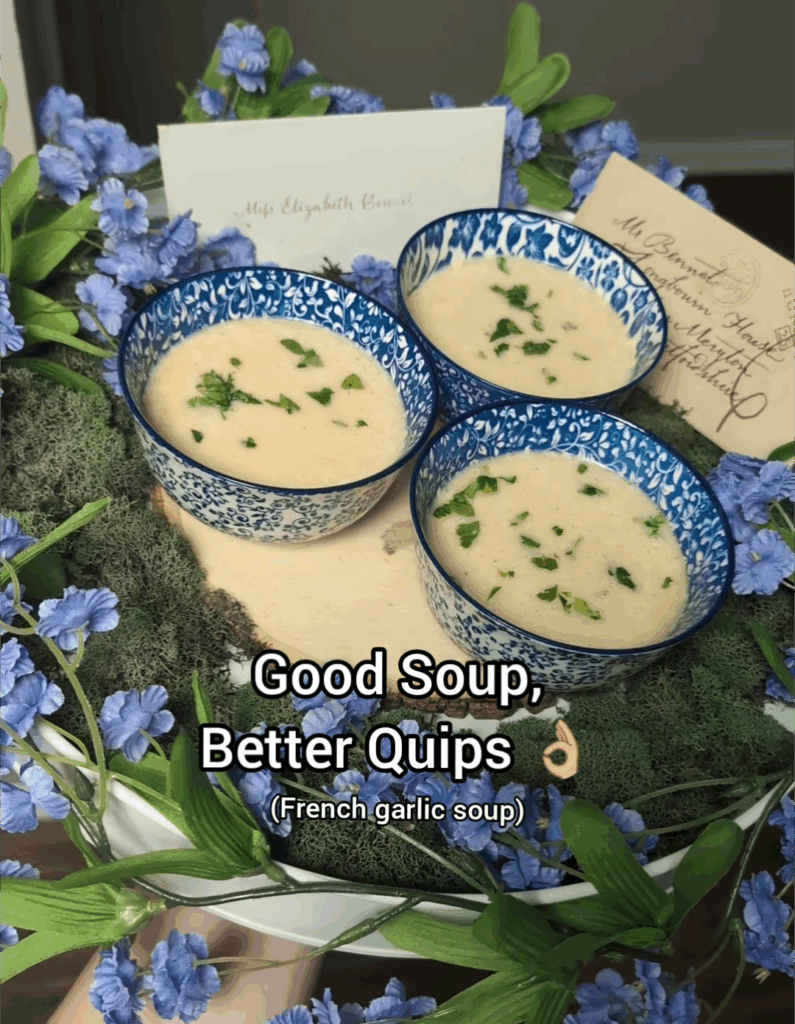
Good Soup, Better Quips
French Garlic Soup Recipe
Ingredients:
2 tbsp of butter
2 tbsp of olive oil
2 white onions, chopped
½ cup of garlic, chopped
2 tbsp of flour
3 tbsp of white cooking wine
3 ½ cups of vegetable stock
½ cup heavy cream
Salt and black pepper
1 egg yolk
Chopped parsley for garnish
Instructions:
- In a large pot on medium heat, add your butter and olive oil. Let them melt together, and then add your chopped onions. Cook for a few minutes, stirring often.
- Add your minced garlic and stir. Let it cook for another minute, until the garlic is fragrant. Then add your white cooking wine. Stir once and let it sit until it’s evaporated.
- Sprinkle in your flour, stirring often until it’s incorporated well into your vegetables. It creates a paste-like consistency. Add in your veggie stock and bring to a boil. Stir occasionally.
- Let simmer for about 5 minutes. Then add your soup to a blender and blend well. Add your egg yolk to the blender and blend well, again. When your soup is completely smooth, add it back to your pot.
- Add your heavy cream, stir, and bring your soup to a simmer. Add salt and pepper to taste. When you are happy with the flavor, your soup is complete.
Serving Tips- Soup is a great dish you can make the day before and store in an airtight container. It will keep developing flavor overnight and be even more delicious the next day. Plus, you save time on prep the day of Movie Night. I recommend setting the soup up in the bowls you’re going to serve as part of your day of prep. I also recommend having the parsley chopped before you start the film. You can store the soup bowls and parsley in the refrigerator. When it’s time to start preparing to serve, microwave the soup, give it a stir to smooth it out, and top with the parsley.
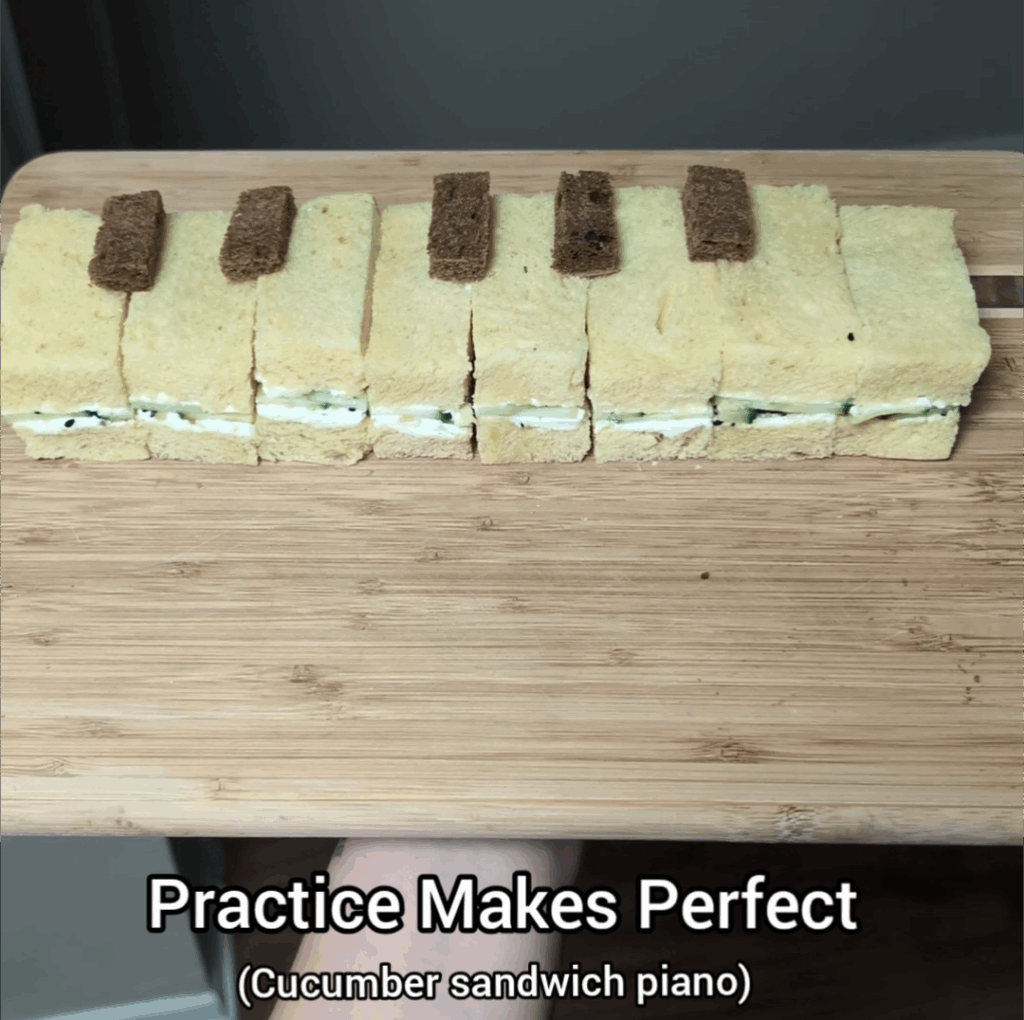
Practice Makes Perfect
I love this scene! We finally see Mr. Darcy open up to Elizabeth about his social anxiety. She tells him to practice, and then he actually listens to her and does!
I wanted to tie this scene together with the movie night by serving another quintessential UK dish (cucumber tea sandwich), shaped like a piano since Elizabeth is attempting to play.
To make the sandwiches, I used brioche sandwich bread because it’s a little sweet and buttery. Spread softened cream cheese on the top piece of bread and the bottom piece. Sprinkle some salt on both pieces. Add a layer of cucumber and complete the sandwich by adding the top bread. For the cucumber, I used a potato peeler to get long, even pieces.
Cut the crust off each side, making sure the cuts are even. (I snacked on the crust so they wouldn’t go to waste). Then cut in half to make a perfectly even rectangle. Repeat until you have enough “piano keys” to fit on your serving tray.
For the black keys, I used pumpernickel bread that I cut into smaller rectangles. When assembling the “piano” make sure you follow the proper pattern of a piano. Two black keys, space, three black keys, space, then repeat.
I made these sandwiches earlier in the day. A concern with sandwiches is that the bread gets soggy. What I did to combat this was wrap the bread in paper towels and then covered it with parchment paper. This helps manage the moisture and keeps the sandwiches fresh.
Spill The Tea
English Breakfast Cocktail Recipe
This recipe calls for 2 drops of Saline solution, but this is optional, and I personally did not include it. It was delicious with all the other ingredients!
I premixed this cocktail the day before and stored it in the refrigerator, so it would be chilled by the time I was ready to serve. Premixing also saved me time on prep work the day of Movie Night.

Your Hands Are Cold
This line is so funny, but it also has a deeper meaning. Mr. Darcy, a wealthy man, is not prone to walking to his destinations. But he did so for Elizabeth. And he walked so far, his hands were freezing.
I decided to serve ice cream cones so we could keel the chill alongside the characters. You can stop at just the ice cream cones, but if you want to take the joke a step further, like me, you can also serve the strawberries & cream paws on top.
To make the strawberries & cream paws, start by mixing 1 tbsp of the strawberry jam from the scones, 1 tbsp of heavy cream, and ¼ cup of milk. Pour your mixture into the Silicone Paw Molds and freeze them for at least 2 hours.
To serve these ice cream cones quickly, I had the cones set up already. I placed them in shot glasses to stabilize them and left them on my kitchen counter throughout the movie so they were easily accessible. When it was time to serve, I scooped the ice cream, popped out the paw molds, and placed them on top of the cones.